

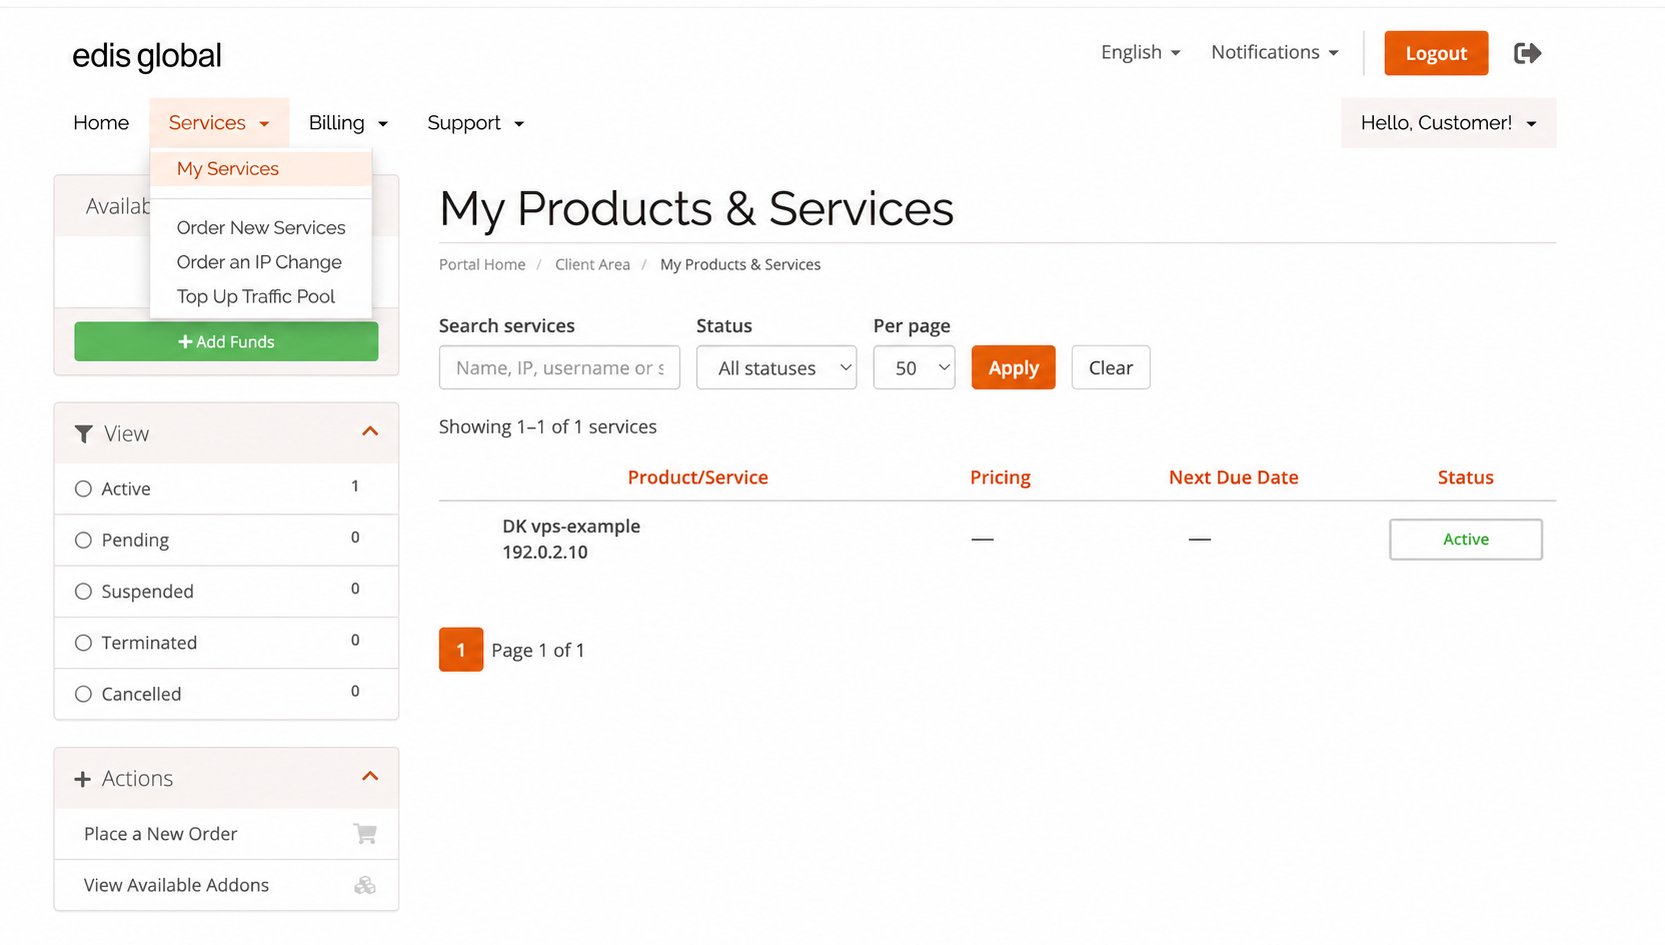
Open Services → My Services, then select the VPS you want to manage. Customer and billing details are anonymized.
Find the task you need
An EDIS Global VPS is unmanaged: you remain responsible for its operating system, applications, security and backups. EDIS Global support can help with infrastructure, account and billing issues and point you to the appropriate configuration guides.
Restart, reset or cold boot
For a routine restart, use the operating system when it is responding. This gives applications a chance to close and finish pending writes. In the portal, Restart opens a menu with two different actions:
Reset VPS keeping VNC available does not mean the operating system shuts down gracefully. Save your work first whenever possible. SSH, RDP and hosted services disconnect while the operating system restarts.
Activate hardware changes with a cold boot
When your upgrade or configuration instructions require a cold boot:- Save your work and shut down the operating system from inside the VPS.
- In the portal, if the VPS still shows RUNNING, select Stop after the OS has finished shutting down.
- Wait until the VPS shows SHUTDOWN, then select Start.
Reinstall or change operating system
Reinstall OS replaces the existing installation with a clean system. Use it to start fresh or switch to another available Linux or Windows image.- Check the available operating systems and the requirements of your chosen image.
- Open your VPS in the portal and select Reinstall OS.
- Select the operating system and set a new root or Administrator password.
- Save the password securely: no confirmation email is sent for a reinstall.
- Wait for installation to finish before connecting or making further changes.
Choose a Standard or Bespoke IP change
An IP change replaces an address while keeping the same VPS, location, plan and billing cycle.
The free option applies to the primary IPv4 address. For paid changes, open Product Addons, select the appropriate service and follow the ordering instructions. Check the current price in the order form.
Before the change, make sure you can use VNC/noVNC. The old IP stops working immediately when the new address is assigned, so an existing SSH or RDP connection will no longer reach the VPS.
After assignment:
- Configure the new IP inside the operating system through VNC. Follow the Ubuntu or Windows Server instructions.
- Update relevant DNS records, VPN endpoints and any firewall rules or allowlists that use the old address.
- Test access and your applications using the new address.
Manage billing and renewals
Your VPS renews automatically unless you cancel it. Auto-renewal and successful payment are separate things: keep your payment method current and check that the renewal invoice is paid. EDIS Global sends a renewal pro-forma invoice seven days before the due date. After payment, a tax invoice is issued. You can also open the service and select Create Invoice / Renew to generate a renewal invoice earlier.When invoices and reminders are sent
The following is the automated non-payment workflow. Day 0 means the renewal invoice’s due date, not the date you ordered the VPS.
This timetable follows the VPS billing workflow. It is not an extension of the payment deadline.
What to do if payment is late
If the VPS is suspended: pay its outstanding renewal invoice. The documented workflow reactivates suspended services automatically after payment. If the VPS is already terminated: contact support promptly to request recovery or reactivation before permanent deletion. Do not assume that paying an old invoice alone will recover a terminated service. If the data has been deleted: it cannot be recovered from the VPS. You need your own backup. To reduce payment problems, use a supported automatic payment method and monitor invoice status. If you use a PayPal subscription, review it after changes: its amount and schedule do not automatically follow VPS upgrades or cancellation. Renewals · Automatic payments · Find and download invoices · Data retentionCreate backups you can restore
You are responsible for backing up your VPS. Do not assume that EDIS Global automatically keeps a recoverable copy of your files or applications. A useful starting routine is:- List what you need to recover. Include website files, databases, application configuration, uploaded files and any keys needed to restore the service.
- Create a consistent backup. Use your application’s export or database-backup function for live databases; copying their working files while they change may not produce a usable backup.
- Copy the backup outside the VPS. For a small setup, download the exported files to your computer through SFTP. For recurring backups, configure a scheduled backup to separate storage.
- Keep several dated versions. A single synchronised copy may also reflect accidental deletion or corrupted files.
- Test restoration. Restore sample files or an application backup into a separate test location and verify that it works.
Can EDIS Global provide a complete disk image?
You can request a downloadable QCOW2 virtual-drive image through support. The documented service fee is EUR 25, and the download is available for 30 days. Download it and store your own copy before the link expires. This is a requested image export, not an automatic scheduled backup or instant snapshot. Backup responsibilities · Request a QCOW2 imageUpgrade your VPS
You can move to a higher plan or add individual resources without reinstalling the operating system. Current configurable additions are up to 24 GB RAM, 8 vCPU cores, 400 GB Drive Size Boost, and 10 additional IPv4 addresses per VPS. Open the VPS under Services, go to Configurable Options, and select Upgrade Resources. Drive Size Boost is added to the storage already included with the plan; a 100 GB plan plus the maximum 400 GB boost provides a 500 GB virtual drive. Follow the activation instructions in your upgrade notification:- Traffic increases are available immediately.
- Additional RAM and vCPU cores require a full cold boot.
- An expanded virtual drive requires the specified cold boot, followed by checking and extending the partition and filesystem inside the operating system where necessary.
Manage traffic and monthly refills
Open Traffic Information for your VPS to check usage, the current allowance and the next monthly refill. Traffic includes both incoming and outgoing data. If you need more traffic, assign it from your shared Traffic Pool, or enable Auto-Hydration for that VPS. At 99% usage, Auto-Hydration assigns the selected increment when your Pool has sufficient balance. It does not buy traffic automatically. Keep these balances separate:- Unassigned Pool Traffic does not expire.
- Traffic already assigned to a VPS expires if unused at that VPS’s next monthly refill.
- Plan Traffic refills each monthly service cycle; unused allowance does not carry forward.
Recover access
If SSH or RDP fails, first check that the VPS is running and look for a relevant incident on the Status Page. Then open VNC/noVNC. The console can help you see whether the operating system has booted even when its own network configuration or remote-access service is broken. Choose the guide that matches the problem:- Reset a Linux root password.
- Reset a Windows Administrator password.
- Recover a locked Windows account: RDP error 0xd07.
- Use Linux rescue tools for boot, network or SSH problems.
Networking and location changes
Private networking between VPS services: a Private VLAN connects VPS services in the same server location. Assign it under System Configuration → VLAN Settings, apply the settings and complete a cold boot. Then configure unique private IP addresses from the same subnet on the secondary interfaces. Keep the public network configuration on the primary interfaces unchanged. Private VLAN setup Reverse DNS: use the portal’s reverse-DNS controls to set the PTR record for an address. A PTR record is separate from the forward DNS record that points a domain to your VPS. Reverse-DNS instructions A different server location: changing location is a VPS replacement, not a simple IP edit. An eligible free replacement within 24 hours removes the original VPS and its data; back up first. After that window, order a VPS in the new location, migrate and test your services, then cancel the old VPS. Review the location-change conditions, including availability and the effect on refund eligibility, before requesting a replacement.Cancel a VPS correctly
Stopping the VPS does not cancel it or stop renewal billing. Before cancelling, download your backups and confirm that you no longer need the service. Open the VPS under Services and select Request Cancellation:- End of the billing period: the VPS continues running until its due date, then terminates.
- Immediate cancellation: the VPS stops when termination is processed.