How to get going
- Order a VPS with pre-installed Windows Server OS.
- Connect to the server via RDP, port 3389.
- Open the Server Manager. The Server Manager usually opens automatically when the operating system starts. However, if the Server Manager does not open automatically, click on the Start button. Then, find and select “Server Manager” in the Start menu. It is typically pinned by default when you install Windows Server.
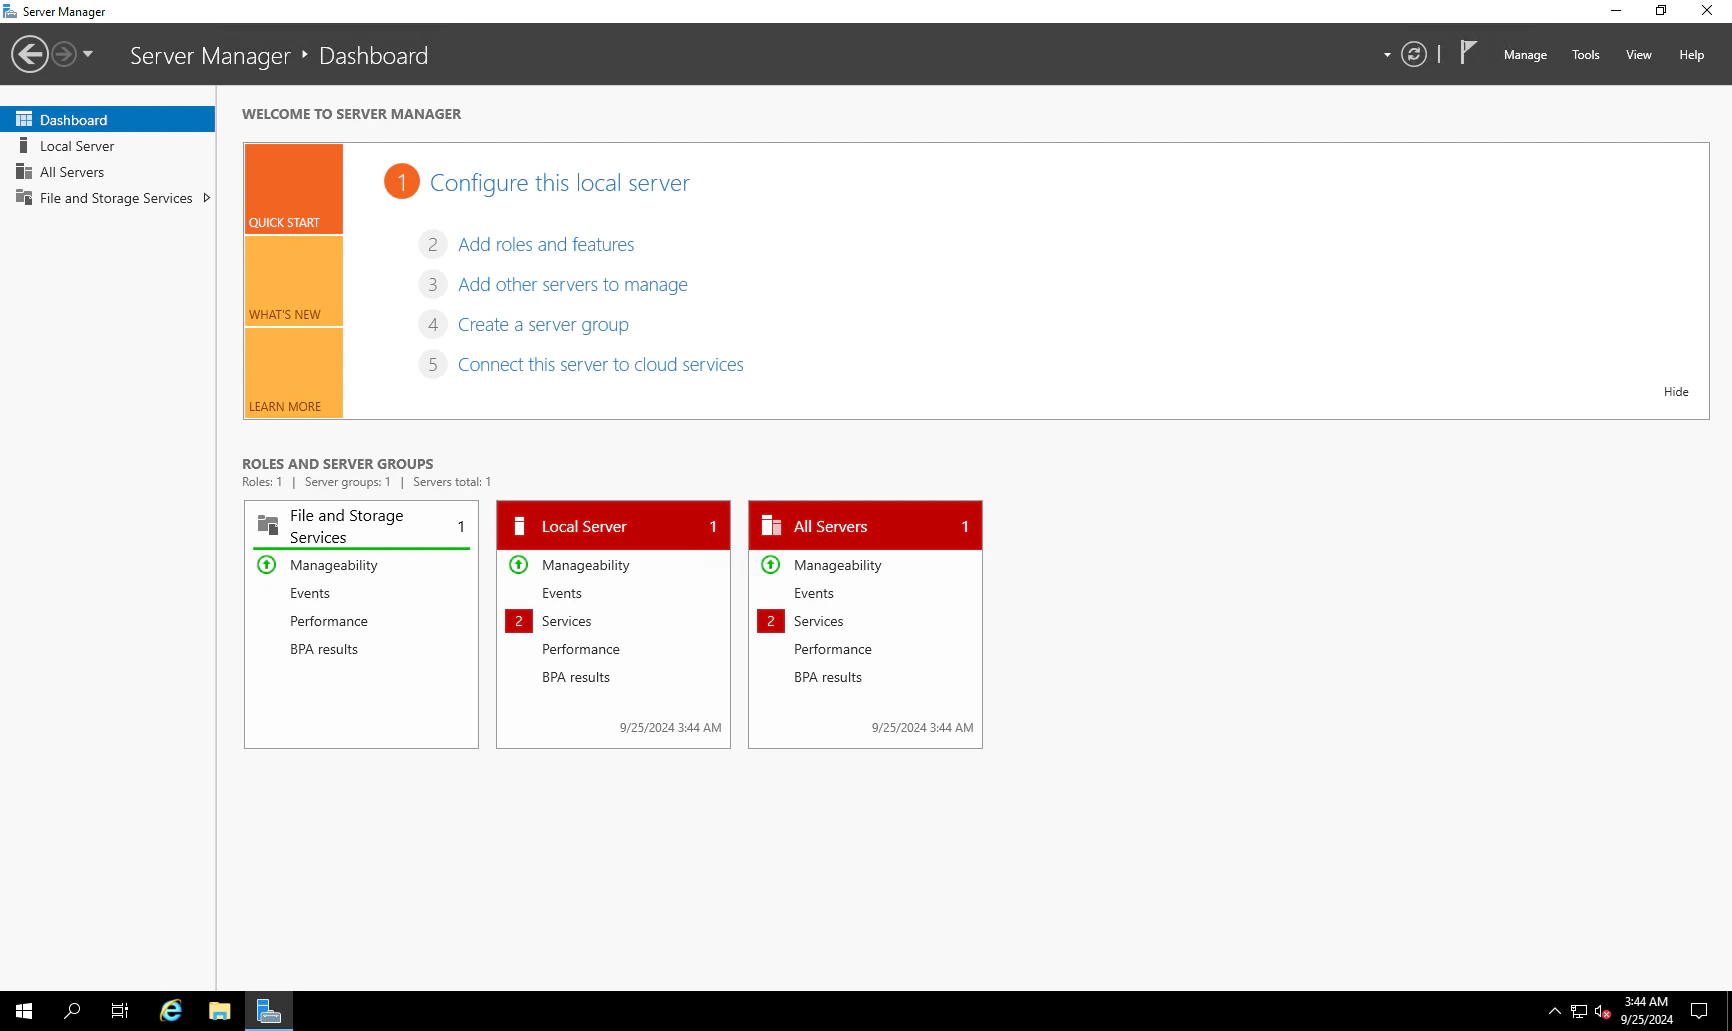
- Choose the Local Server section on the Server Manager
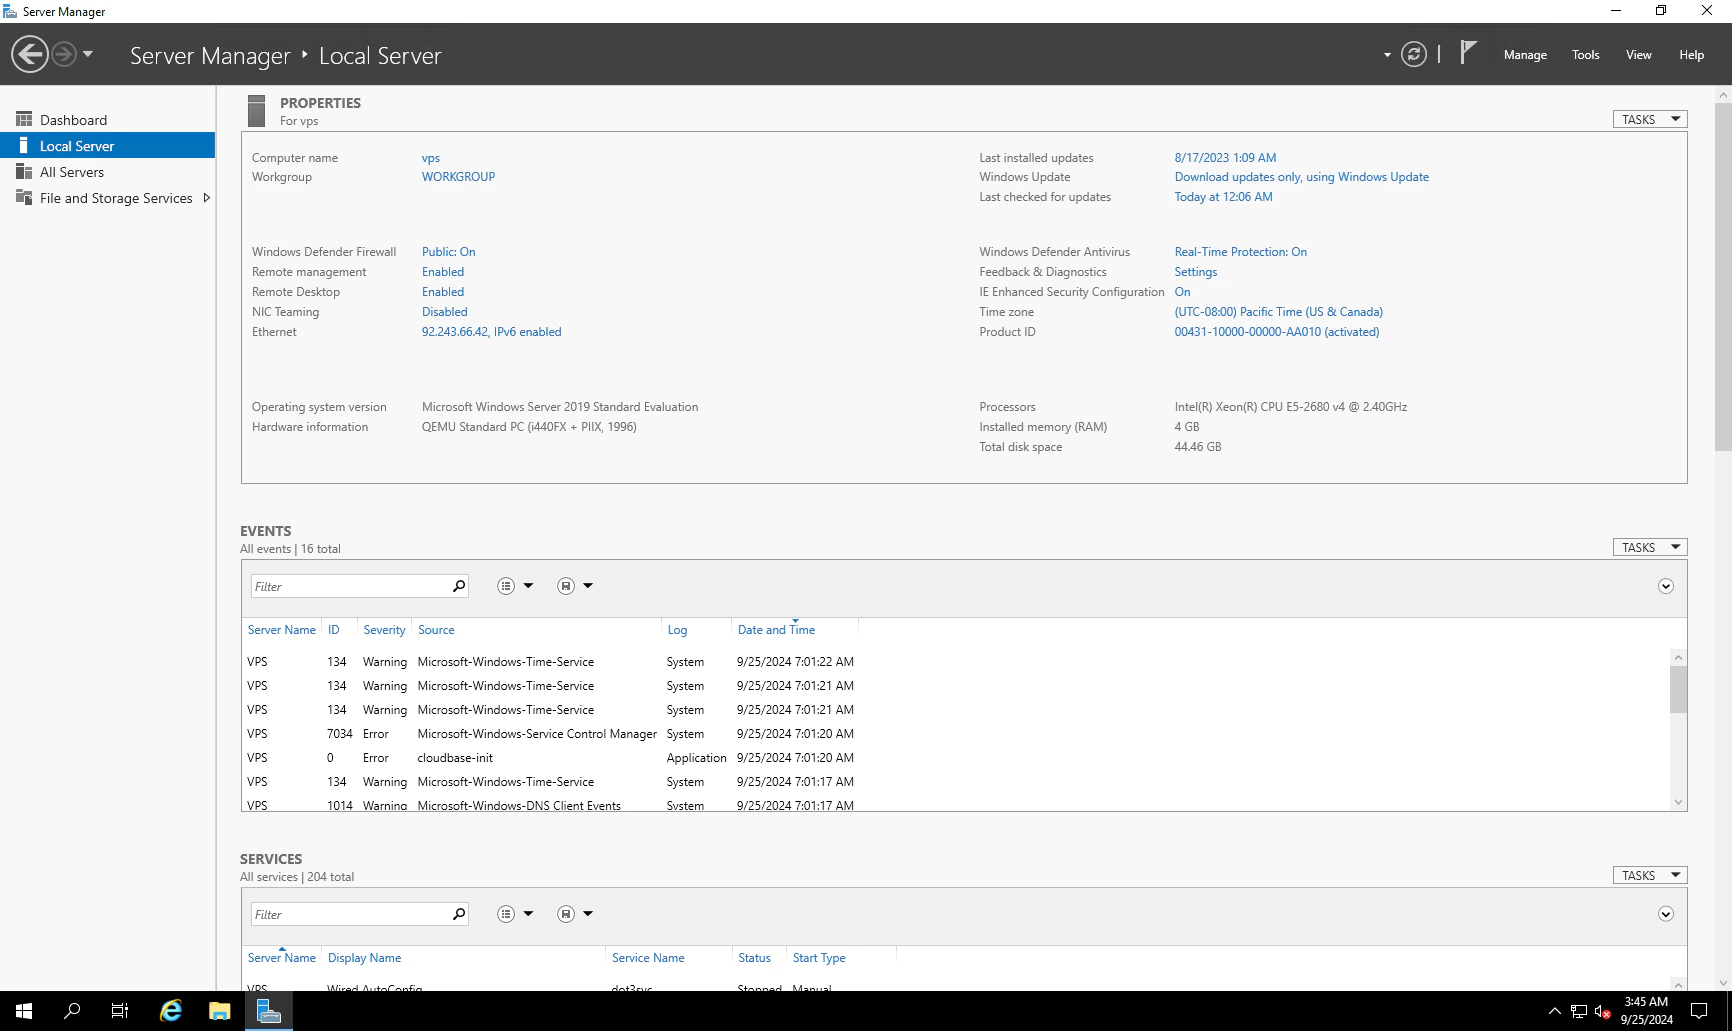
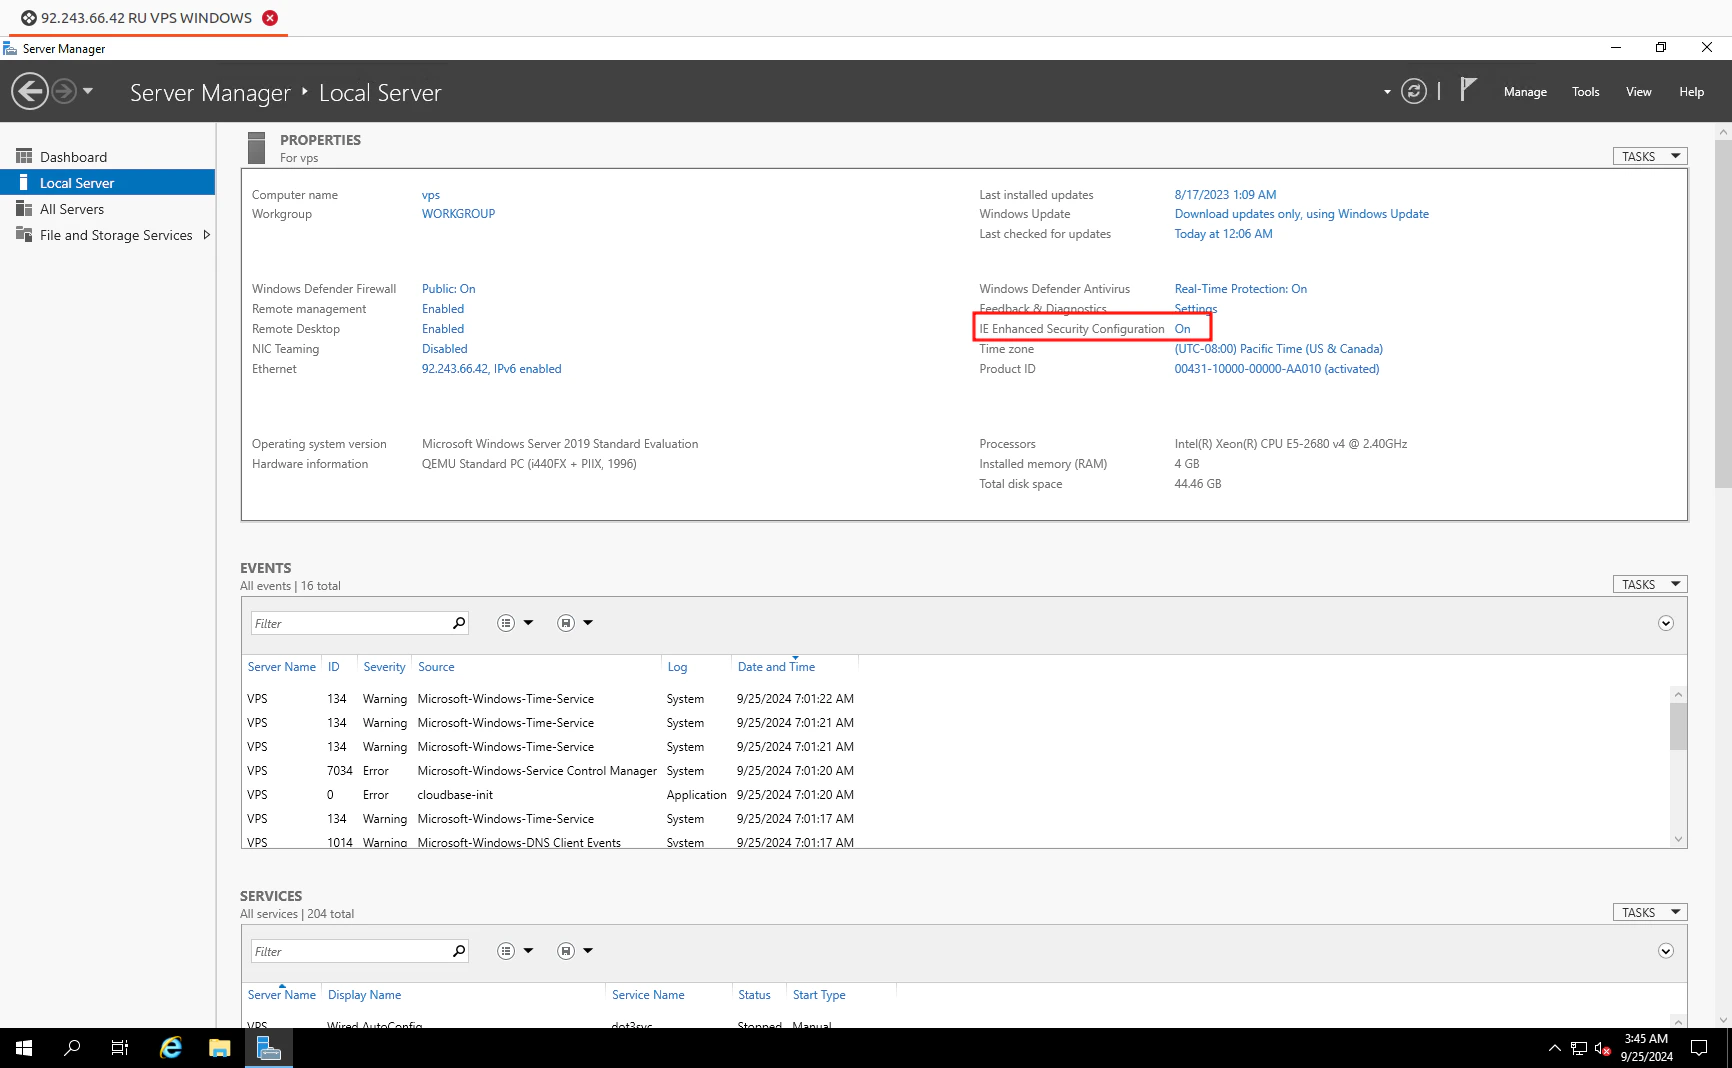
- Disable the IE Enhanced Security Configuration setting by clicking on “On”:
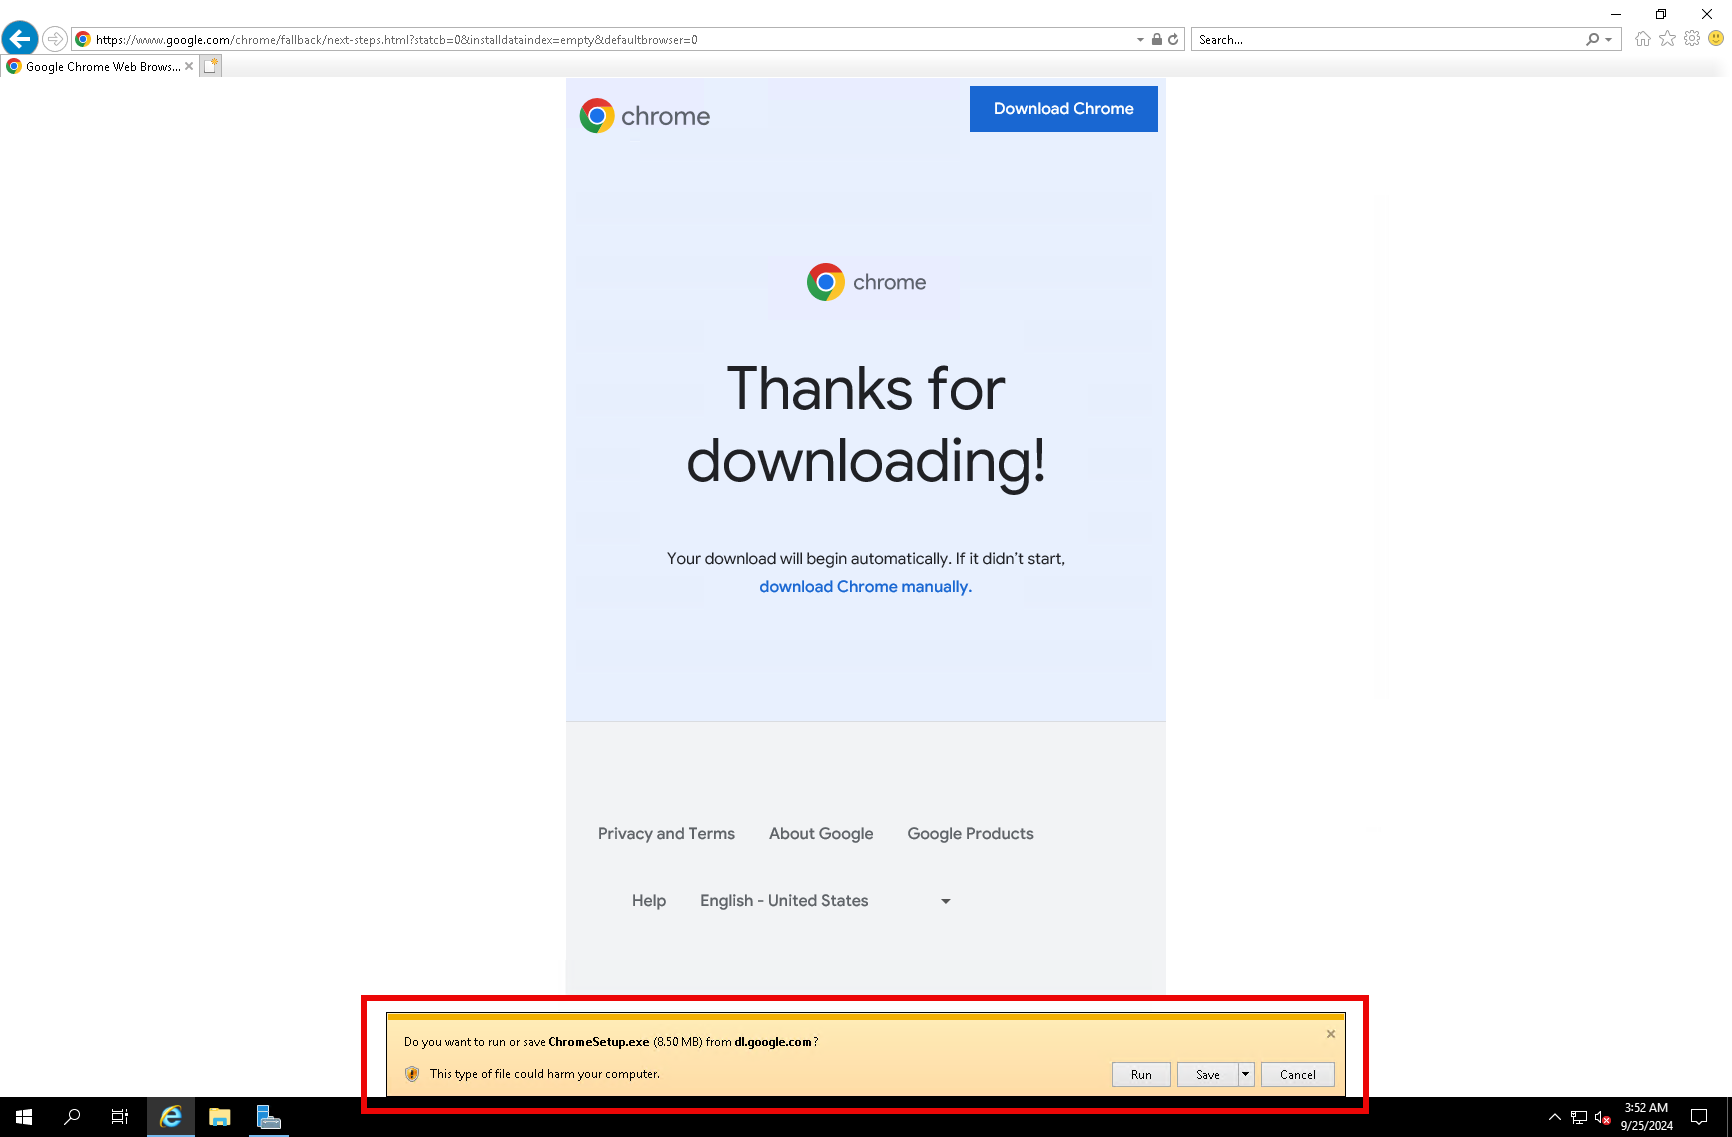
- Click to Run button on the new pop-up window that will be located in the bottom section of the screen.
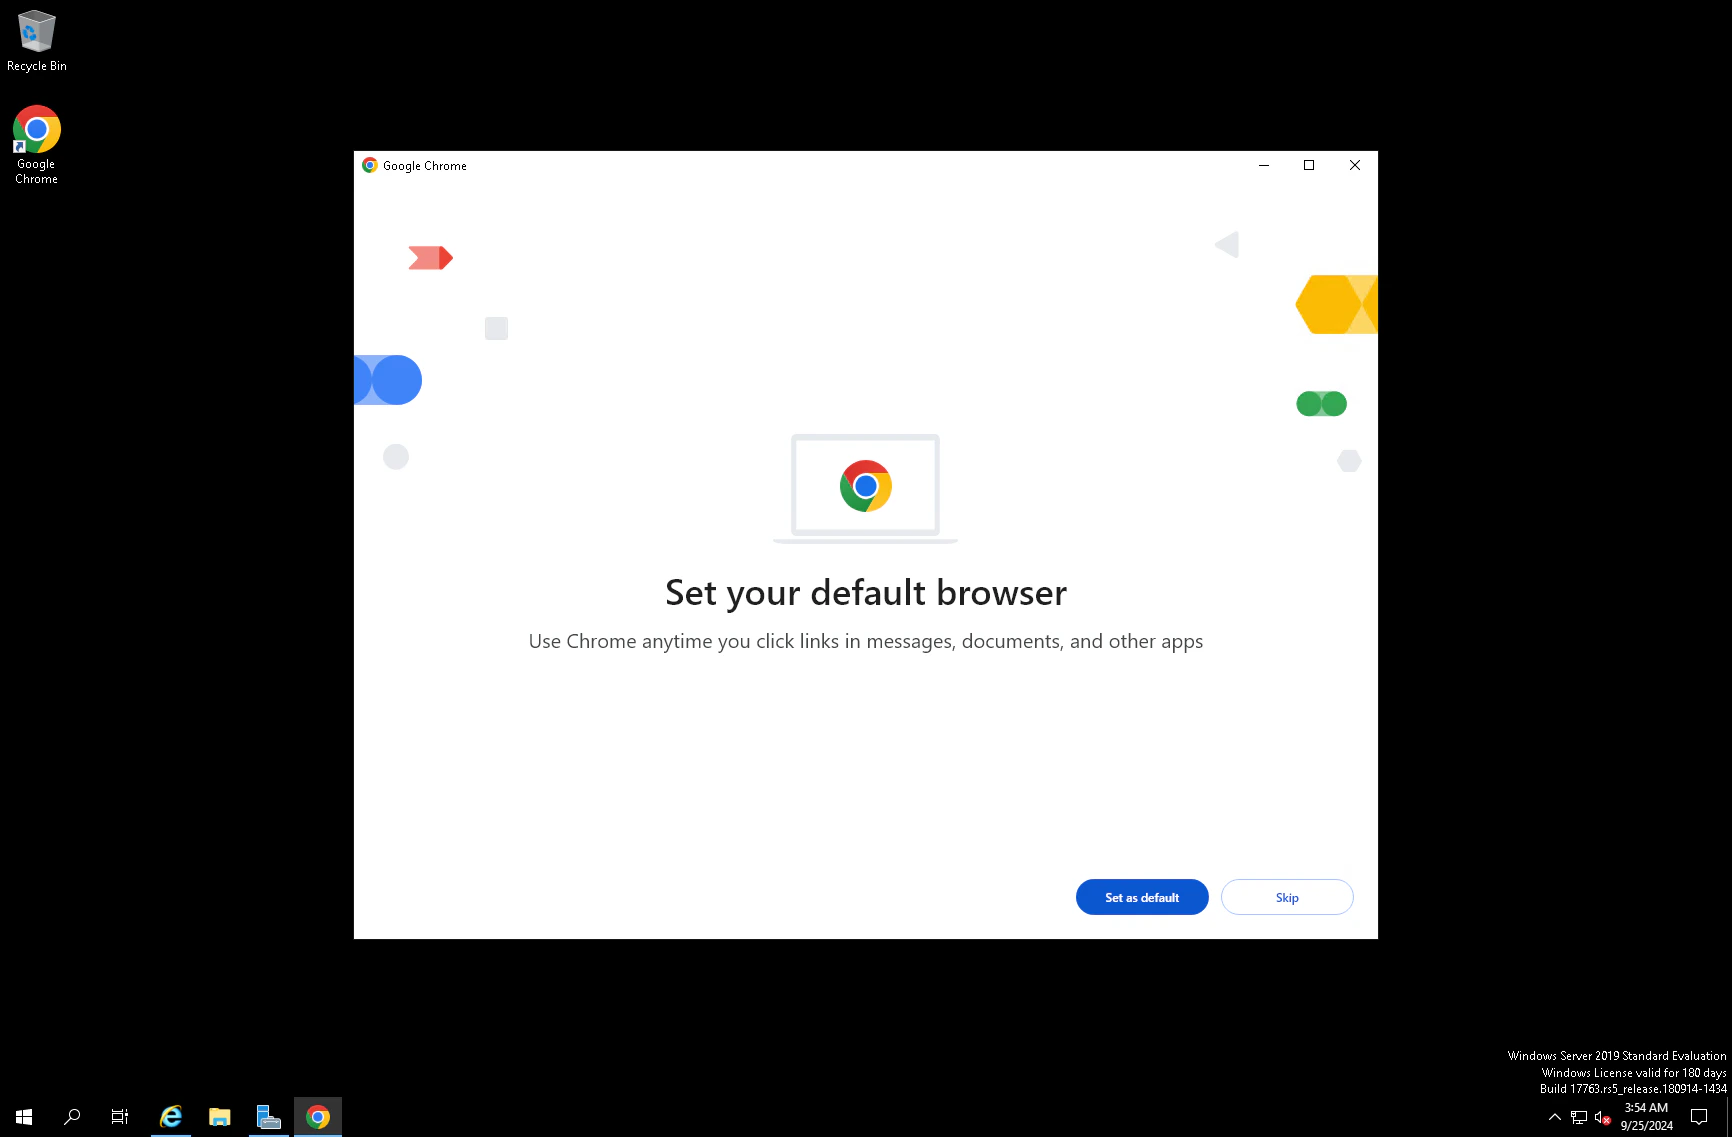
- Set Google Chrome as the default browser.
- Congratulations! Google Chrome has been successfully installed on your Windows Server. This installation enhances the server’s capabilities by providing a fast and secure web browser.