Introduction
This guide simplifies the process of installing MikroTik Router OS on a VPS. By automating the installation with a script, there’s no need to manually enter commands in the MikroTik CLI console. Once complete, you’ll have a fully operational VPS running MikroTik Router OS.Getting started: prerequisites and VPS preparation
Open a terminal and create a script file:Script
CTRL+O to save your changes, then exit by pressing CTRL+X.
Set script permissions
Set the script execution rights:Run the Script
Install settings manually in RouterOS
- Login to your VPS Management Portal
- Locate your VPS from the Services tab
- Enable VNC Server
- Open the noVNC or connect by VNC client
- Login to the Router OS using admin account and blank password (no password)
- Setup new password for admin account
- Show the name of interfaces:
Check name of interface
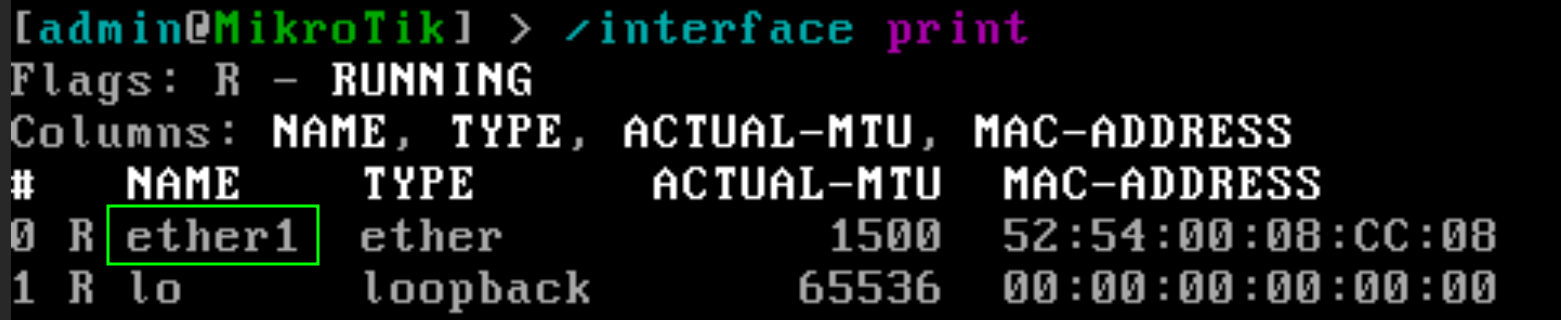
- Check your Network Information in the billing panel. Configure your IP address of the server (192.168.1.100 - IP address of the server & ether1 - name of interface):
- Configure gateway(192.168.1.1 - IP address of gateway):
- Configure DNS:
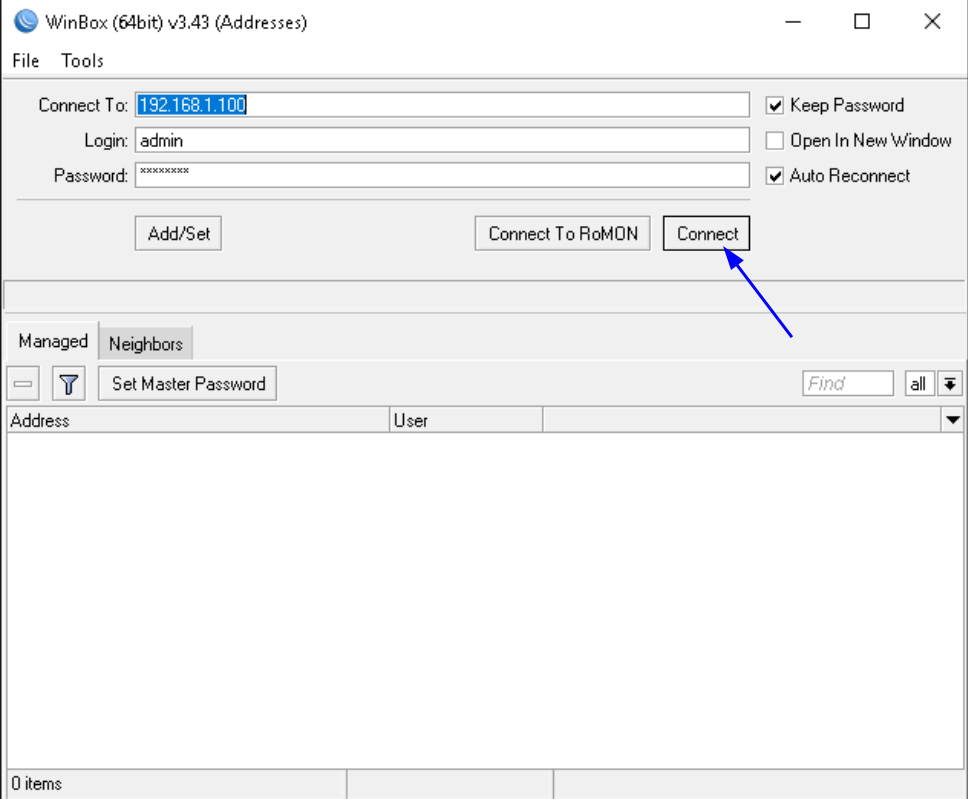
Connecting to server using Winbox
- Download and Install Winbox from the MikroTik website.
-
Open Winbox and create a new connection:
• Enter your VPS IP address.
• Use admin for the Login field and Enter the Password that you installed before.
• Click Connect.