

What is a rescue CD and why use it?
SystemRescueCD is a Linux-based live environment used for troubleshooting and maintenance. It allows you to:- Access and repair non-booting systems
- Check and fix disk, network, and firewall issues
- Mount your main OS partitions and modify configurations
- Recover access when SSH or firewall rules block connectivity
Mount and boot the SystemRescueCD
- Log in to your VPS Management Portal.
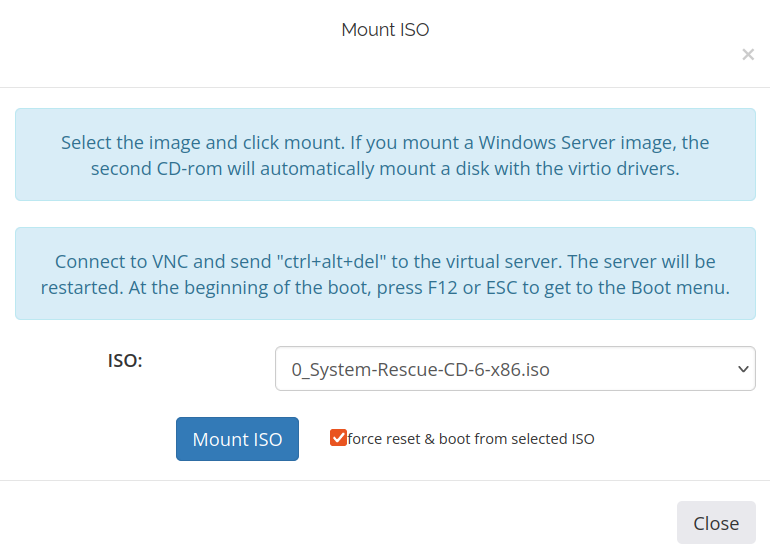
- From your VPS dashboard, click Mount ISO.
- In the ISO list, select System-Rescue-CD-6-x86.iso.
-
Enable the force reset & boot option and click Mount ISO to start the process.
- Once mounted, click Start VNC, then Open Console to access the console.
-
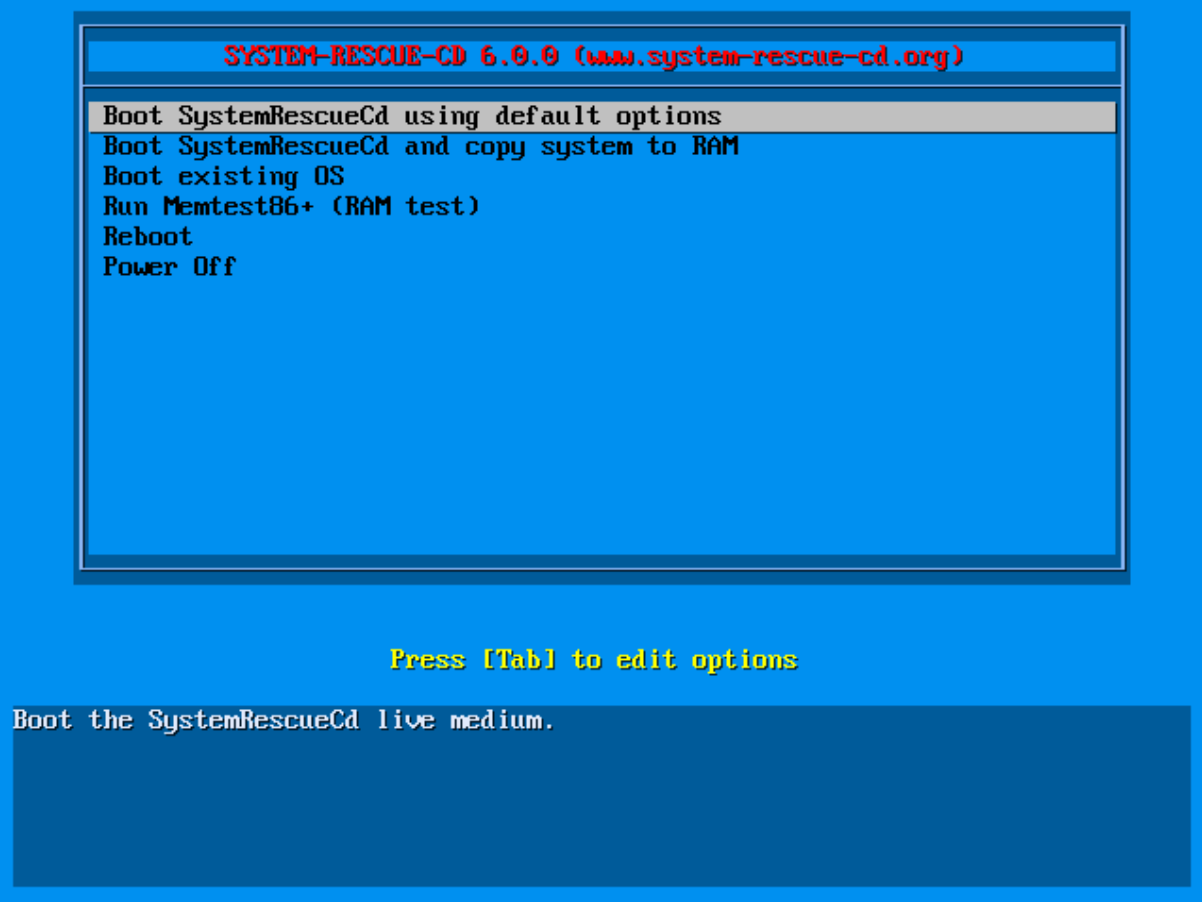
In the boot menu, select Boot SystemRescueCd using default options and press Enter.
-
If it boots into a command-line interface, start the graphical desktop manually:
Configure network in rescue mode
You can configure networking via the GUI (simplest) or command line.Using the graphical interface
-
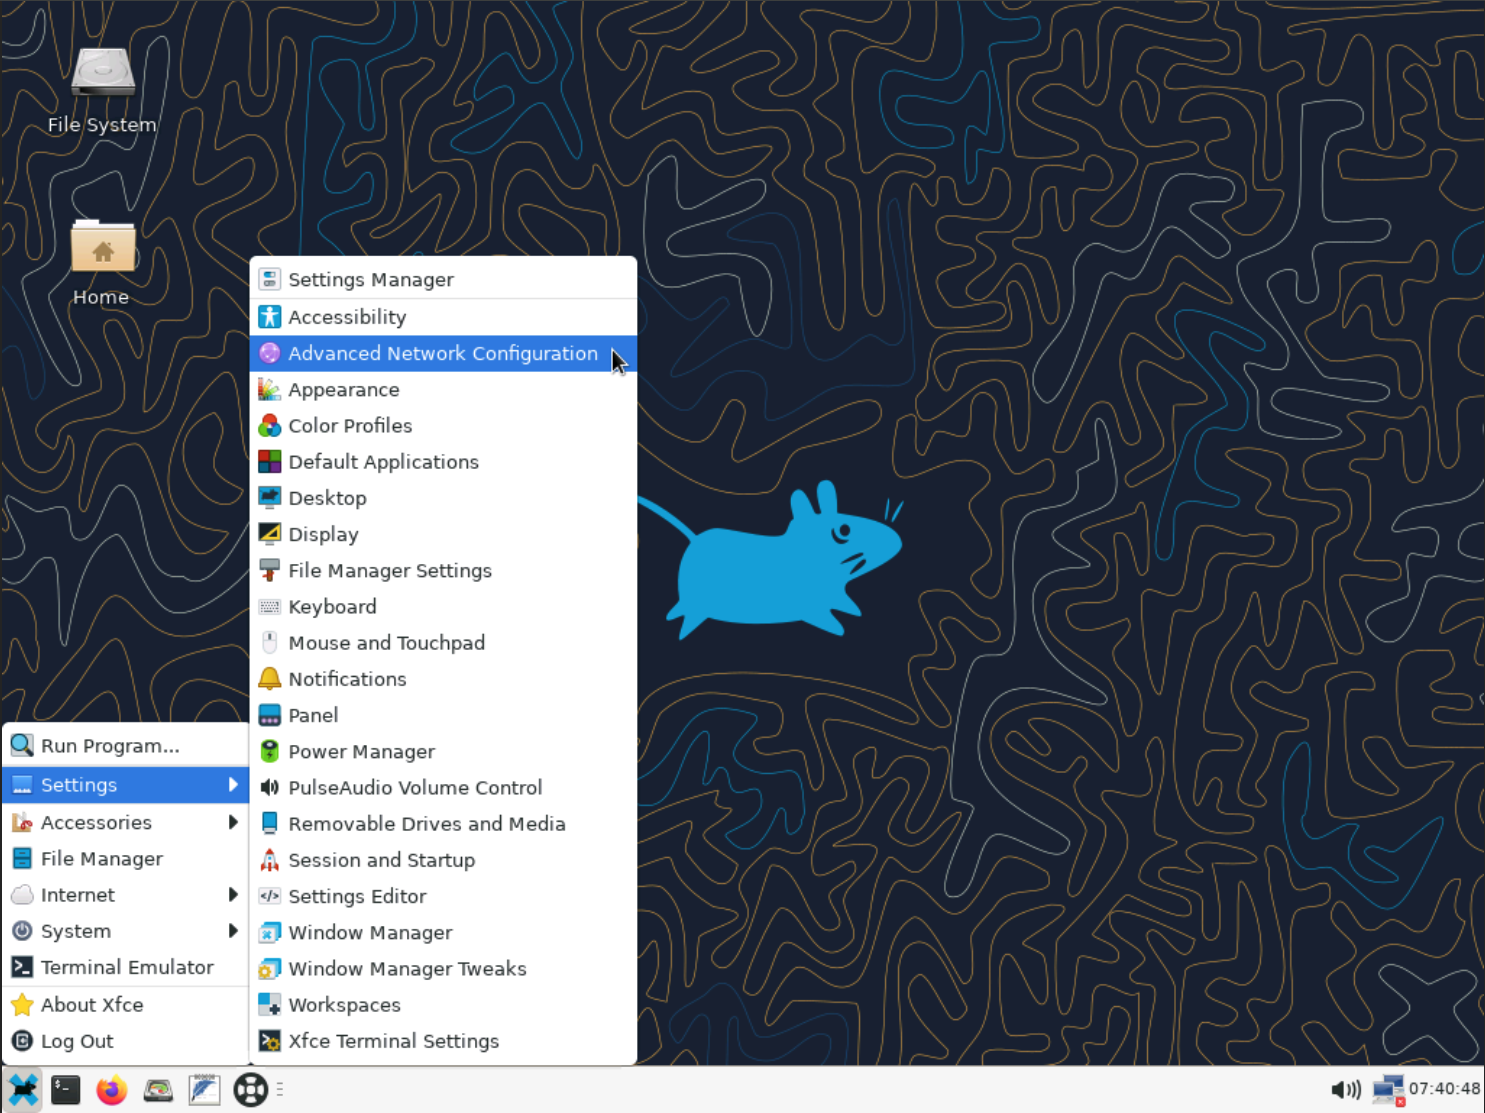
Open Settings → Advanced Network Configuration.\
- Select your wired interface (e.g., Wired connection 1).
-
Click the gear ⚙️ icon to open settings.\

- IPv4 tab → Method: Manual → Add your IP, Netmask, and your actual Gateway.
-
DNS: e.g.,
1.1.1.1, 1.0.0.1→ Save.\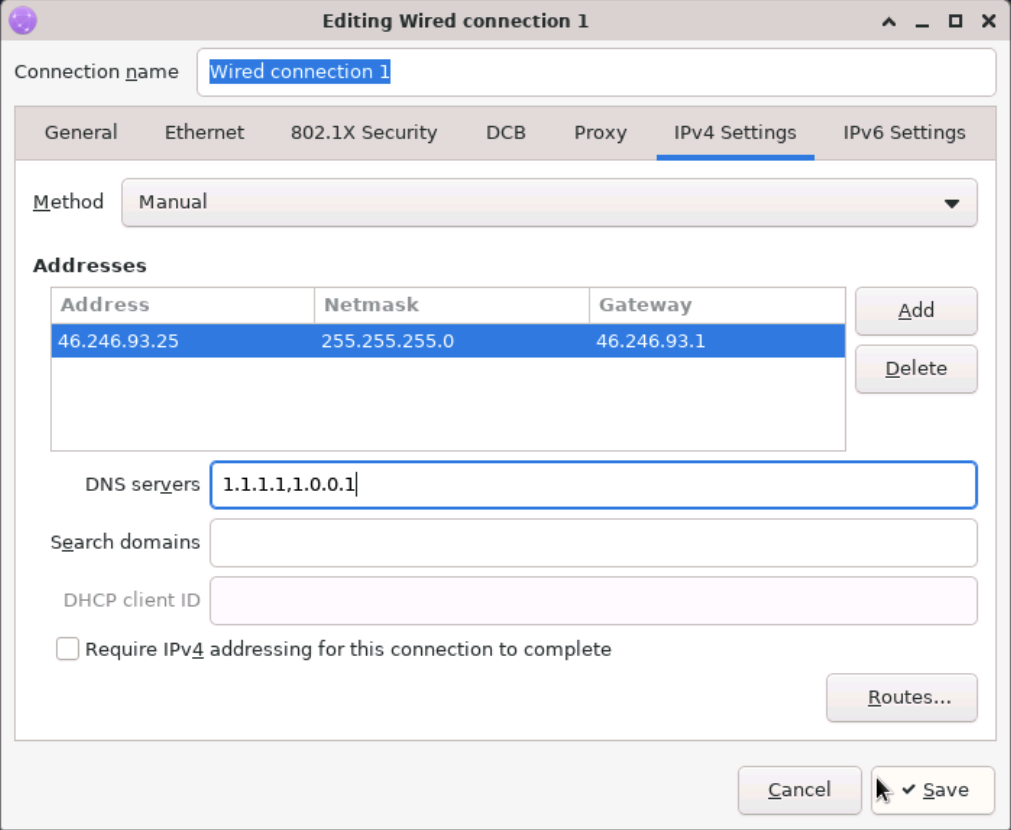
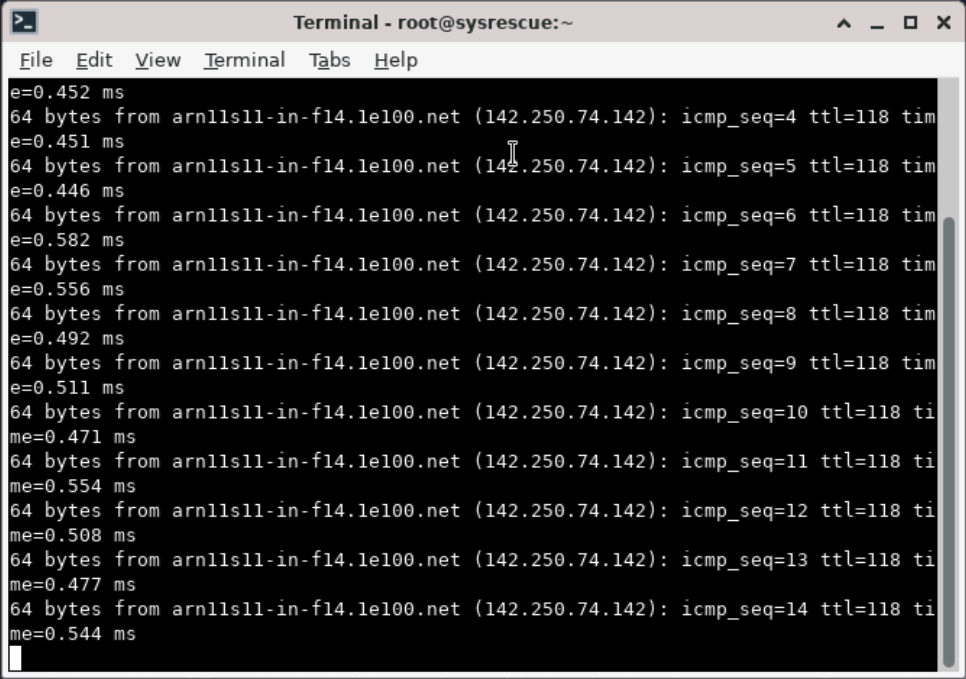 | 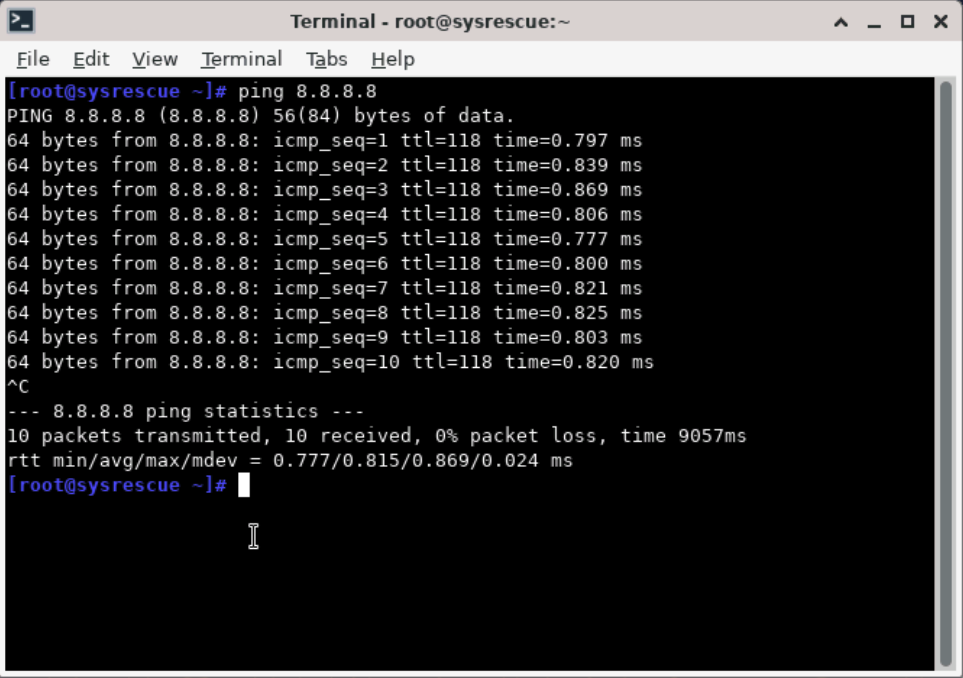 |
|---|---|
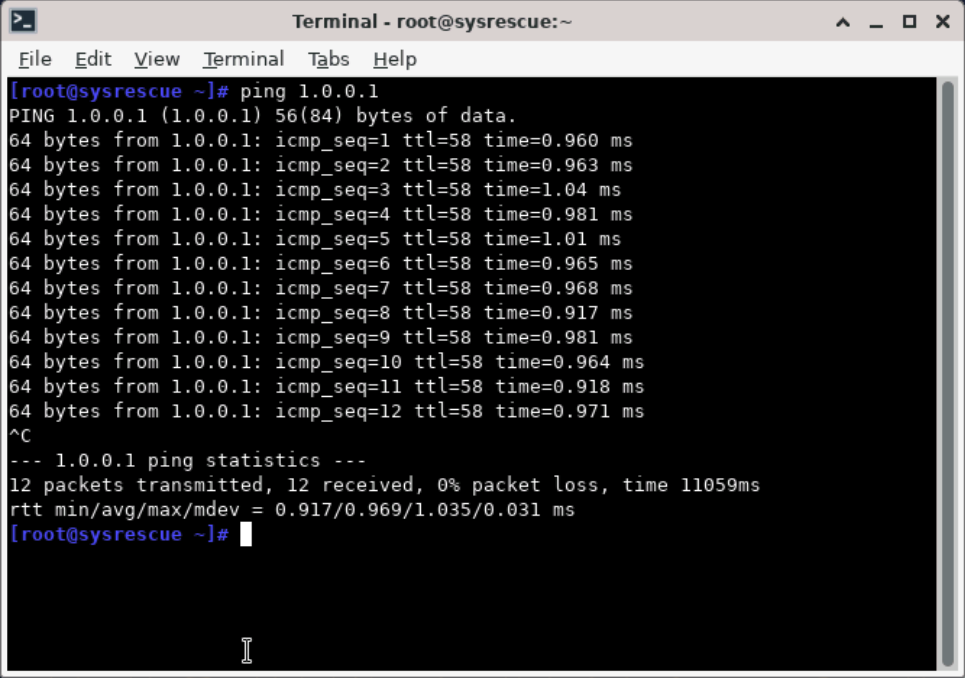 | 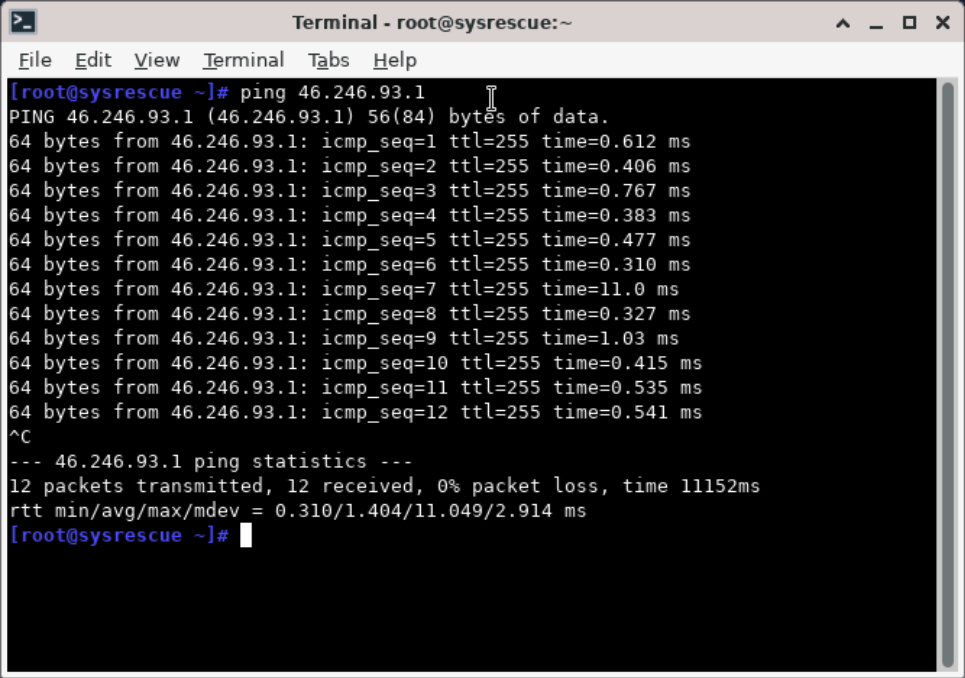 |
Using command line (if GUI not available)
If you’re in command-line mode:Networking configured in the rescue environment is temporary. It does not repair the installed OS configuration on disk. Identify the installed system’s root filesystem before editing files there;
/dev/vda1 below is an example, not a guaranteed layout.Check the firewall from rescue mode
If you are in the graphical environment, open a Terminal first. When the Rescue CD boots, its internal firewall (iptables or nftables) is usually disabled.To review or modify the firewall of your main system, follow these steps:
- Identify and mount your main partition:
- Check if UFW was enabled:
- Inspect rules:
- Back up any configuration file before editing it. Inspect both IPv4 and IPv6 rules (
user.rulesanduser6.rulesfor UFW, orrules.v4andrules.v6for iptables-persistent).
chroot changes the filesystem view; it does not boot that OS or start its service manager. Running systemctl stop in a chroot therefore does not stop the installed system’s firewall. Use the rescue environment to inspect and repair its persistent files, then boot the installed OS and verify the firewall from the VNC console. Avoid flushing rules or disabling protection as a generic fix.
Check SSH configuration and service
If you are in the graphical environment, open a Terminal first. When the Rescue CD boots, SSH is not automatically running since the main system isn’t active yet.To review or fix the SSH configuration of your main system, follow these steps: To troubleshoot SSH from the Rescue environment:
- Mount the main system partition if it is not already mounted from the firewall checks:
- Inspect SSH config:
- Inspect installed SSH unit files without trying to start the installed OS:
ssh.service, sshd.service, or ssh.socket, depending on the distribution. This reports unit-file configuration, not whether the installed OS is currently running. See systemctl’s offline root option.
- (Optional) Edit SSH settings:
- Finish recovery and test the installed OS:
- Leave any shell whose working directory is inside
/mnt/system, and unmount any filesystems you mounted. Do not force-unmount a busy filesystem; first close processes using it. - Unmount the rescue ISO, then reboot from the virtual disk.
- In the VNC console, check SSH syntax with
sudo /usr/sbin/sshd -t, inspect the SSH service and firewall, and confirm the assigned network settings. - From a terminal on your own computer, test the VPS’s actual SSH port and attempt a fresh login:
Rescue mode gives you full control to recover your server. You can fix network issues and firewall rules, restore SSH access, and check essential system settings.