

Upload your own ISO
Use a custom ISO to install an operating system manually or boot a recovery environment.- Open the VPS Management Portal.
- Open Services → My Services, then select your VPS.
- On Server Information, click Upload ISO in Server management. The dialog is titled Download ISO.
Option 1: download from a URL
Select HTTP Upload, enter a direct HTTP or HTTPS URL to the ISO file, and click Download ISO from another server. Use a link to the file itself, not a download page. Wait until the download finishes.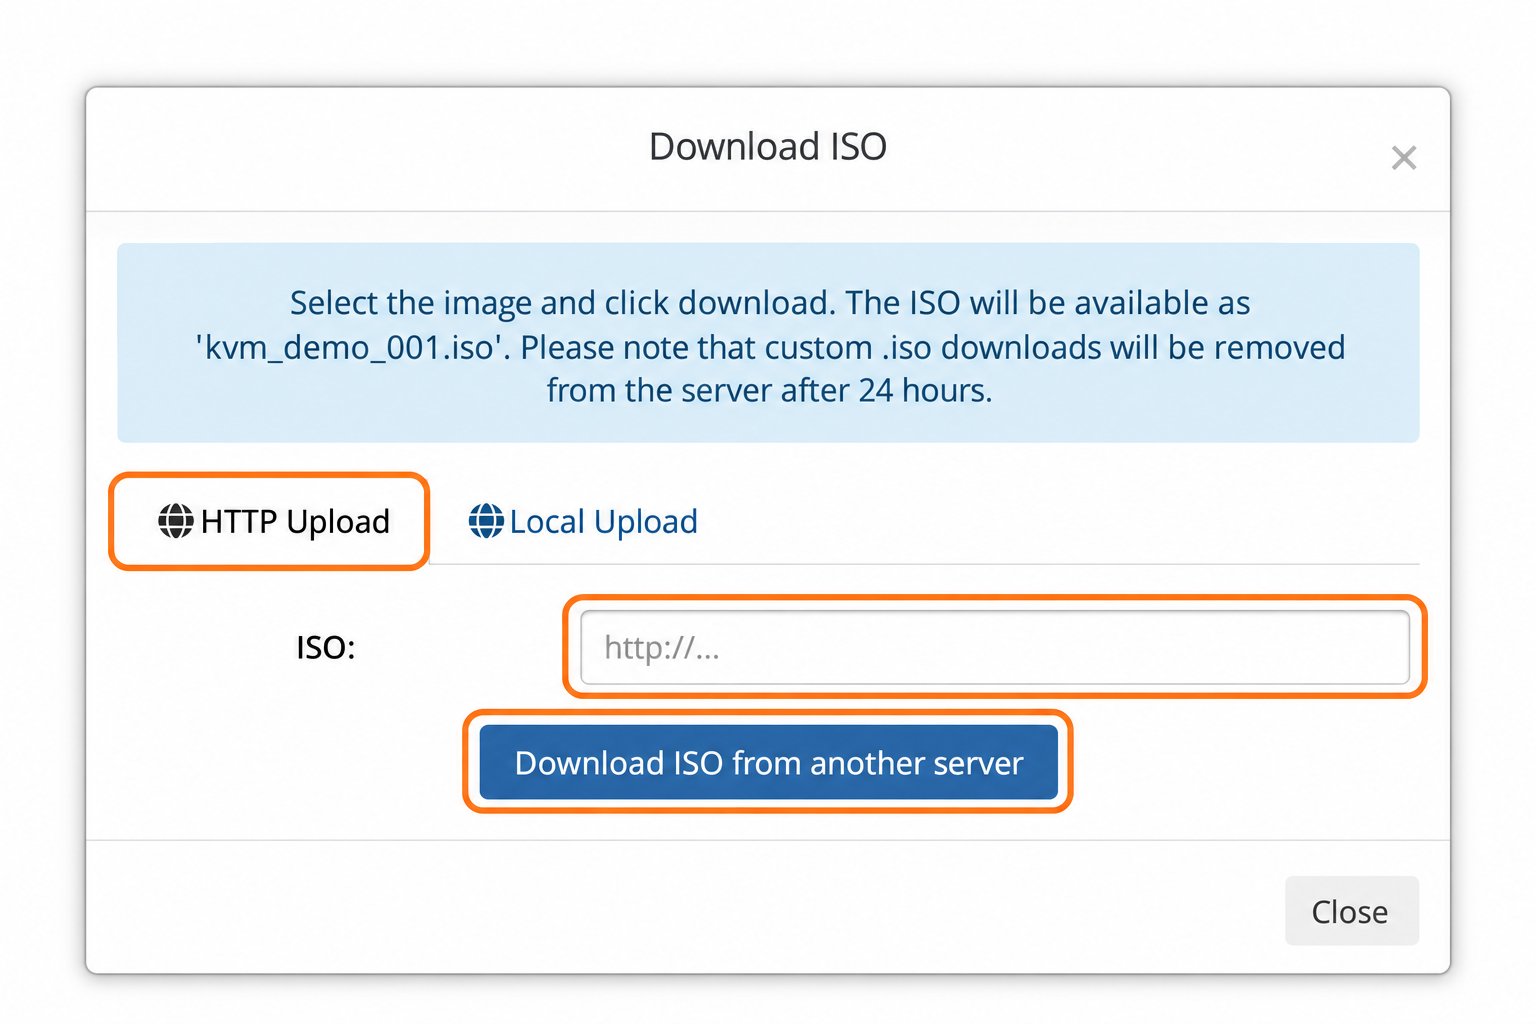
The server downloads the ISO from the URL you provide.
Option 2: upload from your computer
Select Local Upload, click Choose file, and select the.iso file on your computer. Then click Upload ISO and wait for the transfer to finish. The button remains disabled until you select a file.
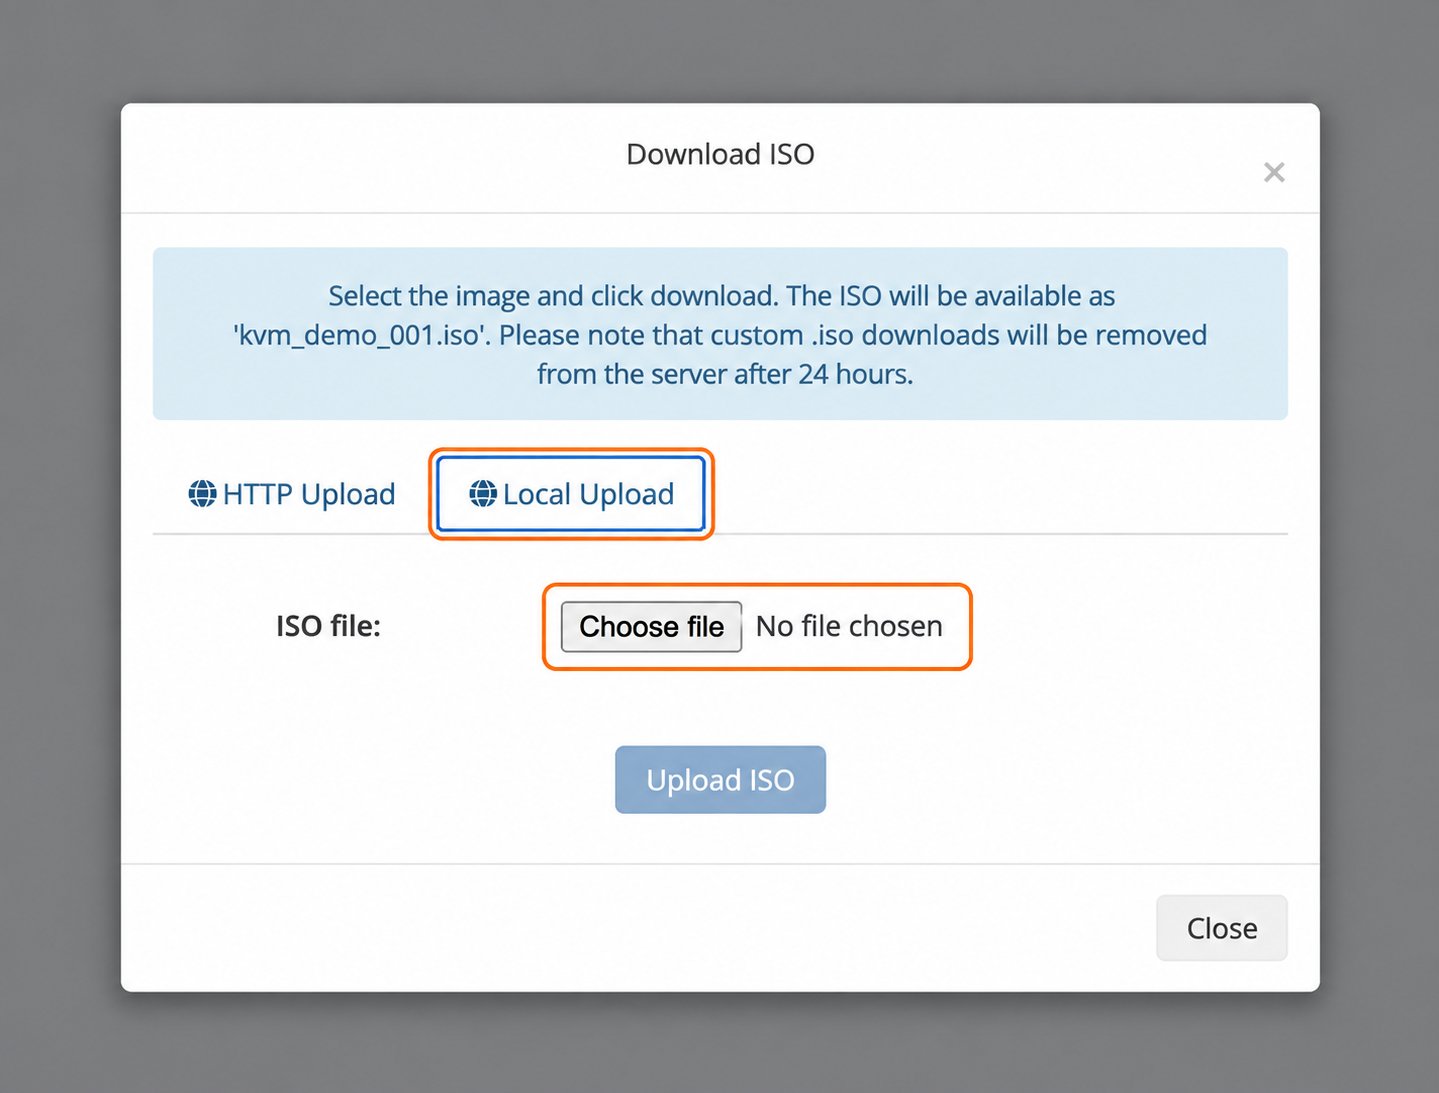
Choose an ISO file to enable Upload ISO.
Mount and boot the uploaded image
After the transfer completes, close this dialog and open Mount ISO. Select the custom ISO filename shown for your VPS, then follow the mount and boot instructions. Use VNC / Open Console to work through the installer. Uploading or attaching an ISO does not install an operating system by itself. An installer can erase the VPS disk when you select its installation or partitioning actions, so back up any data you want to keep first.A custom ISO is available for 24 hours and is then removed. The portal assigns it a filename based on your VPS ID; it may differ from the original filename on your computer.