

Configure PTR records (reverse DNS)
A PTR record maps an IP address to a hostname. You can manage IPv4 and IPv6 PTR records for your VPS directly in the portal.Open Reverse DNS
- Log in to the VPS Management Portal.
- Open Services → My Services and select your VPS.
- On Server Information, click Reverse DNS in the Server management panel.
Set or change an IPv4 PTR
Find the IPv4 address in the dialog, enter your fully qualified hostname (for example,vps4.example.com), and click set beside that row. To remove a custom record, click unset on the same row.
Add an IPv6 PTR
The last row shows your allocated IPv6 prefix followed by two input fields:- Enter the remaining part of the IPv6 address in the first field.
- Enter the hostname in the second field.
- Click add. The saved address appears as its own row, where set updates it and unset removes it.
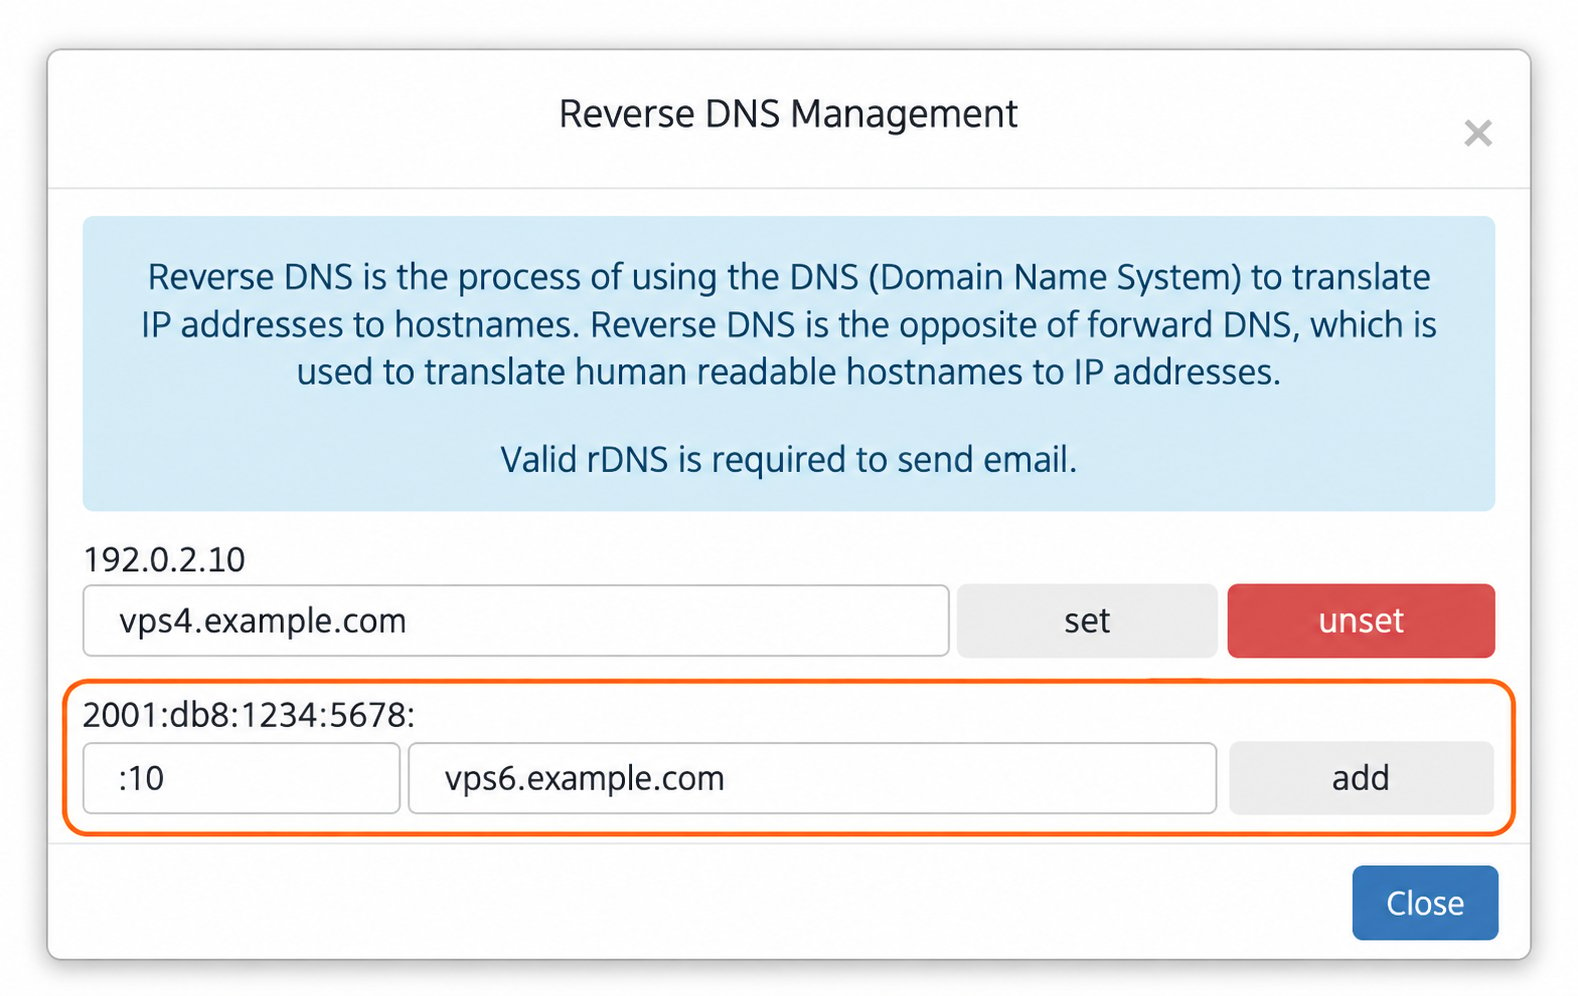
Example addresses and hostnames. Use your own allocated prefix and hostname.
These addresses and example.com hostnames are for documentation. Use an address allocated to your VPS and a hostname under a domain you control. Adding a PTR does not configure the address inside your operating system or create a forward DNS record. For matching forward and reverse DNS, configure the hostname’s A record (IPv4) or AAAA record (IPv6) with your domain’s DNS provider.
Verify the PTR from a terminal
Runhost on a Linux or macOS machine, or in a remote shell such as a Termius session. Replace the example address with your VPS address:
domain name pointer vps6.example.com. (or the hostname you configured). The long name ending in ip6.arpa is the reverse-DNS form of the IPv6 address.
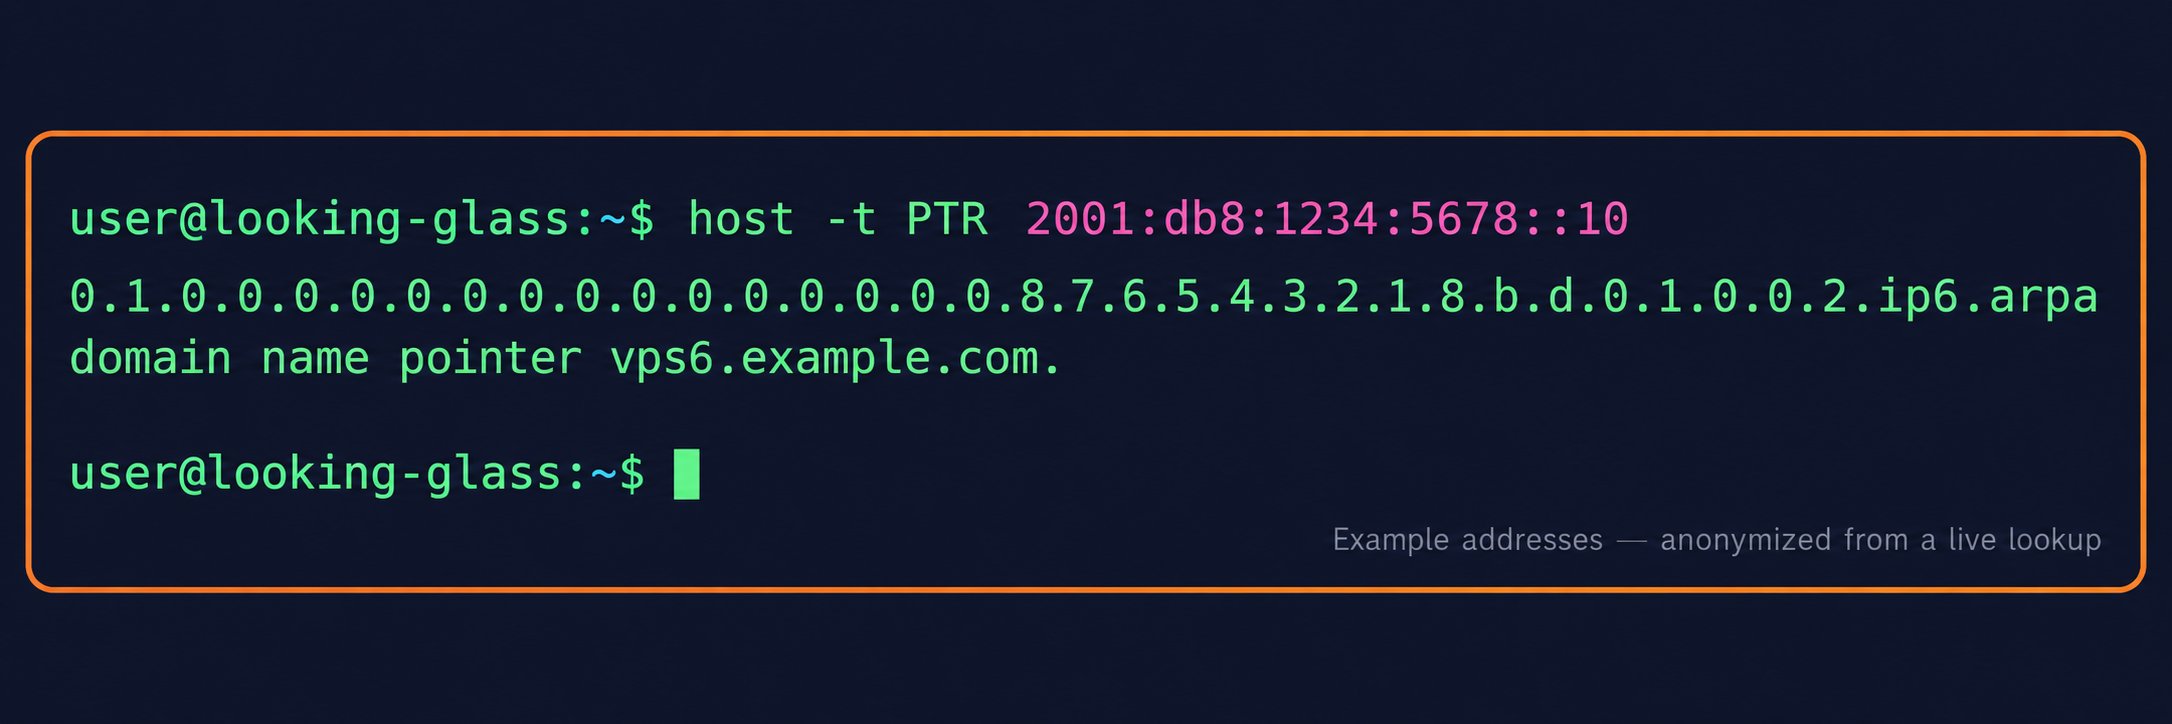
Anonymized from a successful live IPv6 lookup.
NXDOMAIN immediately after saving, allow time for the DNS update and cached answers to expire, then repeat the lookup. Check the exact address and the saved portal row as well. To compare with another resolver: