Manual IP change instructions
Learn how to update your IP address without server reinstallation. Follow these step-by-step instructions to manually configure the network settings in Ubuntu.Access portal and launch VNC
1
Log in to your
2
Enable your VNC server
Follow the instructions here
3
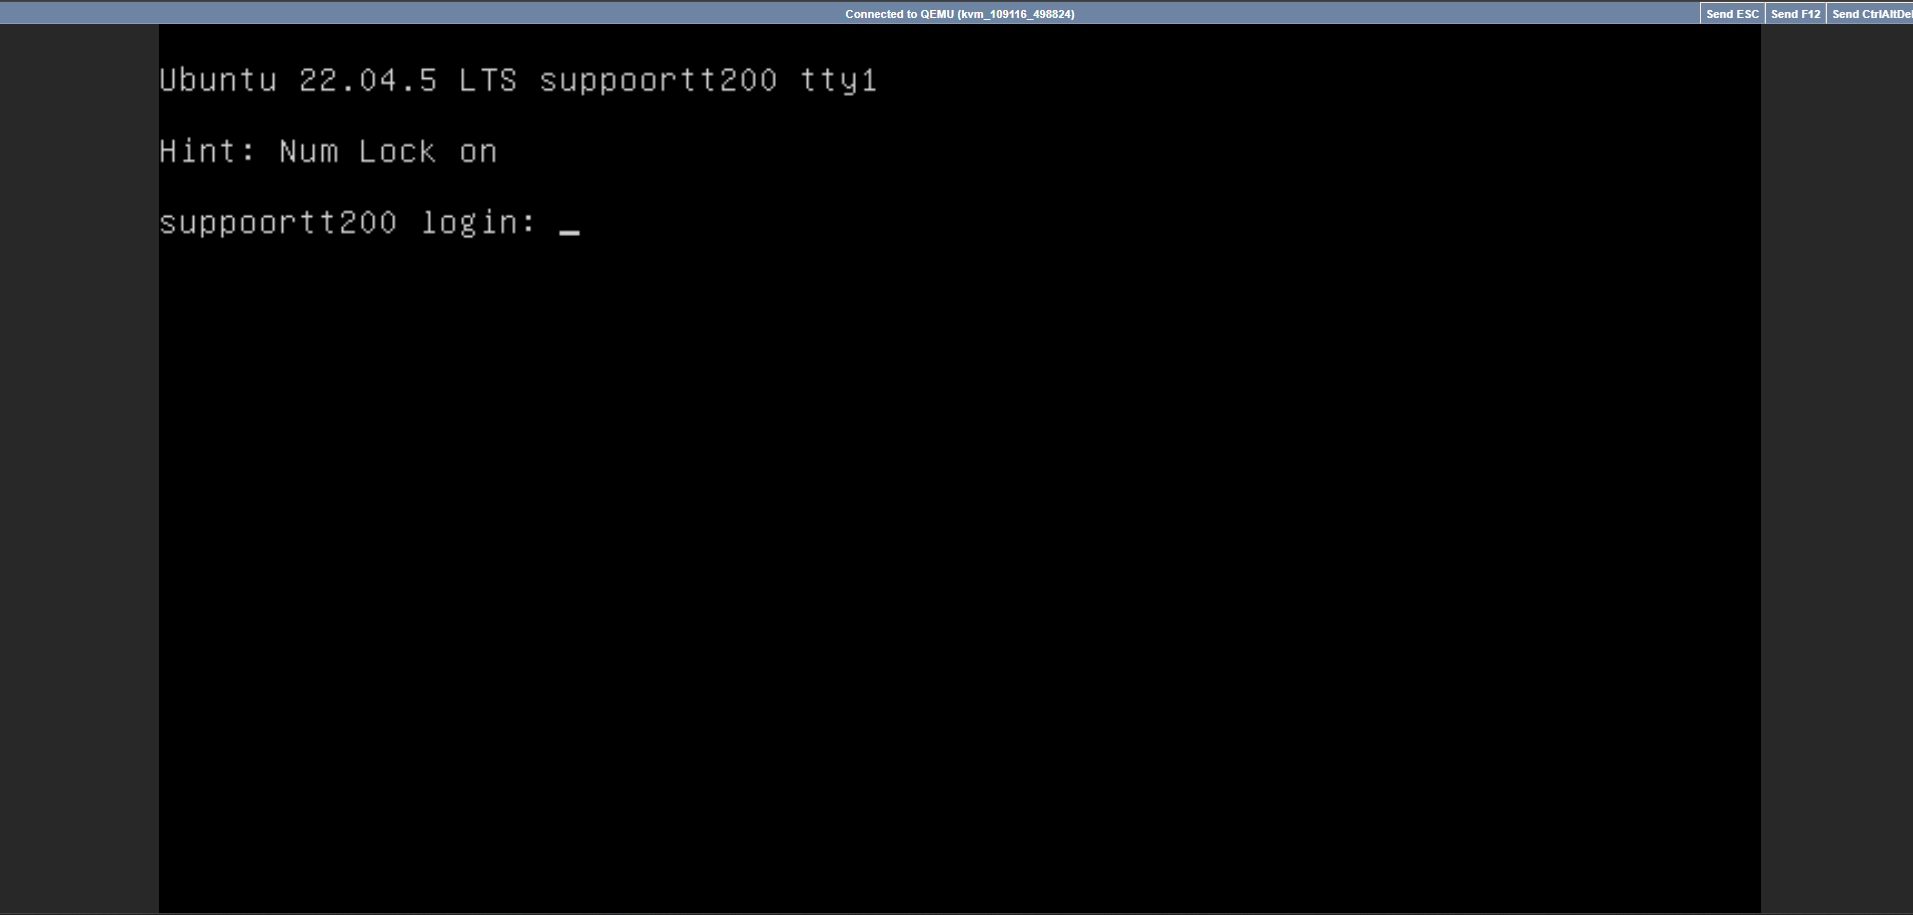
Open VNC
- Enter your username and password on the Ubuntu login page.
-
The interface will look like the image below:
Identify your network interface
- Open Terminal in the VNC session.
- Execute either of these commands to find your network interface name:
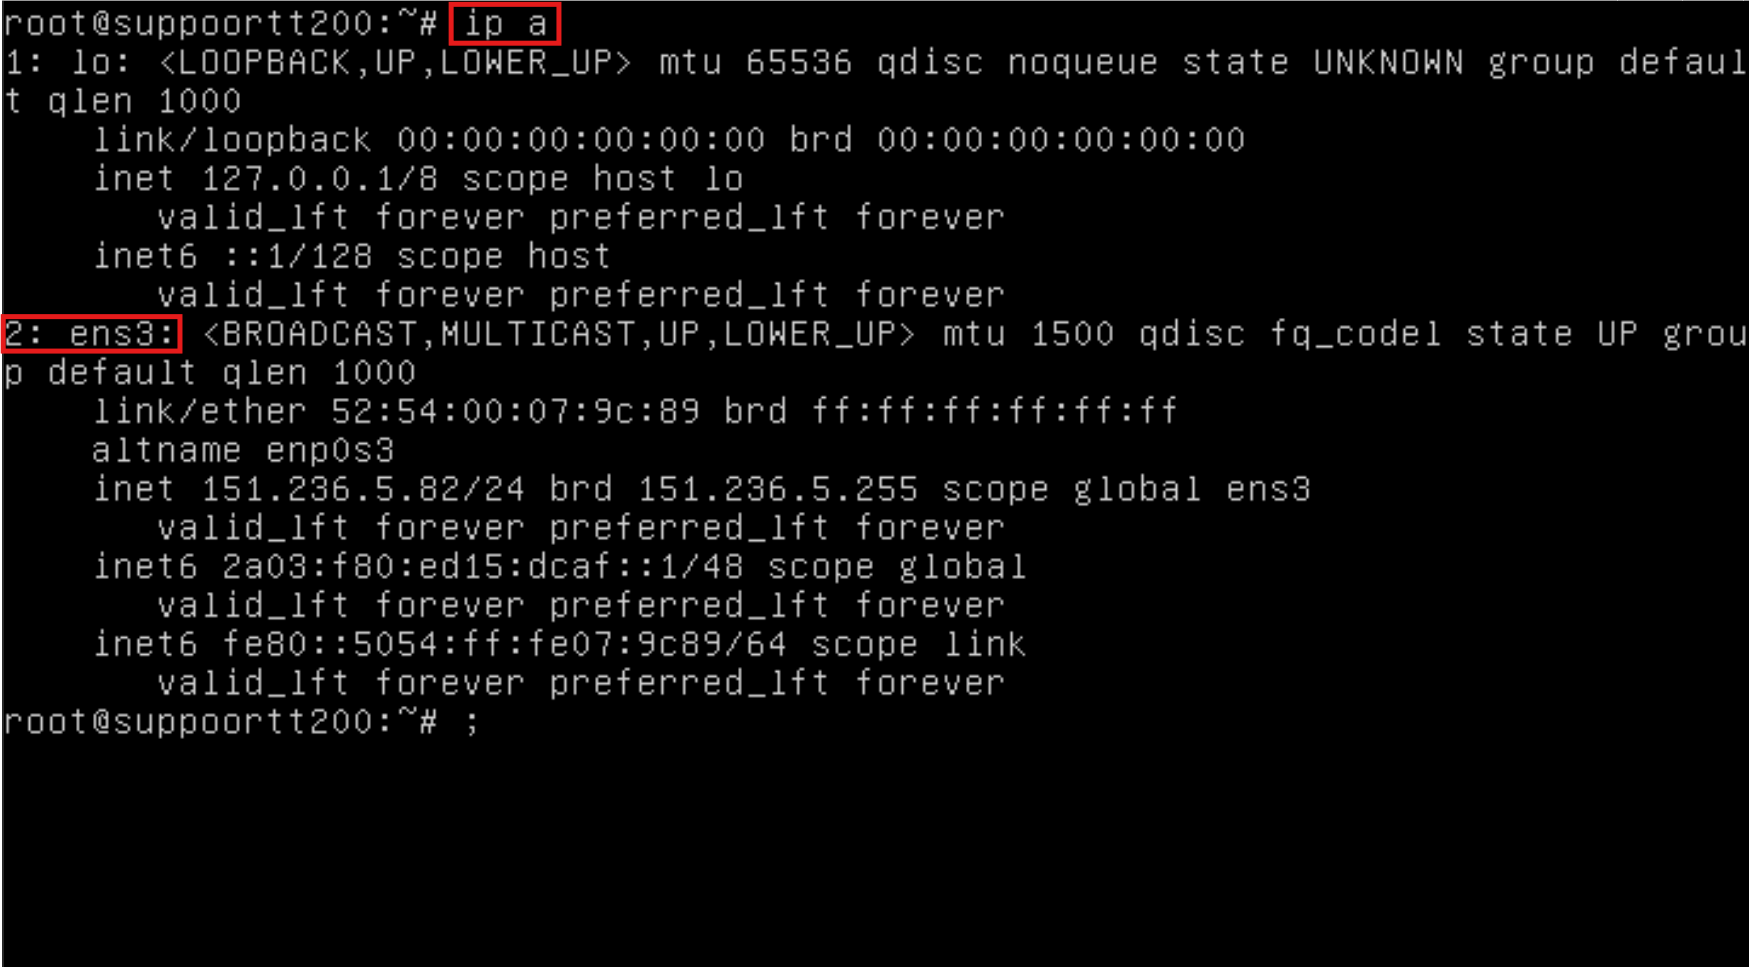
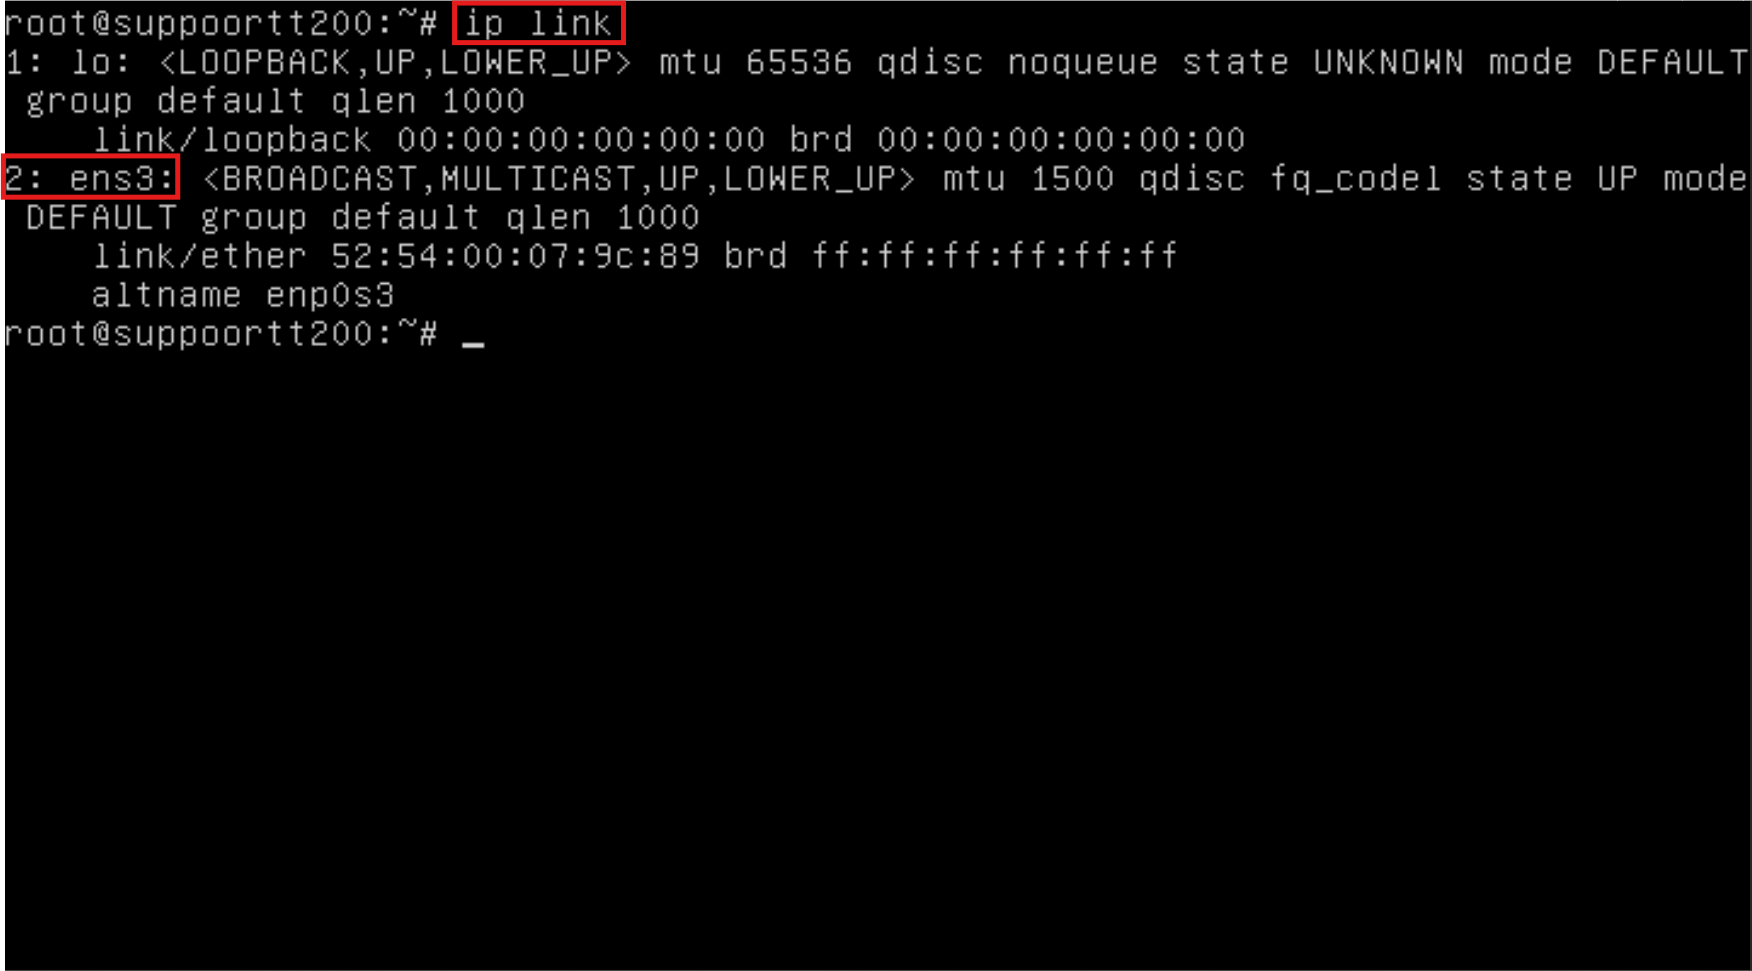
ens3 or eth0).
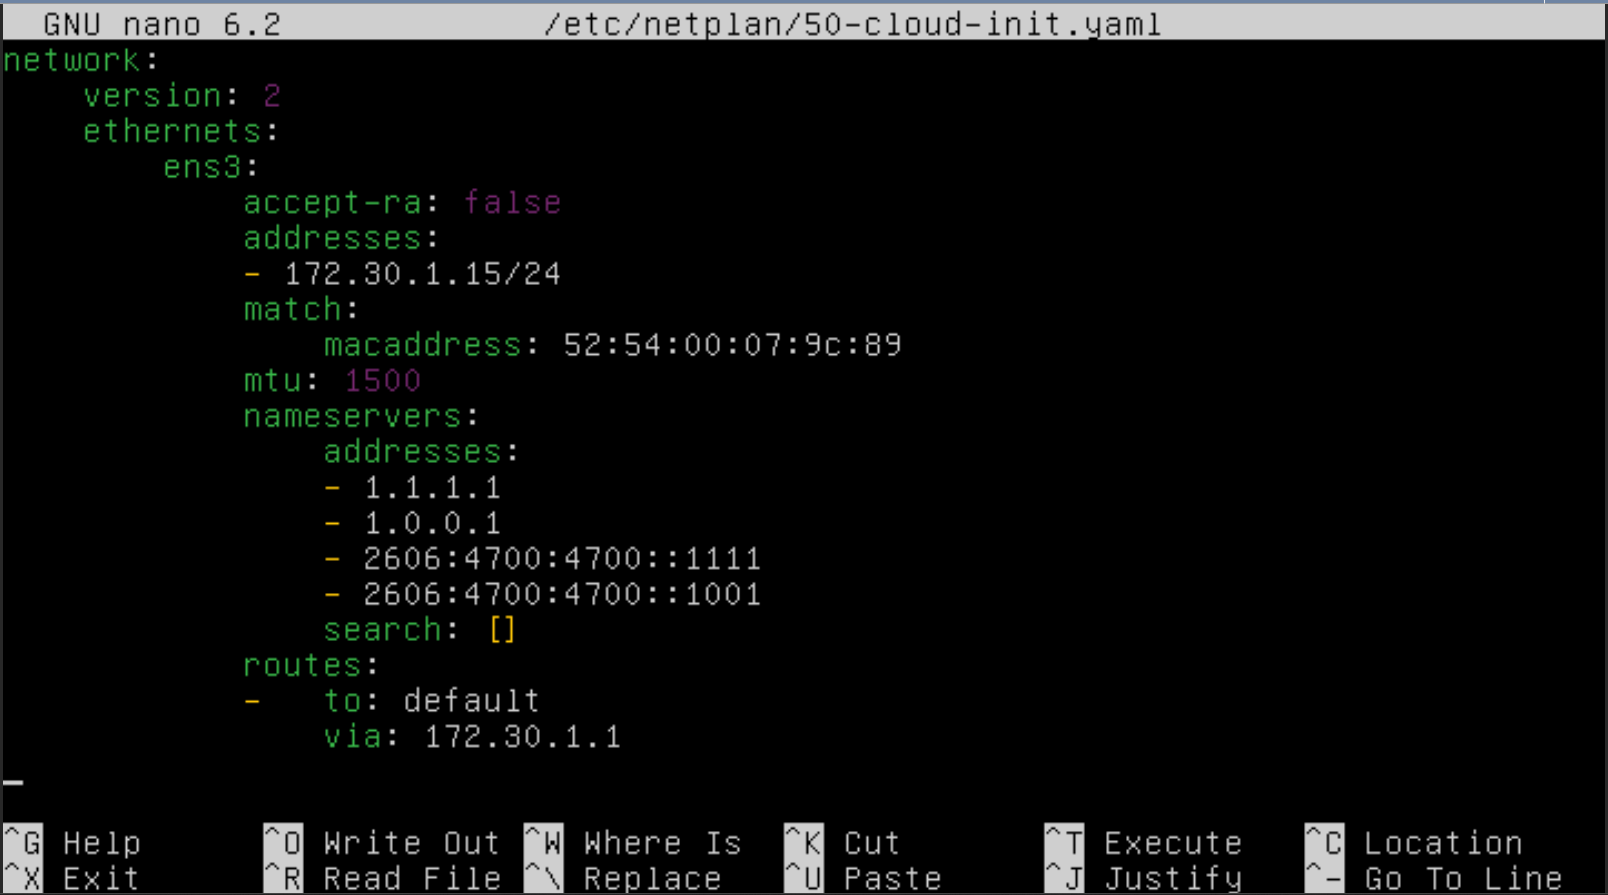
Edit the netplan configuration file
Navigate to the Netplan directory:50-cloud-init.yaml):
01-network-manager-all.yaml). Make sure to edit the correct file for your installation.
Change the IP address
- Locate the current IP address line and replace it with your new IP address (e.g.,
172.16.30.15). - Update the Gateway address in the routes section to match your new network configuration.
Configure multiple IPs (optional)
To add multiple IP addresses, use this format in your configuration: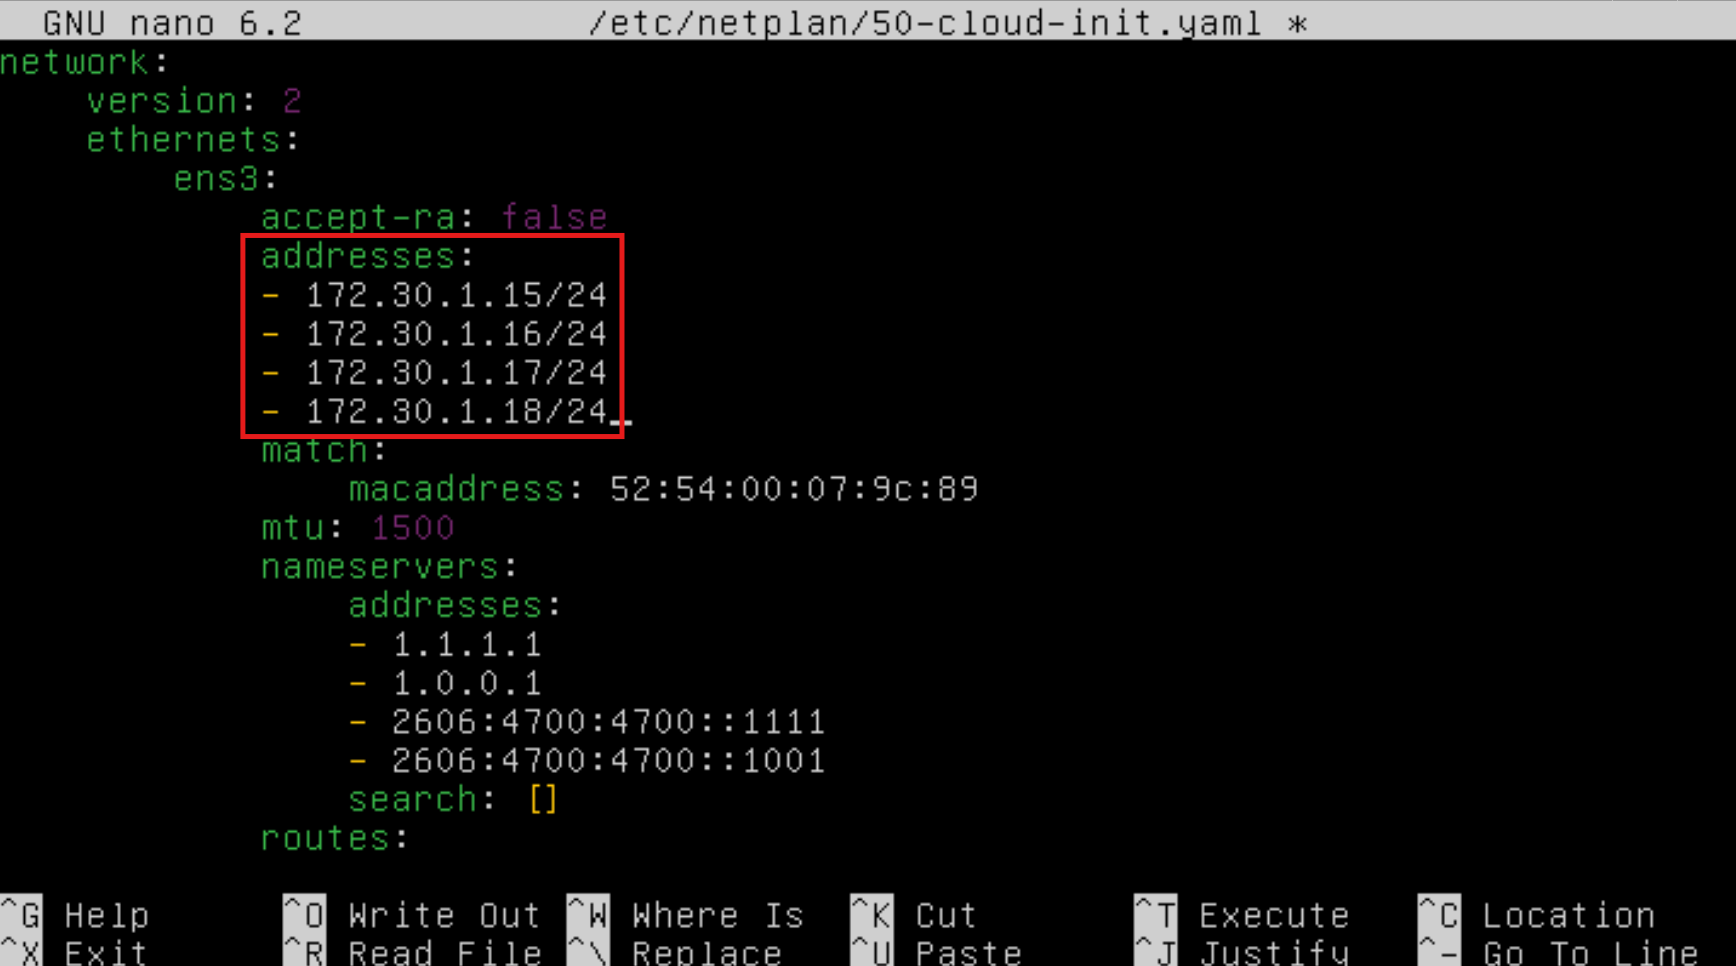
Save Configuration
- Press
CTRL + Xto exit the editor - Press
Yto confirm your changes - Press
Enterto save the file
Apply network changes
Execute the following command to apply your new network configuration:Verify Configuration
Check your new IP configuration using either command:ens3 with your actual network interface name)