Hiddify client for Windows
To connect to 3X-UI using the Hiddify client from your PC, follow these steps:-
Download the Hiddify release with the
Latesttag and install the package or file for your operating system. - Run the installer and complete the setup.
-
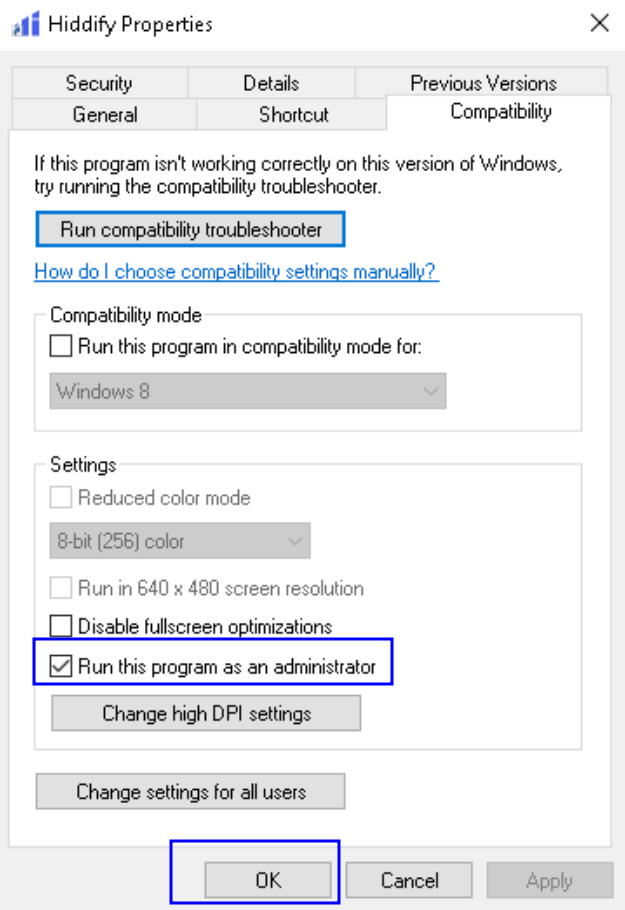
After installing Hiddify, go to its install folder (usually C:\Program Files\Hiddify\ ), right-click on Hiddify.exe and choose Properties, then open the Compatibility tab in the window that appears.
Check the box Run this program as administrator, and click OK.
-
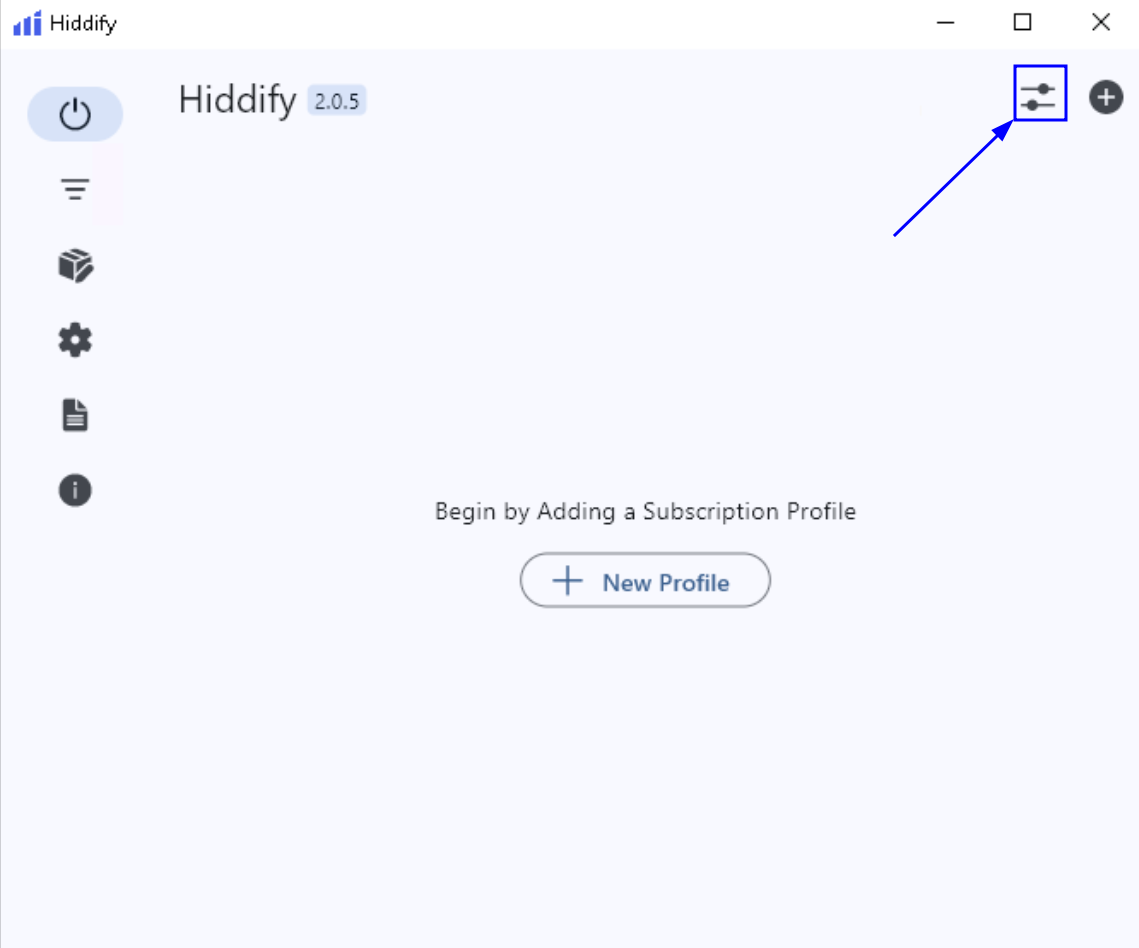
On the main screen, click the settings icon in the top-right corner:
-
On the settings panel that opens, select the VPN setting:

-
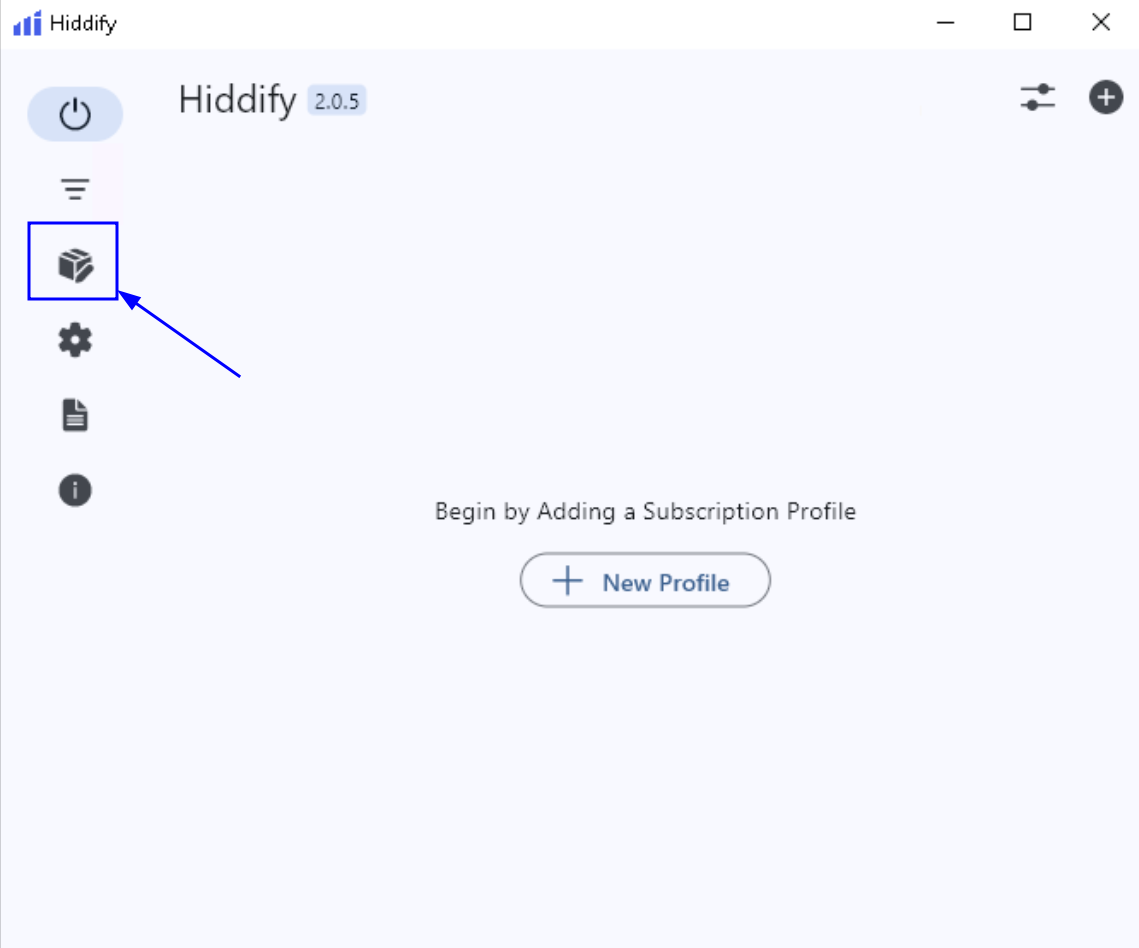
Follow to the main Hiddify screen, click the Profiles icon on the left sidebar to open the profile management section:
-
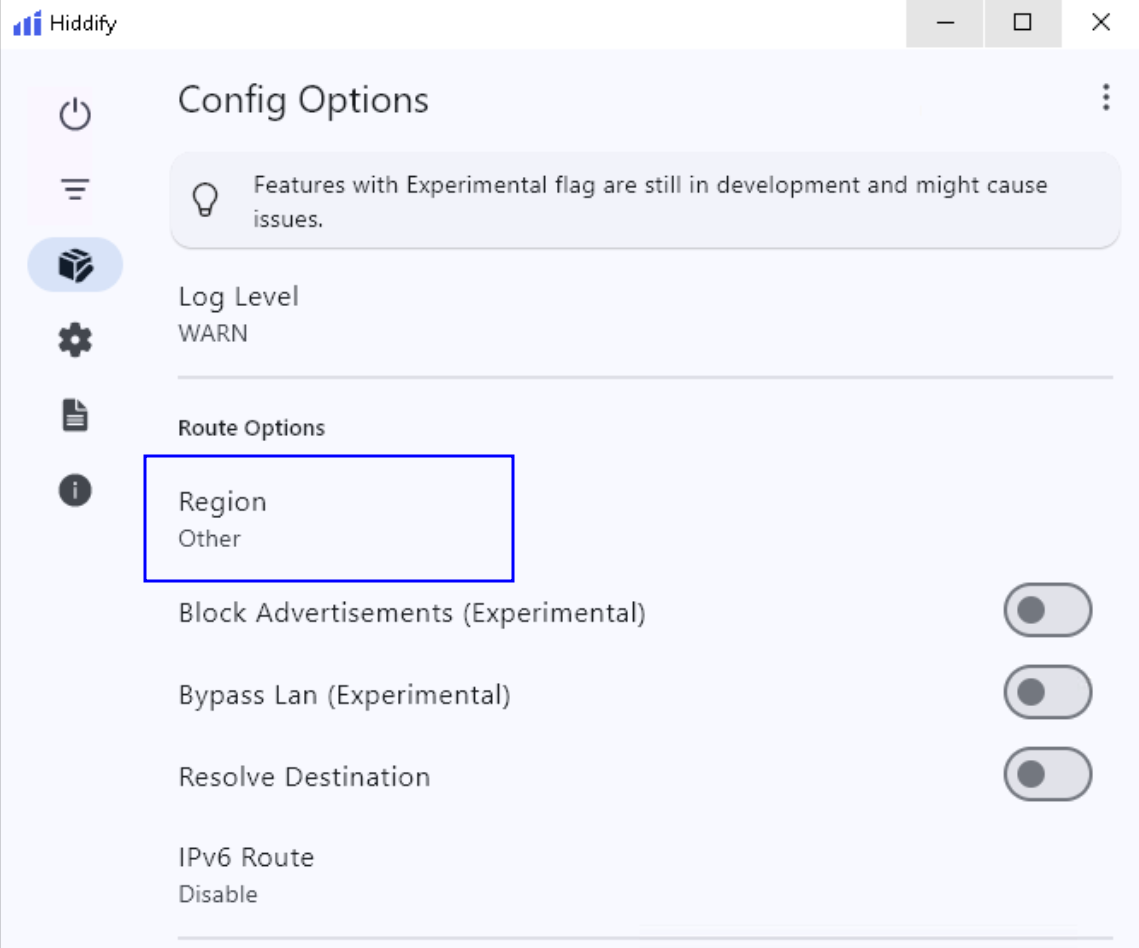
In the Config Options, find the Region setting under Route Options and click it. Make sure the region is set to Other (as shown in the screenshot).
-
Follow to the main Hiddify screen, click New Profile button:
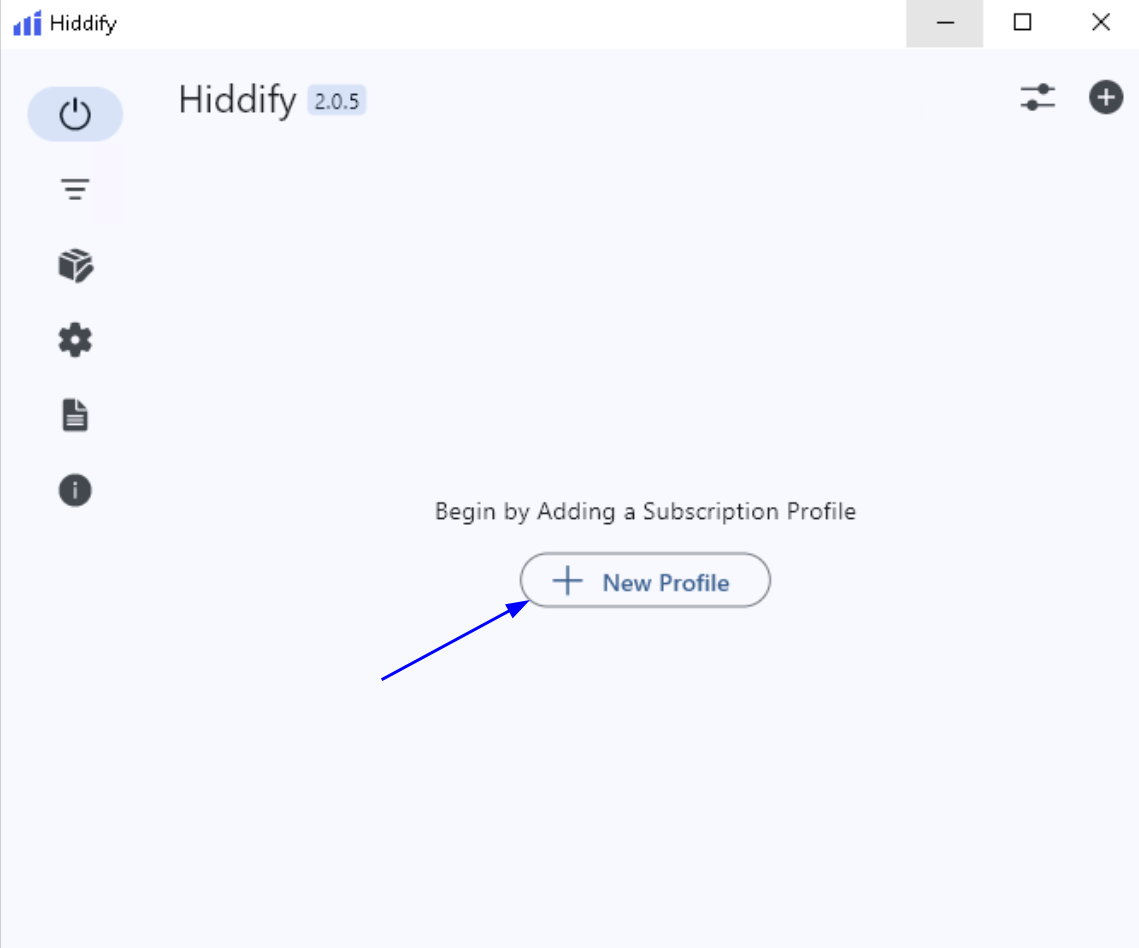
-
In the pop-up window, click Add From Clipboard to automatically create a profile from the VLESS/subscription link you previously copied by clicking the QR code in the 3x-ui panel.
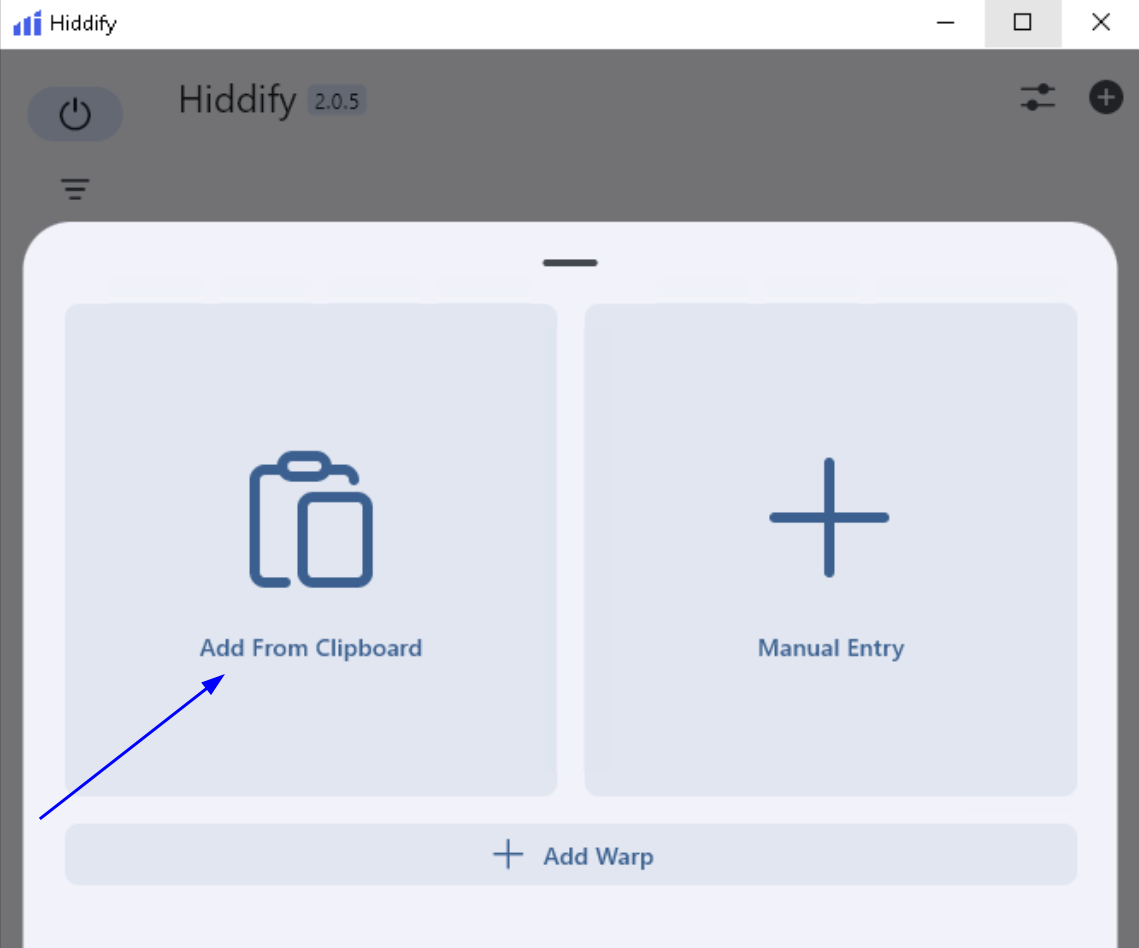
-
At the top of the window, you should see the name of your VPN profile if the configuration was imported correctly. To connect to the VPN and check connection, just click to Tap to Connect button:
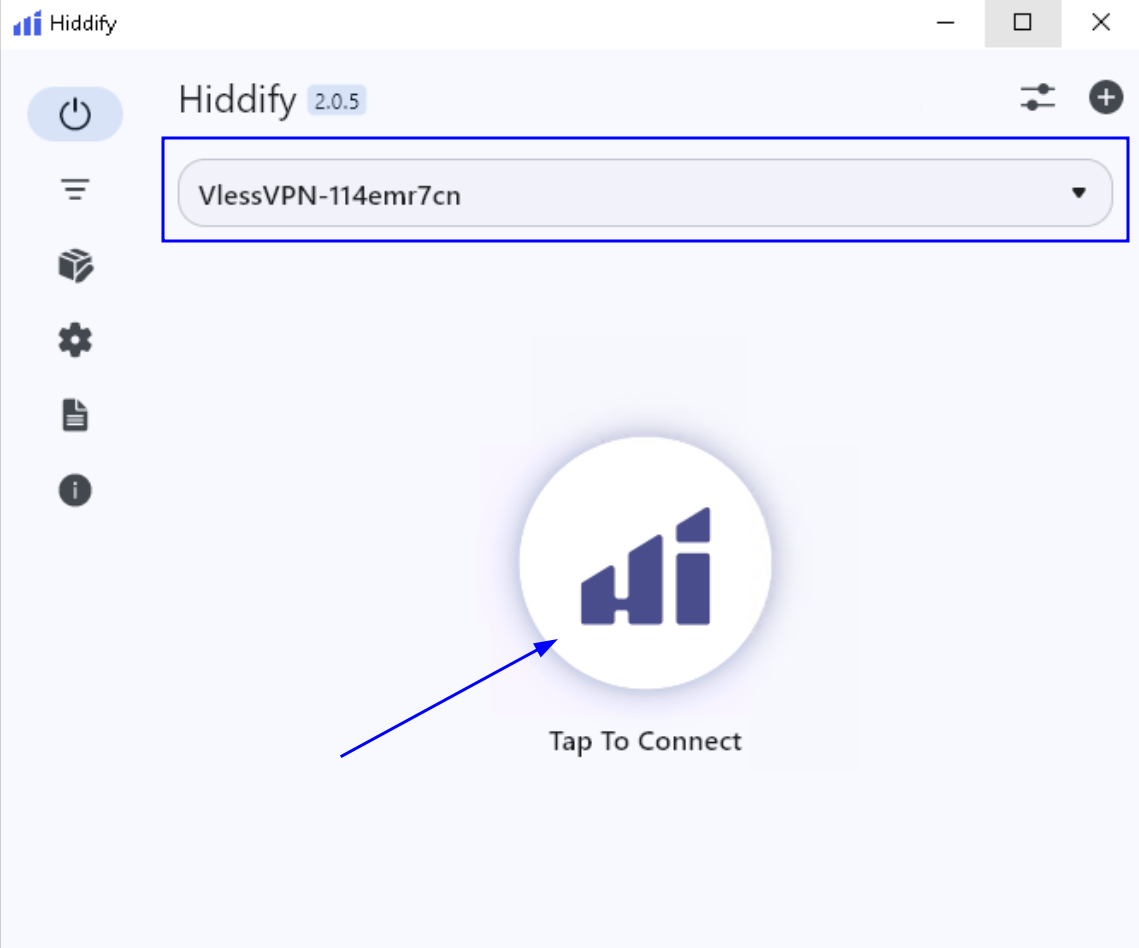
-
On your first connection, Hiddify will show an “Experimental Features In Use” pop-up. Check Don’t Show Again if you like, then click CONNECT to continue.
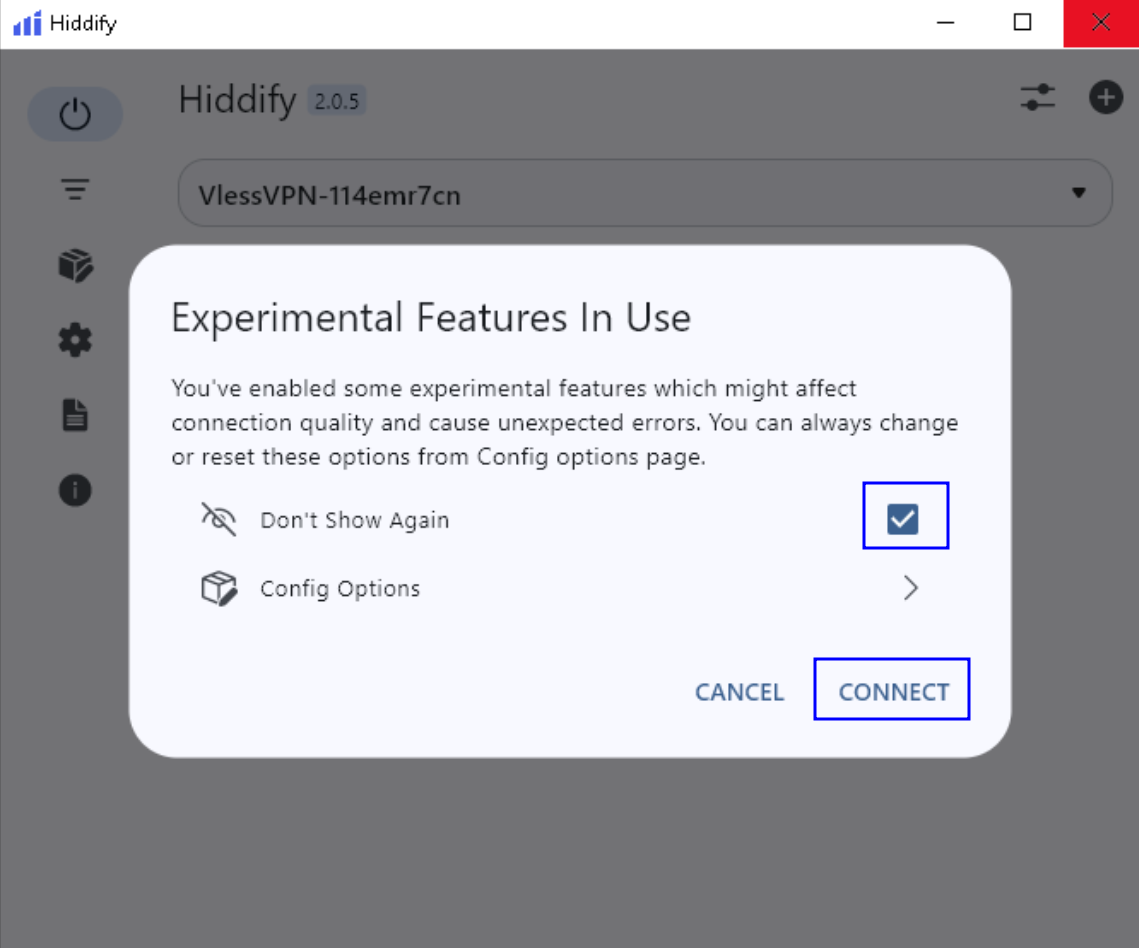
-
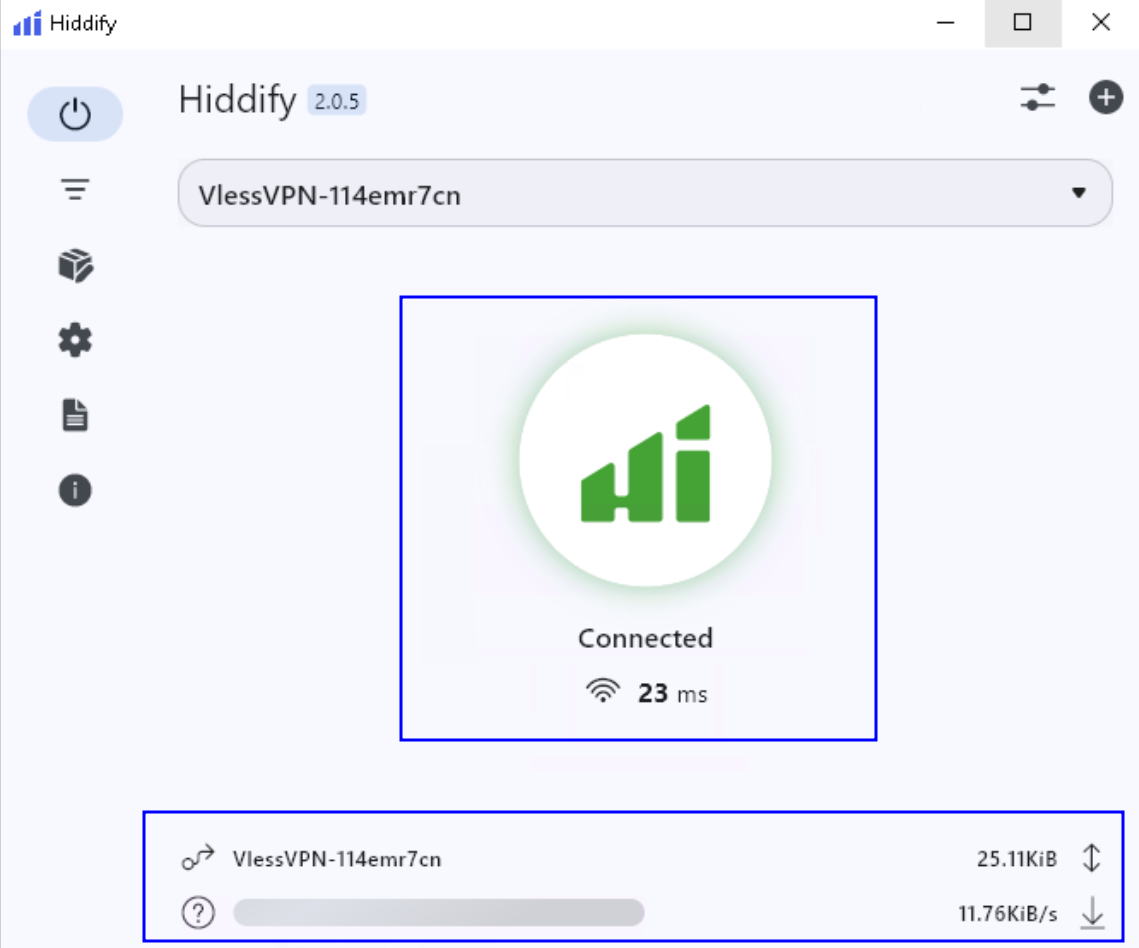
Once the button turns green🟢 and shows Connected ✅, your VPN is successfully established🌐. You’ll also see live upload⬇️/download↕️ numbers at the bottom, confirming that your traffic is now going through the VPN.
- Official documentation for Hiddify: