Install FTP for easy file uploads and downloads
Setting up an FTP (File Transfer Protocol) server on Windows Server allows you to easily upload and download your files from your server. This guide will walk you through the steps to enable and configure an FTP server using the built-in IIS (Internet Information Services) feature on Windows Server.
Prerequisites:
- Windows Server version (2019, 2022, 2025, or later) (180-days trial).
- Administrative privileges.
Installation of FTP server
To begin, you’ll need to install the FTP server role and components through the Server Manager.
Open Server Manager from the Start menu.
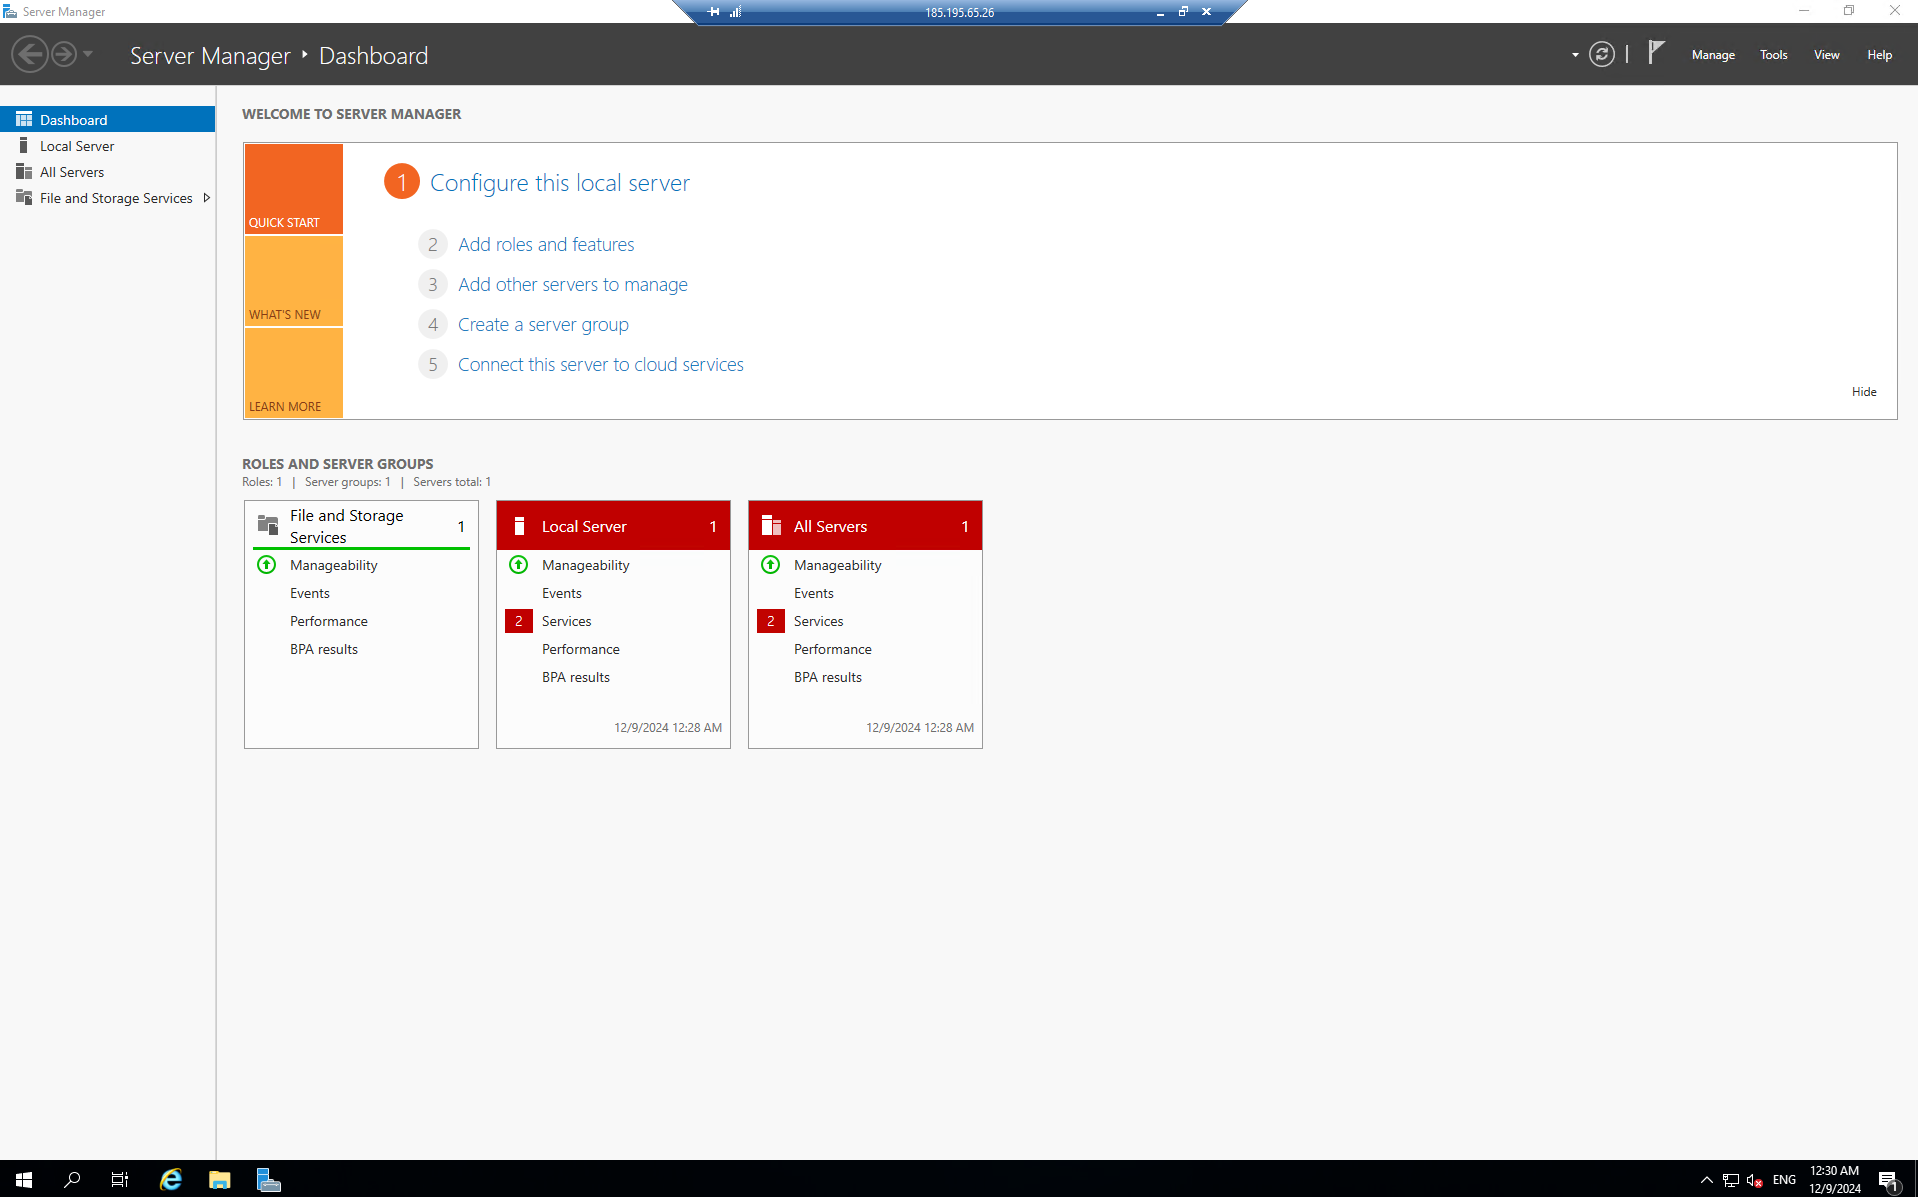 In the Manage menu, click Add Roles and Features.
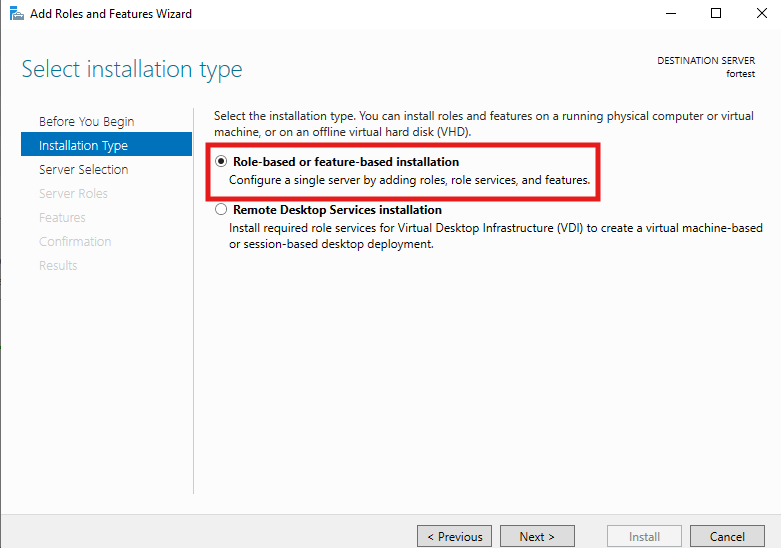
 Navigate to the Role-based or feature-based installation and select your server.
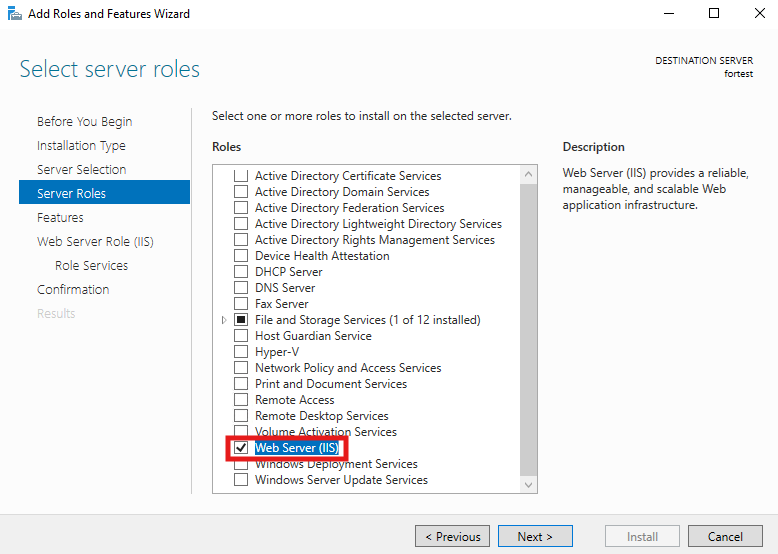
 In the Roles section, find and expand Web Server (IIS).
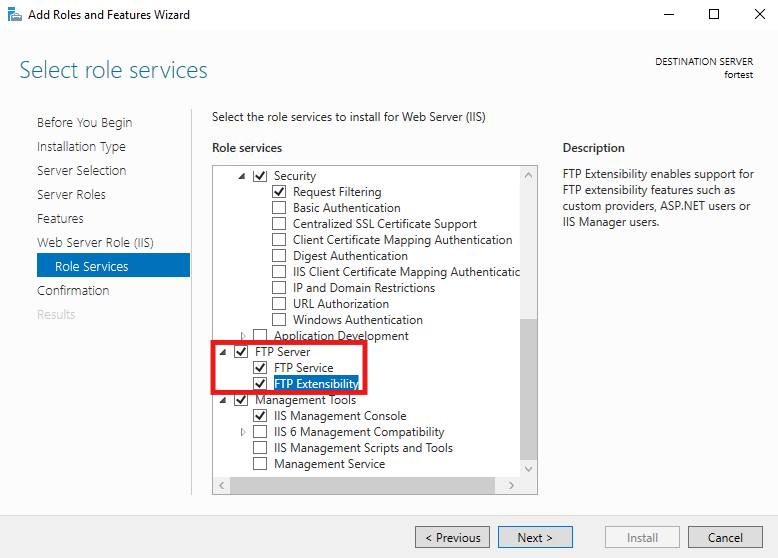
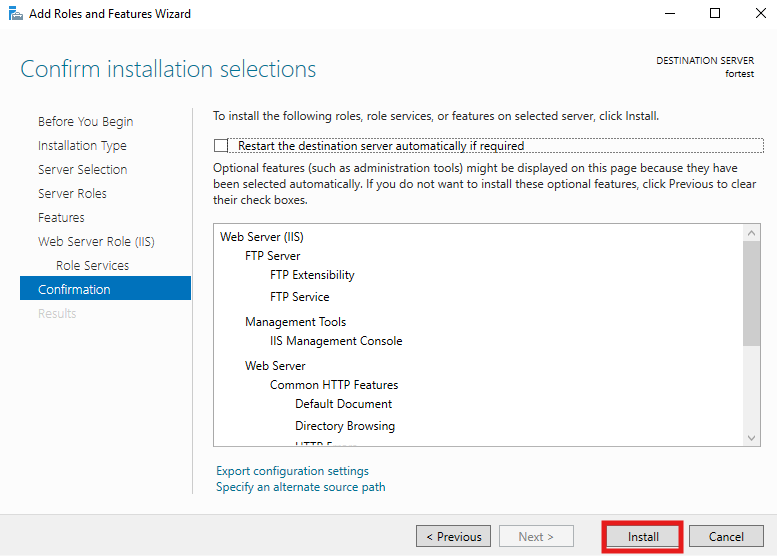
 In the Web server role (IIS) section and Role Services, ensure FTP Service and FTP Extensibility are selected.
 Click Next and then Install.
Configuration of FTP server
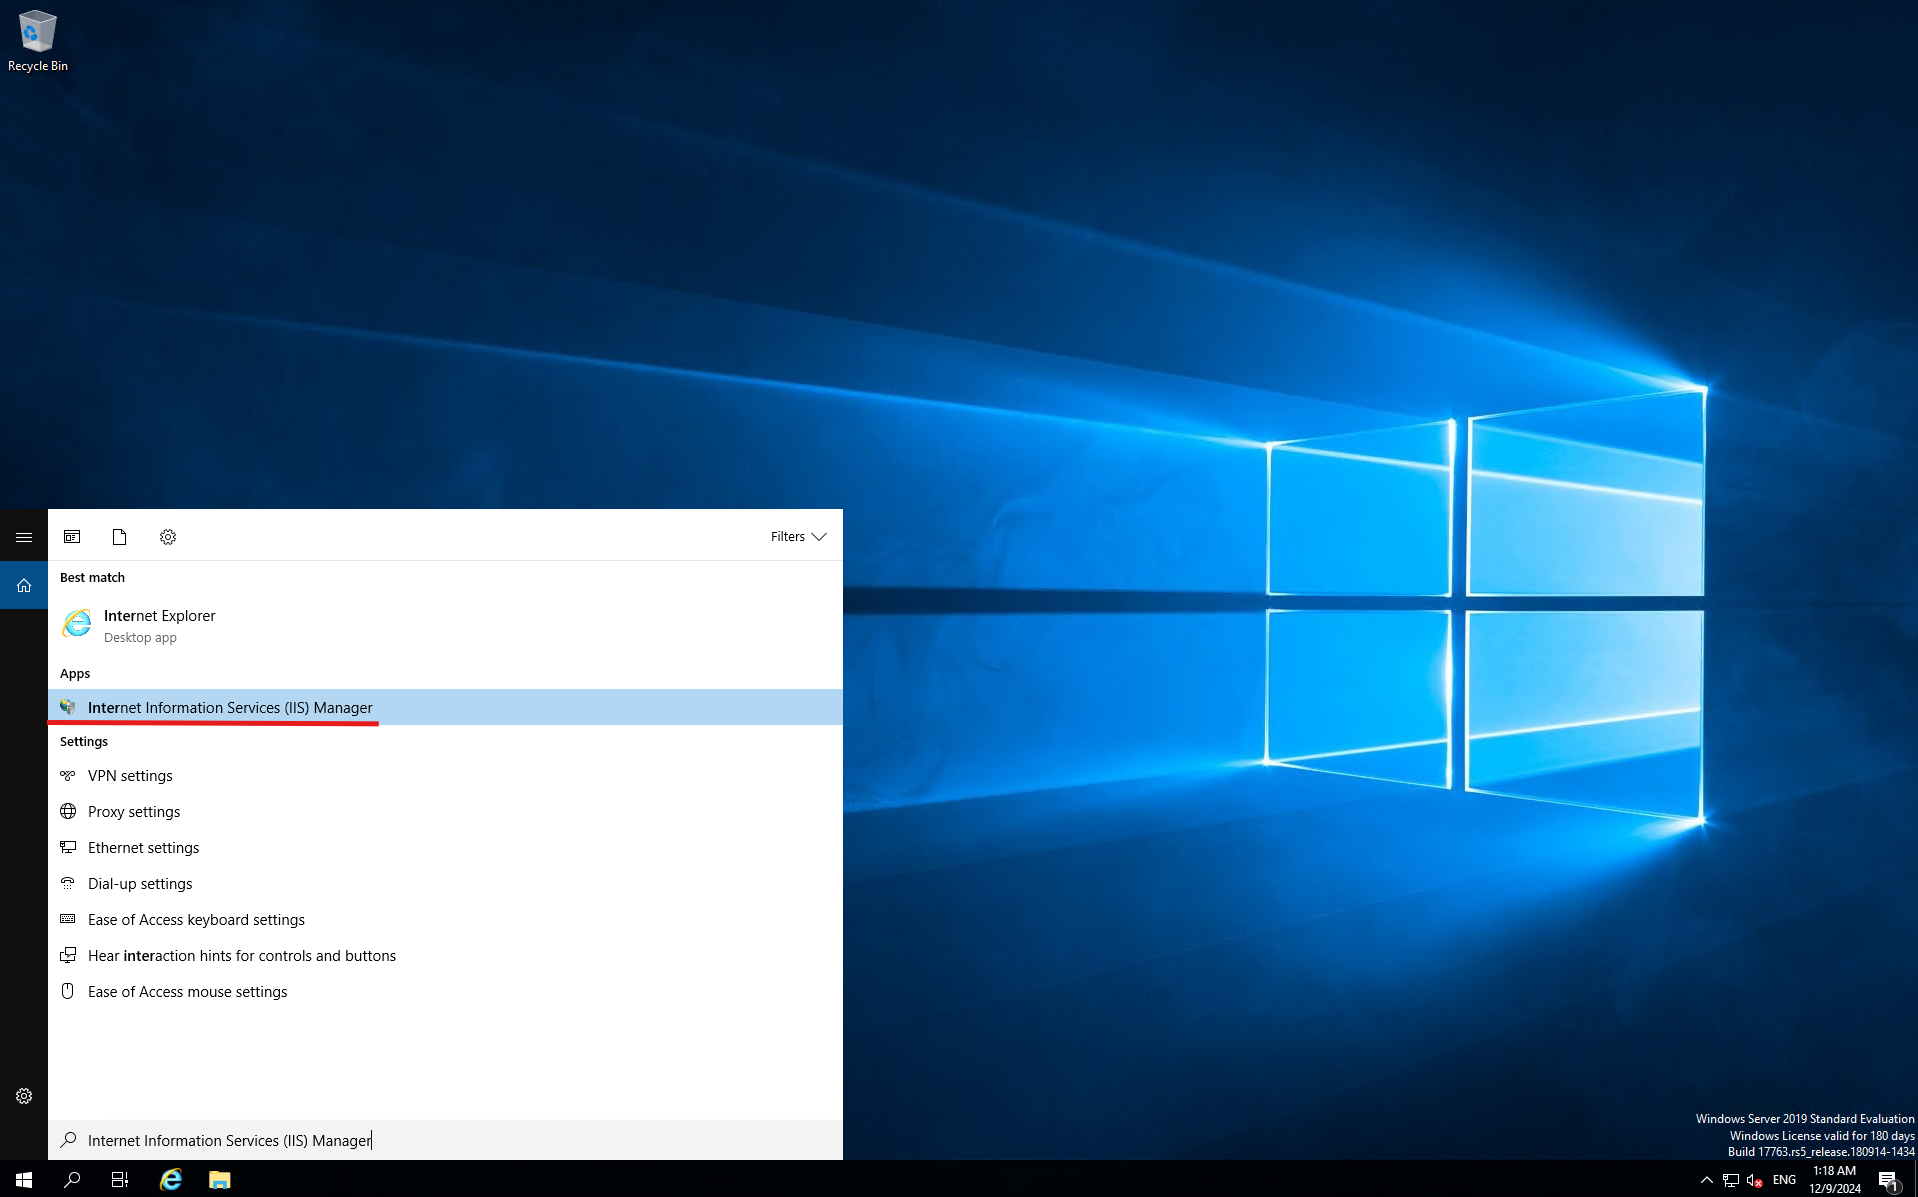
Open Internet Information Services (IIS) Manager by typing “IIS” in the Start menu.
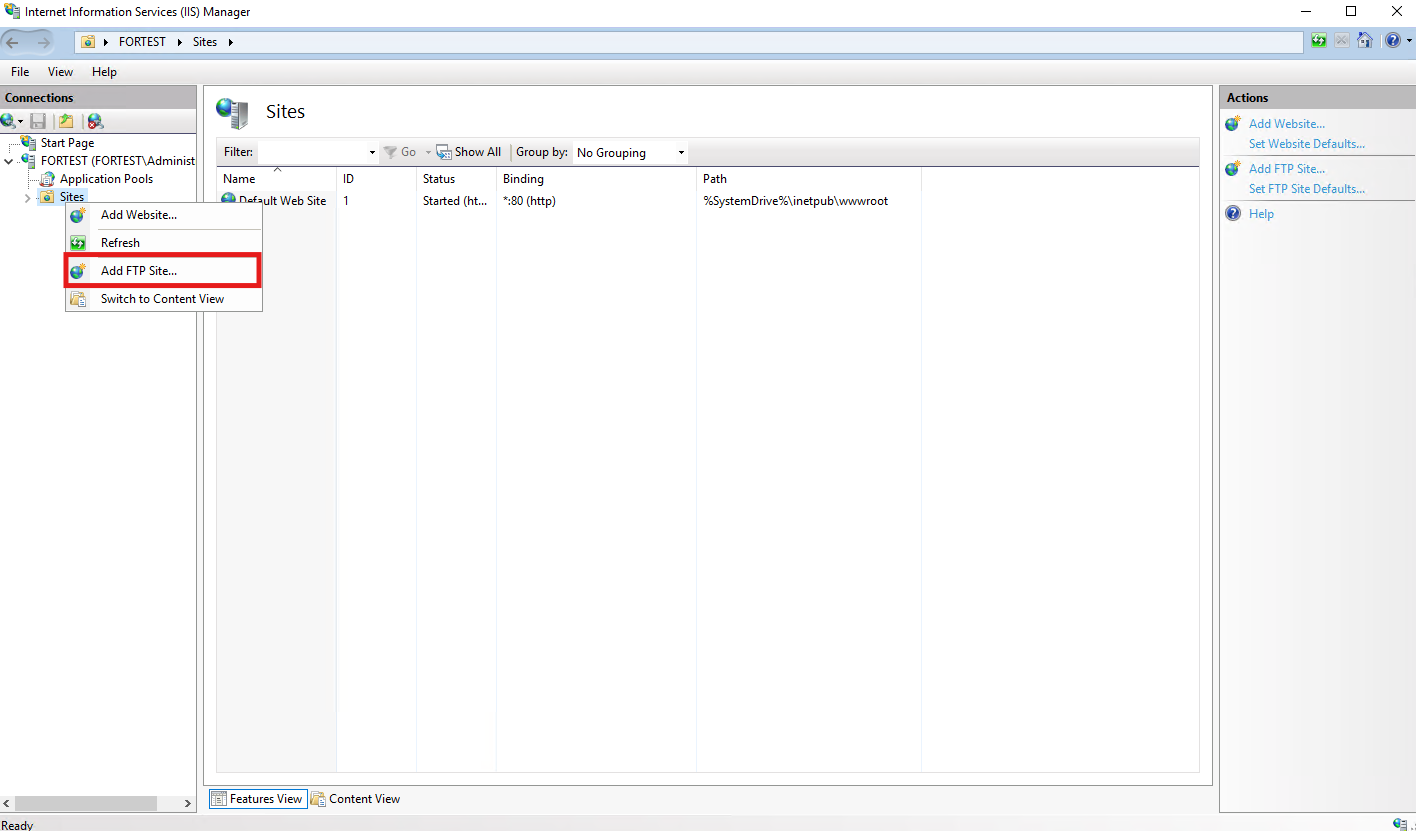
 In the left panel, expand the server node, and right-click on Sites. Select Add FTP Site.
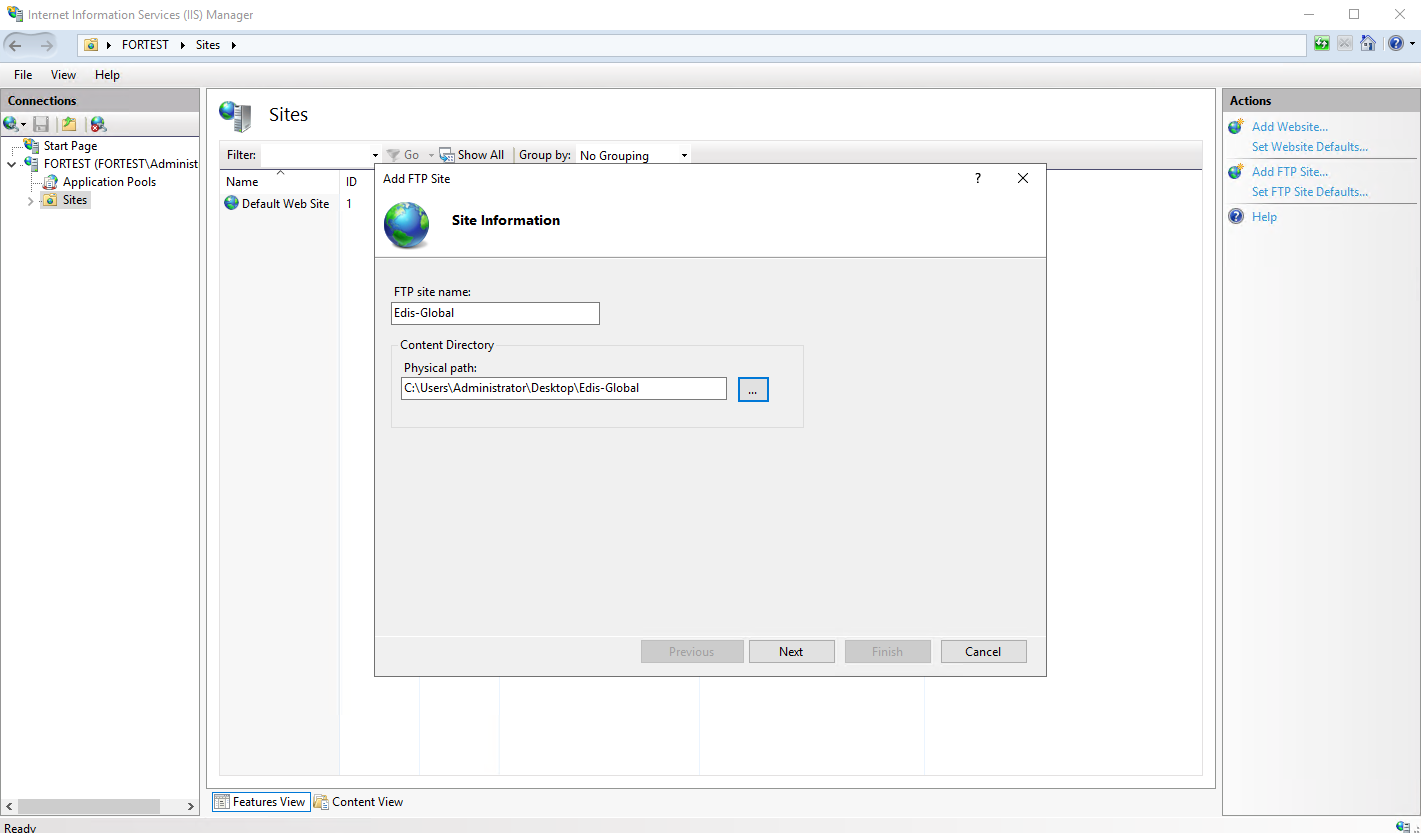
 In the FTP site name field, provide a name for your FTP site.
For the Physical path, select the folder where you want to store your files. You may create a dedicated folder for FTP.
Click Next.
In the FTP site name field, provide a name for your FTP site.
For the Physical path, select the folder where you want to store your files. You may create a dedicated folder for FTP.
Click Next.
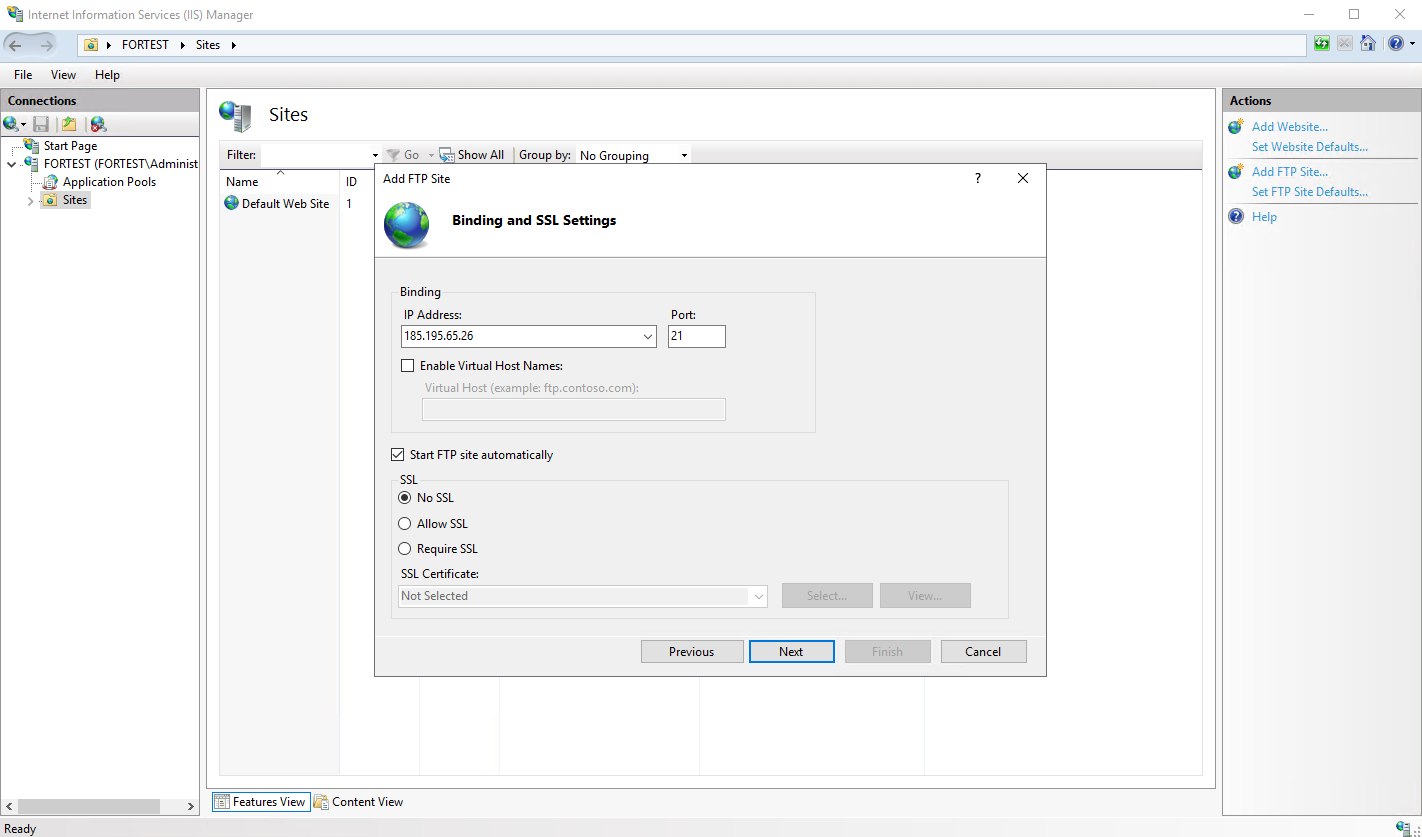
 Next, configure how users will connect to your FTP server.
Under IP address, choose the server’s IP address or select All Unassigned.
For Port, use the default FTP port (21). If you want to use a secure connection (FTPS), you can opt for port 990, but you need to configure SSL certificates.
Under SSL, you can choose between:
Next, configure how users will connect to your FTP server.
Under IP address, choose the server’s IP address or select All Unassigned.
For Port, use the default FTP port (21). If you want to use a secure connection (FTPS), you can opt for port 990, but you need to configure SSL certificates.
Under SSL, you can choose between:
- No SSL: Standard FTP (not secure).
- Allow SSL: Optionally use SSL if available.
- Require SSL: Force all connections to use SSL encryption (recommended for security).
Click Next.
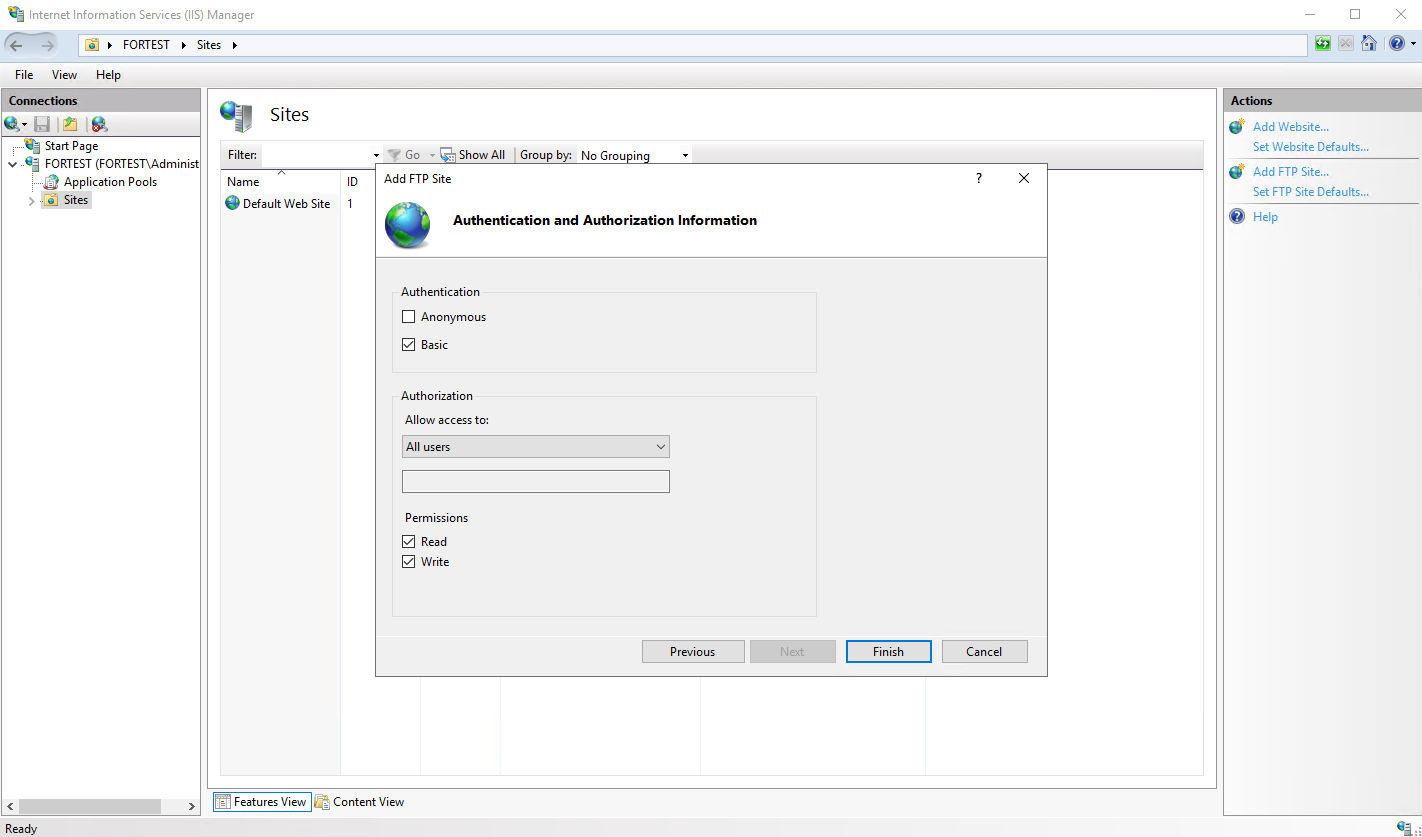
 Now, you’ll configure the authentication and access control for the FTP server.
In the Authentication section, select Basic Authentication. This requires users to enter a username and password to access the FTP site.
Under Authorization, select who can access the FTP server. You can allow access to:
Now, you’ll configure the authentication and access control for the FTP server.
In the Authentication section, select Basic Authentication. This requires users to enter a username and password to access the FTP site.
Under Authorization, select who can access the FTP server. You can allow access to:
- All users: Anyone can connect.
- Specified users: Only specific users can access.
- Anonymous users: No authentication required, which is not recommended for sensitive data.
Choose Read or Read/Write permissions, depending on whether you want users to upload files or only download them.
Click Finish.
 To ensure the server is set up correctly, test it by accessing the FTP server using an FTP client or File Explorer.
- Open File Explorer and enter the FTP address in the format ftp://<server-ip> or ftp://<hostname>.
- Enter your FTP credentials (if required) and check if you can connect and view files.
If you are accessing the FTP server remotely, ensure that the necessary firewall ports (21 for FTP and 20 for data transfer) are open.
- Go to Control Panel > Windows Defender Firewall > Advanced Settings.
- Select Inbound Rules and click New Rule.
- Choose Port, enter port 21 for FTP, and follow the prompts to allow inbound traffic.
- If using FTPS (SSL), ensure port 990 or the range of passive ports is opened.
If your FTP server will be accessed over the internet, you may need to enable Passive Mode for better connectivity through firewalls.
- In IIS Manager, select your FTP site and click on FTP Firewall Support.
- Enable Passive Mode and specify the range of ports to use for data transfer (for example, 1025-65535).
- Ensure these ports are open on your firewall.
Last modified on May 6, 2026