Disclaimer: EDIS Global does not and will not provide any support for this
setup. However we have tested it and it works 100% of the times assuming you
follow the steps in this guide. For support, follow the maintainer of this
auto installer on Github
Automated Wireguard VPN Setup
This article will guide you to use a simple interactive script that sets up a Wireguard VPN server with Adguard, Unbound and DNSCrypt-Proxy on your VPS of choice, and lets you manage the config files using a simple WebUI protected by two-factor-authentication.Features:
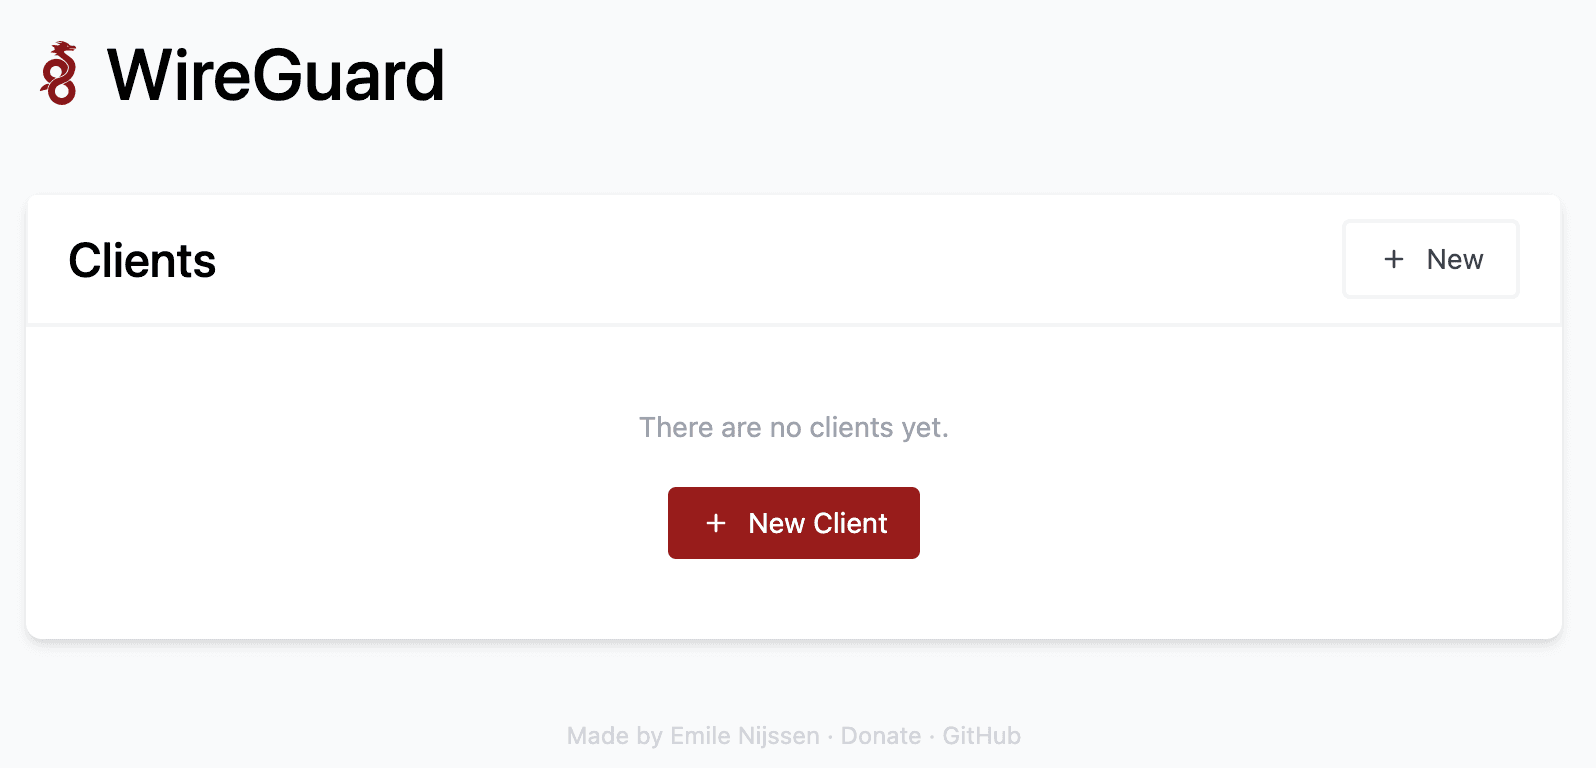
- Wireguard WebUI (via wg-easy)
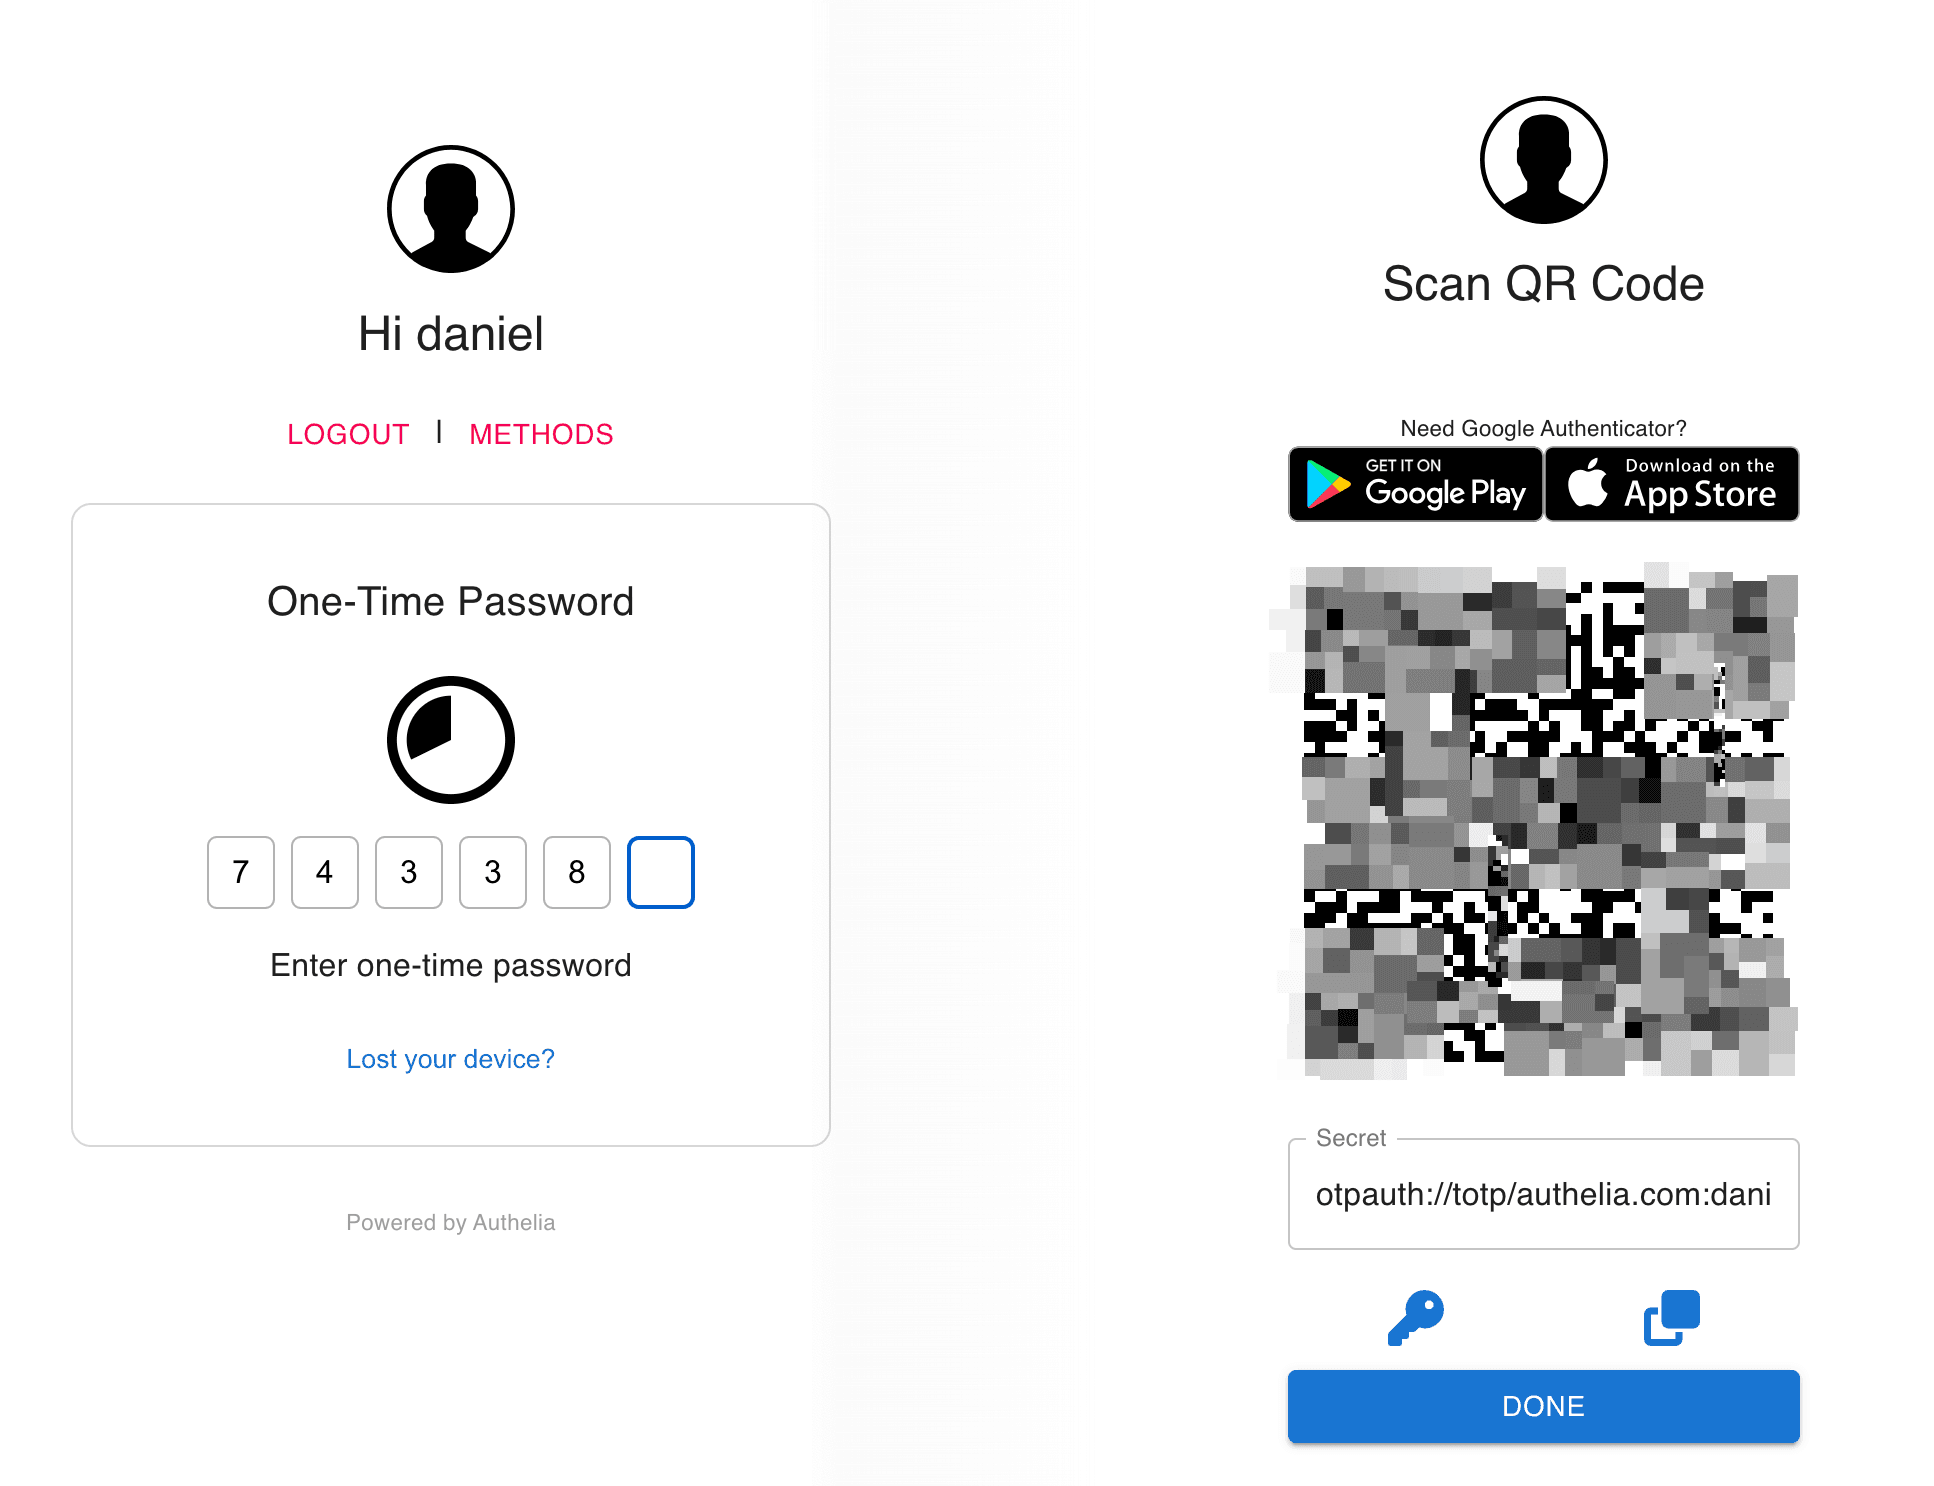
- Two-factor authentication for the WebUI (Authelia)
- Hardened web server (Bunkerweb)
- Encrypted DNS resolution with optional ad-blocking functionality (Adguard Home, DNSCrypt and Unbound)
- UFW and Fail2Ban
- Automated and unattended upgrades
- SSH hardening and public key pair generation (optional, you can also use your own keys)
- E-mail notifications (using an external SMTP server, e.g. GMail)
Requirements:
- A KVM-based VPS with a dedicated IPv4 address.
- One of the supported Linux distros:
- Ubuntu Server 22.04
- Ubuntu Server 20.04
- Debian 11
Getting started:
Now that you have your new EDIS Global VPS server up and running, lets connect to it by typing in the terminal of your preference (If on Windows OS you can use Putty for example) and type:

ssh to the server using your provided or generated ssh key. After a successful login press ENTER to finish the setup.
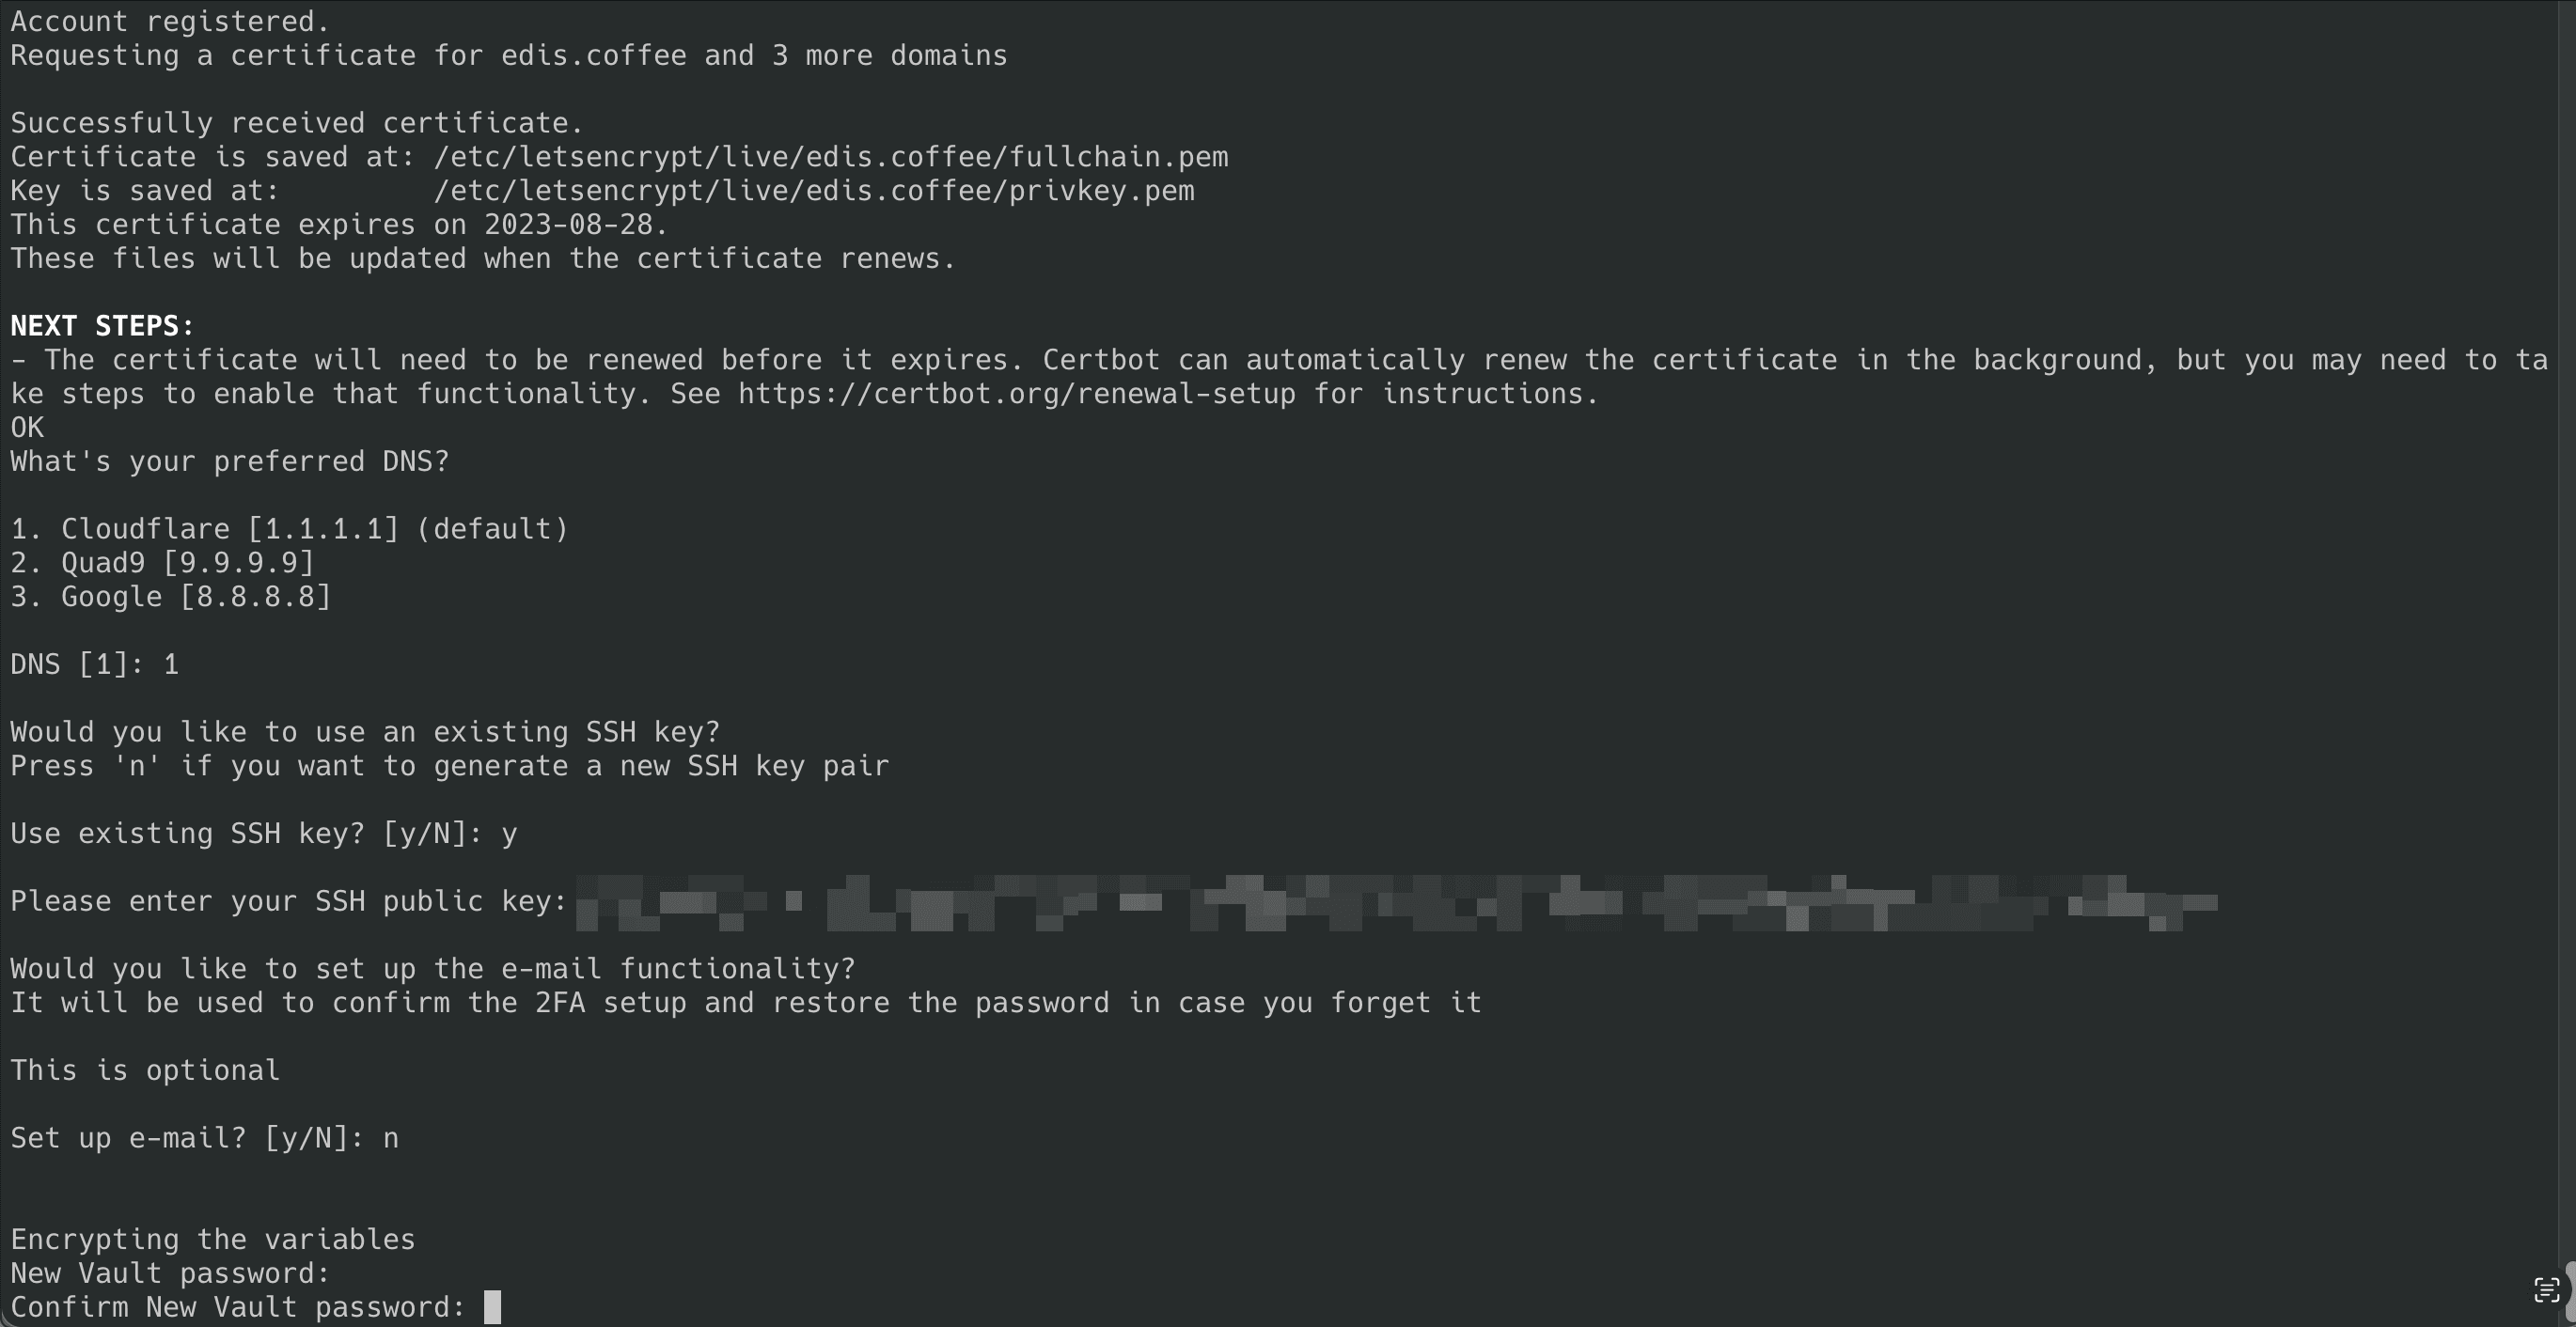
The script generates SSL certificates and a subdomain for the Web UI. If the
provided domain was
mydomain.com our web ui will be
https://wg.mydomain.com to manage Wireguard users

