… or continue below for the classic, manual installation:
How to install Mikrotik on your VPS
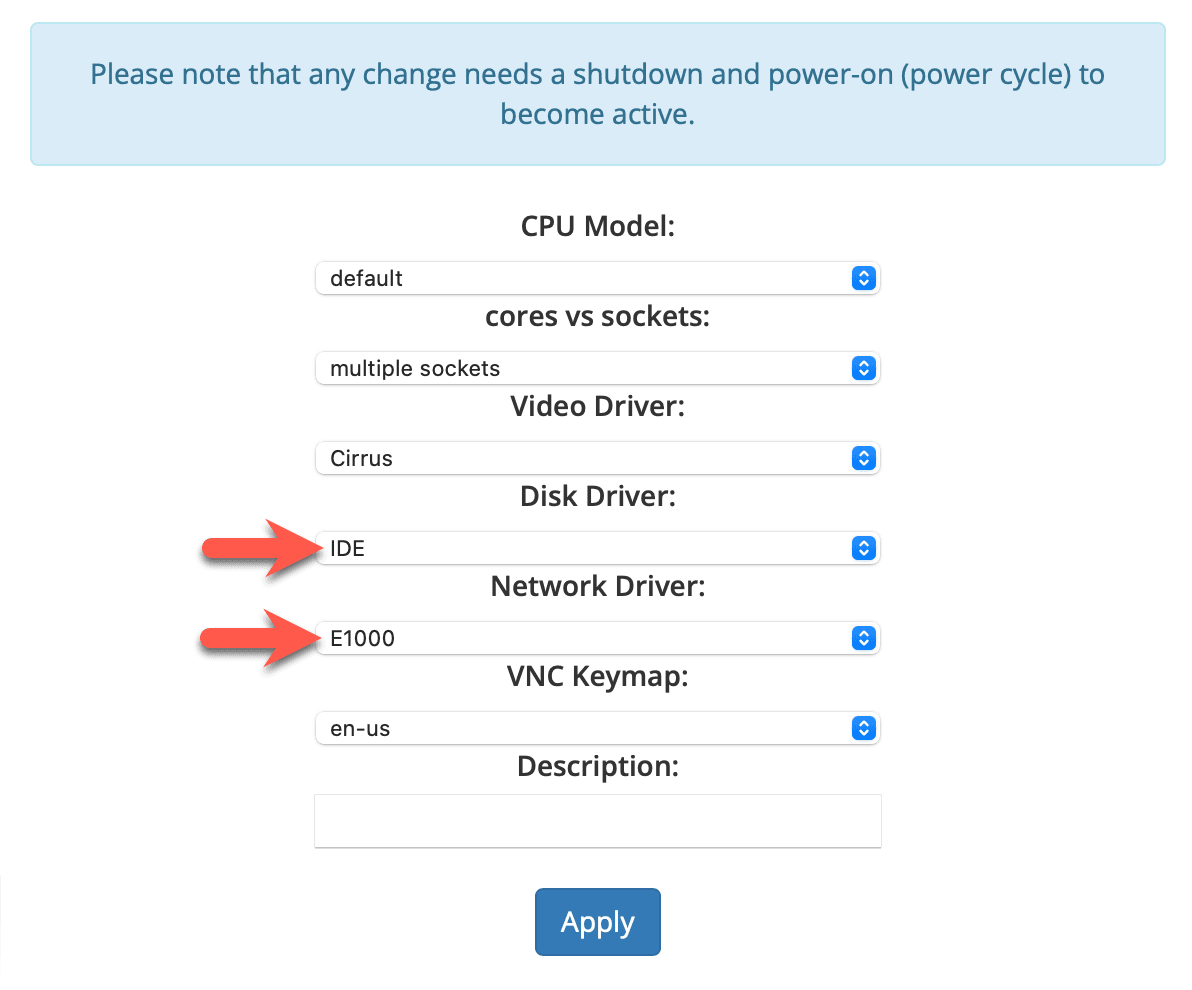
To install Mikrotik on an EDIS Global VPS, you’ll need to adjust a few hardware settings first, after which the installation will run smoothly.Log in to your
Mikrotik CHR (Cloud Hosted Router)
If you want to give Mikrotik CHR a try, you can download images from the official Mikrotik download page. To make life easy for you, we converted a couple of cloud images downloaded from the Mikrotik website, which can be used with our Cloud-Init installer 😎Log in to your
Upload the .qcow2 file and proceed with the installation (pick any password)
you will see: Server Status: AUTOINSTALL IN PROGRESS
it will change to: Server Status: RUNNING, AUTOINSTALL IN PROGRESSThe installation will take a couple of minutes!
Configure Static IPv4 in MikroTik
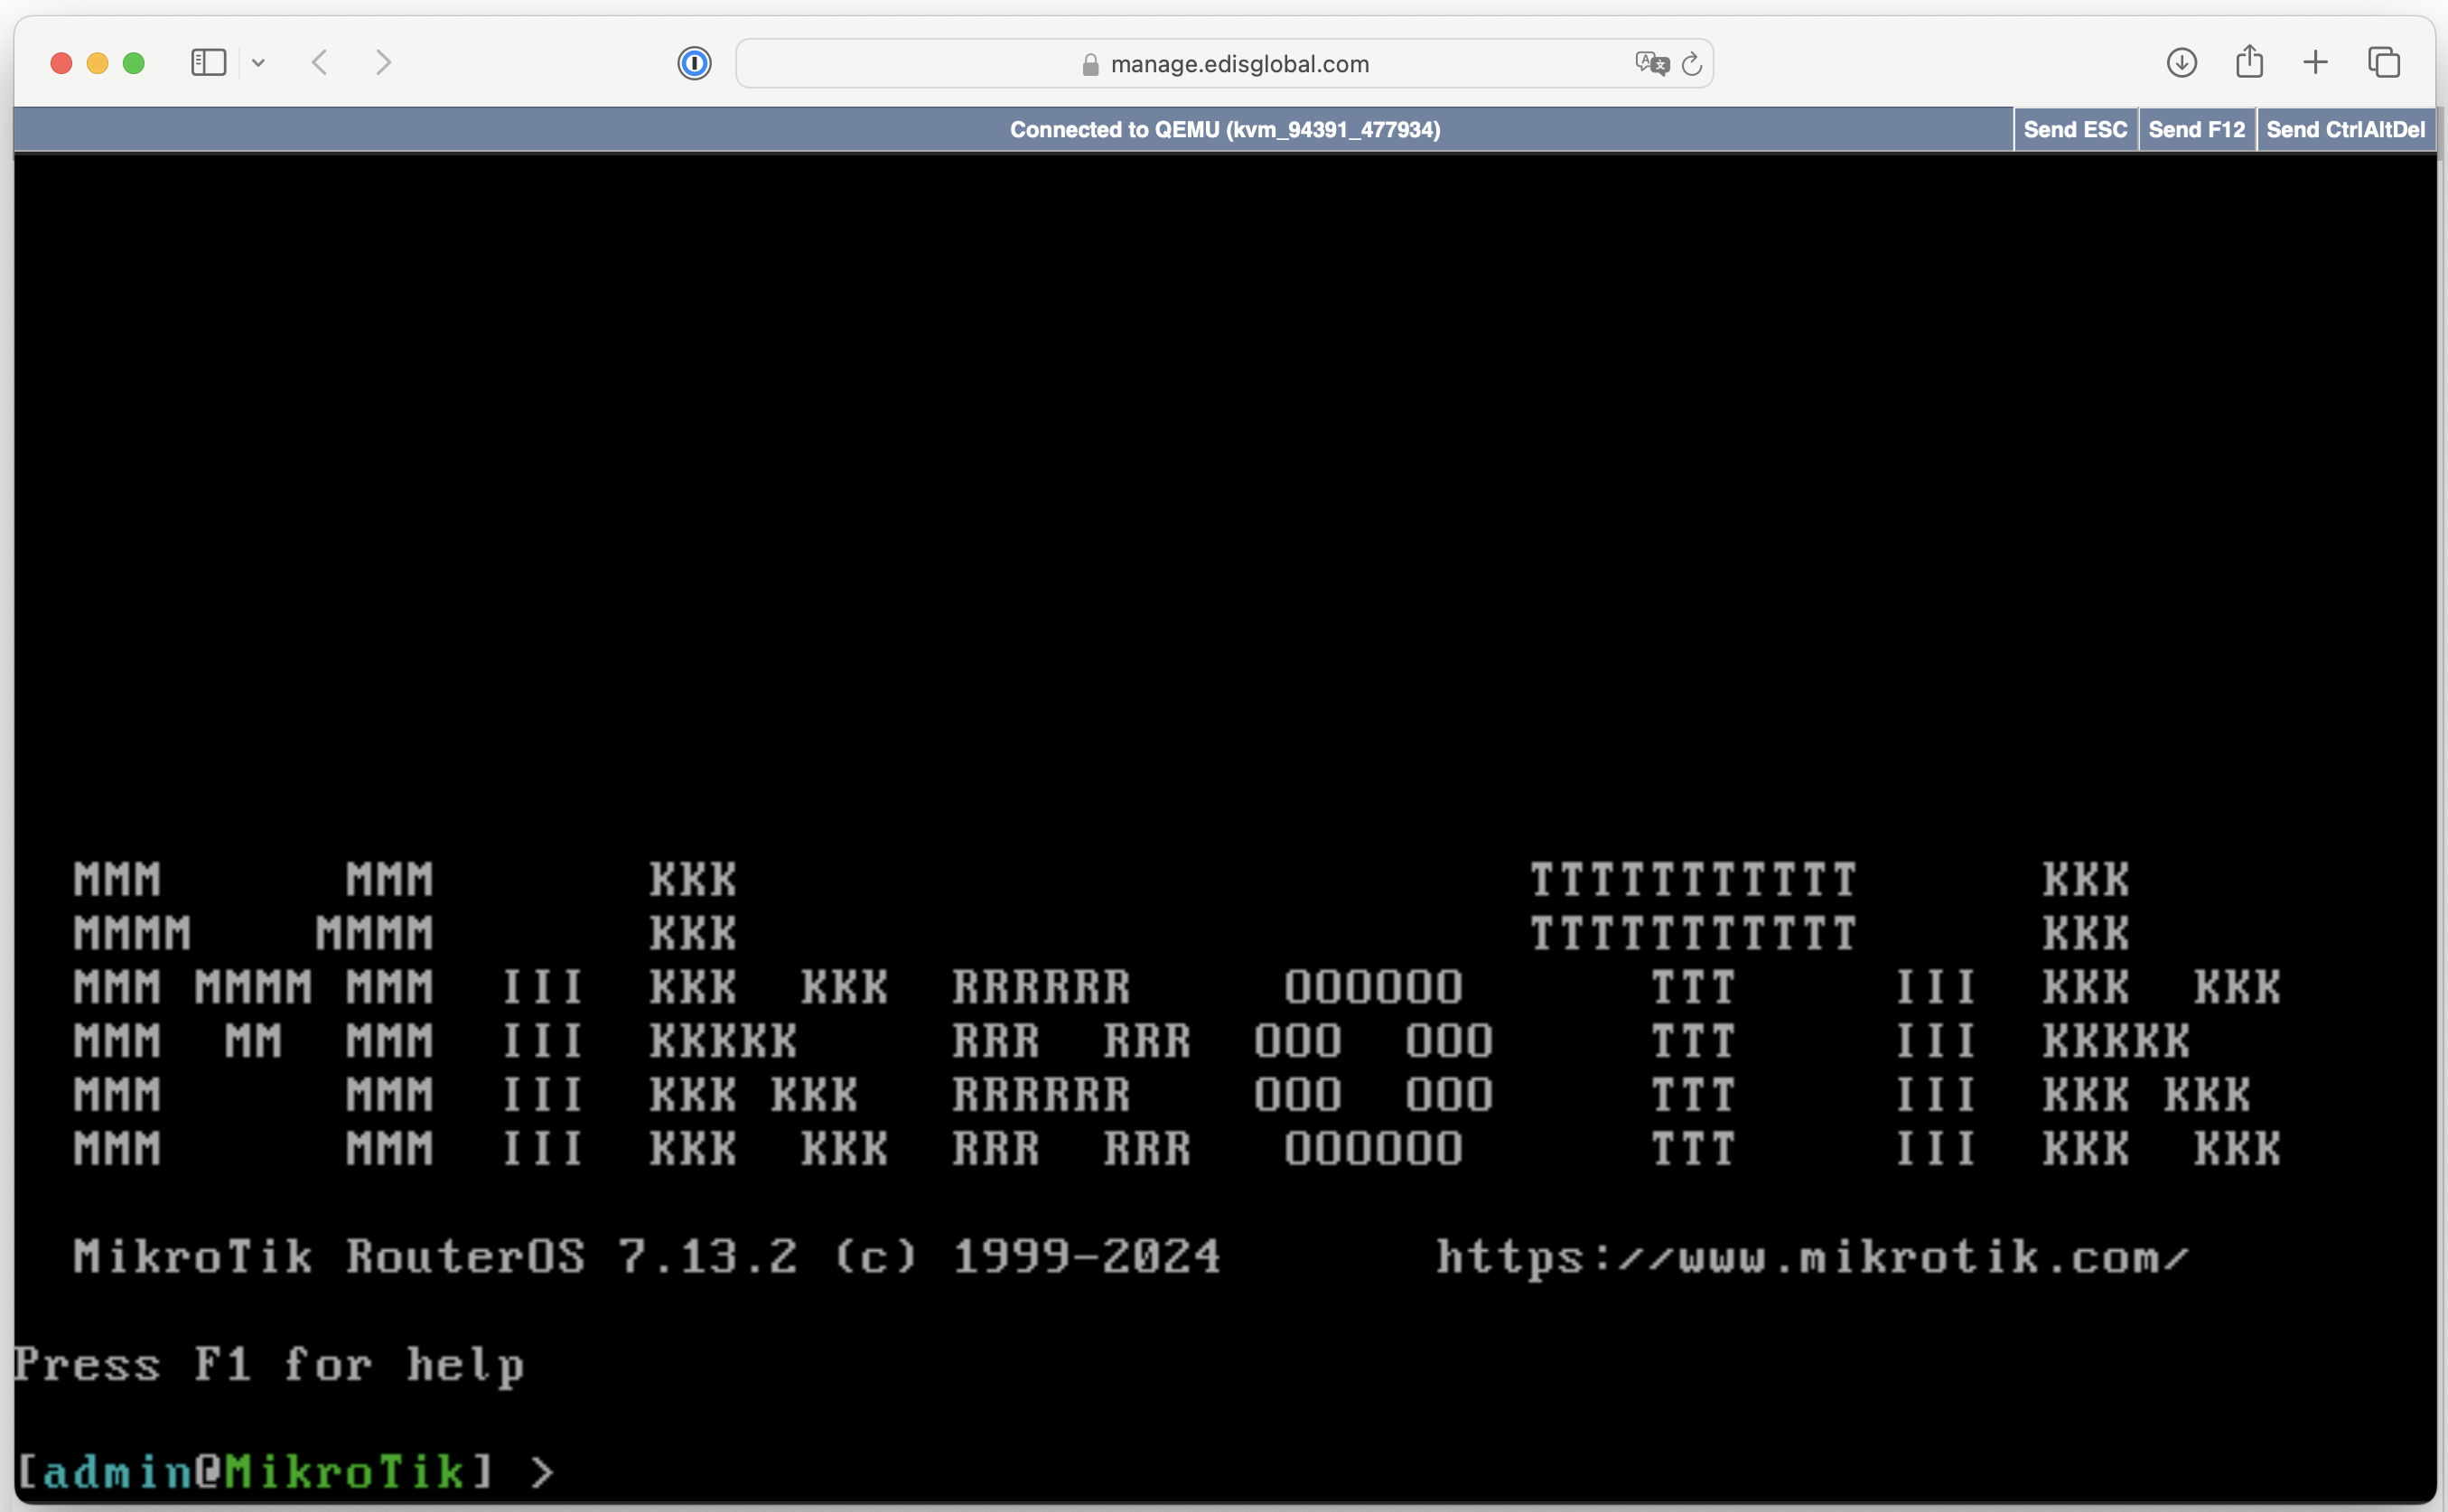
Log into MikroTik Router:- Use a VNC session to connect to your MikroTik router.
-
Log in with your credentials (by default, the username is
admin, and there is no password unless you changed it).
Set Static IPv4 Address:
After logging into MikroTik, use the Terminal window and enter the following commands to configure the static IP: Assign Static IP Address: Use this command to set a static IP on the interface you want (e.g.,ether1):
-
Replace
192.168.1.100/24with your VPS static IP and subnet mask. -
Replace
ether1with the correct interface if it’s different.
- Replace
192.168.1.1with your VPS default gateway IP address
- You can use any DNS servers, such as
1.1.1.1and1.0.0.1for Cloudflare’s public DNS resolvers.
Verify Your Configuration:
Please reboot the server with the following command to apply the changes and set up the network:- After the server has rebooted, you can connect to the server via Winbox, the web interface, or SSH using the IP address you configured.
Configure IPv6 address in MikroTik
To configure the imaginary IPv6 address 2a03:f80:22:4198::1 on a MikroTik CHR device, follow these steps:Always refer to your VPS dashboard for the correct I/64 Pv6 address assignment-.Assign the IPv6 Address
- Open your MikroTik terminal or connect via Winbox.
- Add the IPv6 address to the desired interface (e.g., ether1).
2a03:f80:22:4198:: with your own VPS IPv6 range.
Remember that the subnet mask is configured as /48 while the size of your allocation remains /64.
Configure the IPv6 Default Route
- Add the default route for IPv6 to allow external communication.
Verify the Configuration
- Check the assigned IPv6 address:
- Check the default route: