> ## Documentation Index
> Fetch the complete documentation index at: https://docs.edisglobal.com/llms.txt
> Use this file to discover all available pages before exploring further.
# Install a VPS with a Cloud-Init qcow2 Image
> Deploy a cloud-init .qcow2 image to an EDIS Global VPS using Oracle Linux 8 as a worked example, with notes on user-data, SSH keys, and first-boot config.
### Step-by-step guide for deploying an OS using Cloud-Init.
In this example, we show you how to install an **Oracle Linux 8** from a .qcow2 cloud image via the KVM management panel. This guide covers the initial setup, including accessing the VPS Management Portal, selecting the appropriate .qcow2 image, and configuring the virtual machine settings.
Make sure that your VPS plan has sufficient space to fit the cloud image.
### Installing oracle Linux 8 using Cloud-Init
1. Open the VPS Management Portal and navigate to the Reinstall section.
2. Download Oracle Linux .qcow2 Cloud Image from the official template page to your computer.
3. Open the VPS Management Portal select **Reinstall OS** -> select **Custom Cloud-Init Images** (third tab).
:::
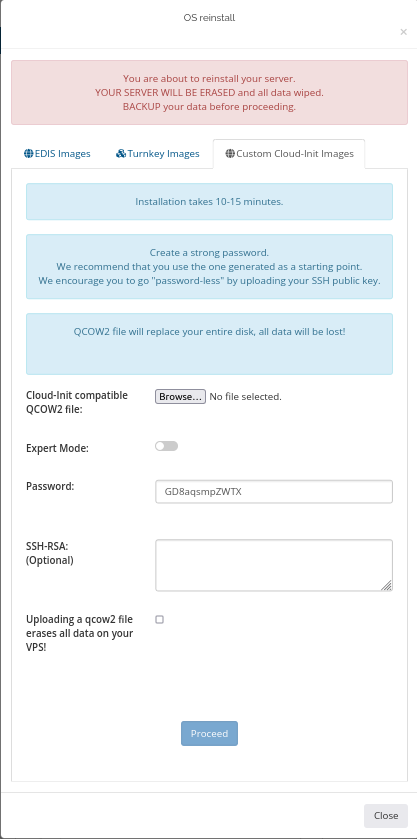 1. Upload the .qcow2 image to your VPS, click to button "Browse"
2. Select the previously downloaded .qcow2 file from your computer
3. Indicate a secure password
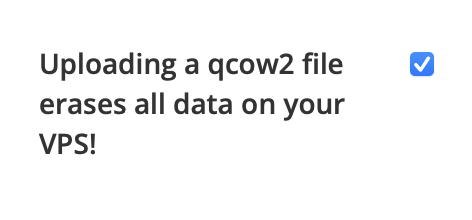
4. Tag checkbox that "Uploading a qcow2 file erases all data on your VPS!"
It is important to understand that **all data on your VPS will be wiped during
this process!**
1. Upload the .qcow2 image to your VPS, click to button "Browse"
2. Select the previously downloaded .qcow2 file from your computer
3. Indicate a secure password
4. Tag checkbox that "Uploading a qcow2 file erases all data on your VPS!"
It is important to understand that **all data on your VPS will be wiped during
this process!**
 1. Click the "**Proceed**" button and wait until the file is fully uploaded.
Cloud-Init deployment will kick-in right after the upload has finished.
Installation takes roughly 5-10 minutes.
After the deployment is complete, you will be able to connect to the server using the password you specified during the installation process.
2. Connect to the server via SSH using default port 22
```shell theme={"system"}
ssh root@IP_address_VPS
```
```shell theme={"system"}
#To check Oracle version use:
cat /etc/oracle-release
```
Congratulations. You installed Oracle Linux with Cloud-init. Well done
1. Click the "**Proceed**" button and wait until the file is fully uploaded.
Cloud-Init deployment will kick-in right after the upload has finished.
Installation takes roughly 5-10 minutes.
After the deployment is complete, you will be able to connect to the server using the password you specified during the installation process.
2. Connect to the server via SSH using default port 22
```shell theme={"system"}
ssh root@IP_address_VPS
```
```shell theme={"system"}
#To check Oracle version use:
cat /etc/oracle-release
```
Congratulations. You installed Oracle Linux with Cloud-init. Well done