> ## Documentation Index
> Fetch the complete documentation index at: https://docs.edisglobal.com/llms.txt
> Use this file to discover all available pages before exploring further.
# Manual MikroTik RouterOS Installation on EDIS Global VPS
> Manually install MikroTik RouterOS on an EDIS Global VPS. Step-by-step instructions covering hardware adjustments, ISO mounting, and initial setup.
export const CtaButton = ({label, link, openInNewTab}) => ;
NEW: Script-based MikroTik CHR installation
***
... or continue below for the **classic, manual installation:**
## How to install Mikrotik on your VPS
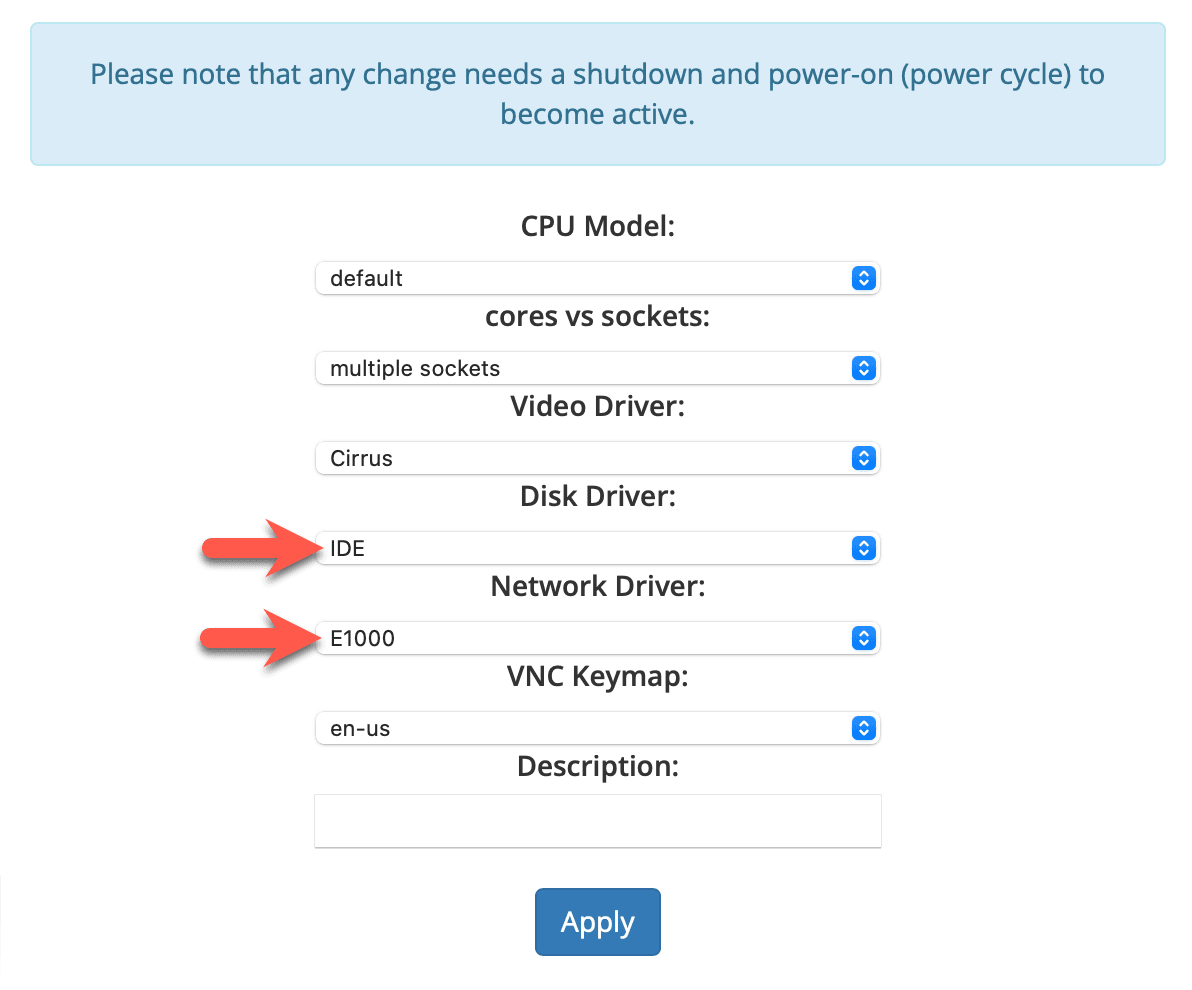
To install Mikrotik on an EDIS Global VPS, you’ll need to adjust a few hardware settings first, after which the installation will run smoothly.
[VPS Management Portal](https://manage.edisglobal.com/clientarea.php)
## Mikrotik CHR (cloud hosted router)
If you want to give Mikrotik CHR a try, you can download images from the official Mikrotik download page. To make life easy for you, we converted a couple of cloud images downloaded from the Mikrotik website, which can be used with our Cloud-Init installer 😎
[VPS Management Portal](https://manage.edisglobal.com/clientarea.php)
you will see: Server Status: AUTOINSTALL IN PROGRESS
it will change to: Server Status: RUNNING, **AUTOINSTALL IN PROGRESS**
**The installation will take a couple of minutes!**
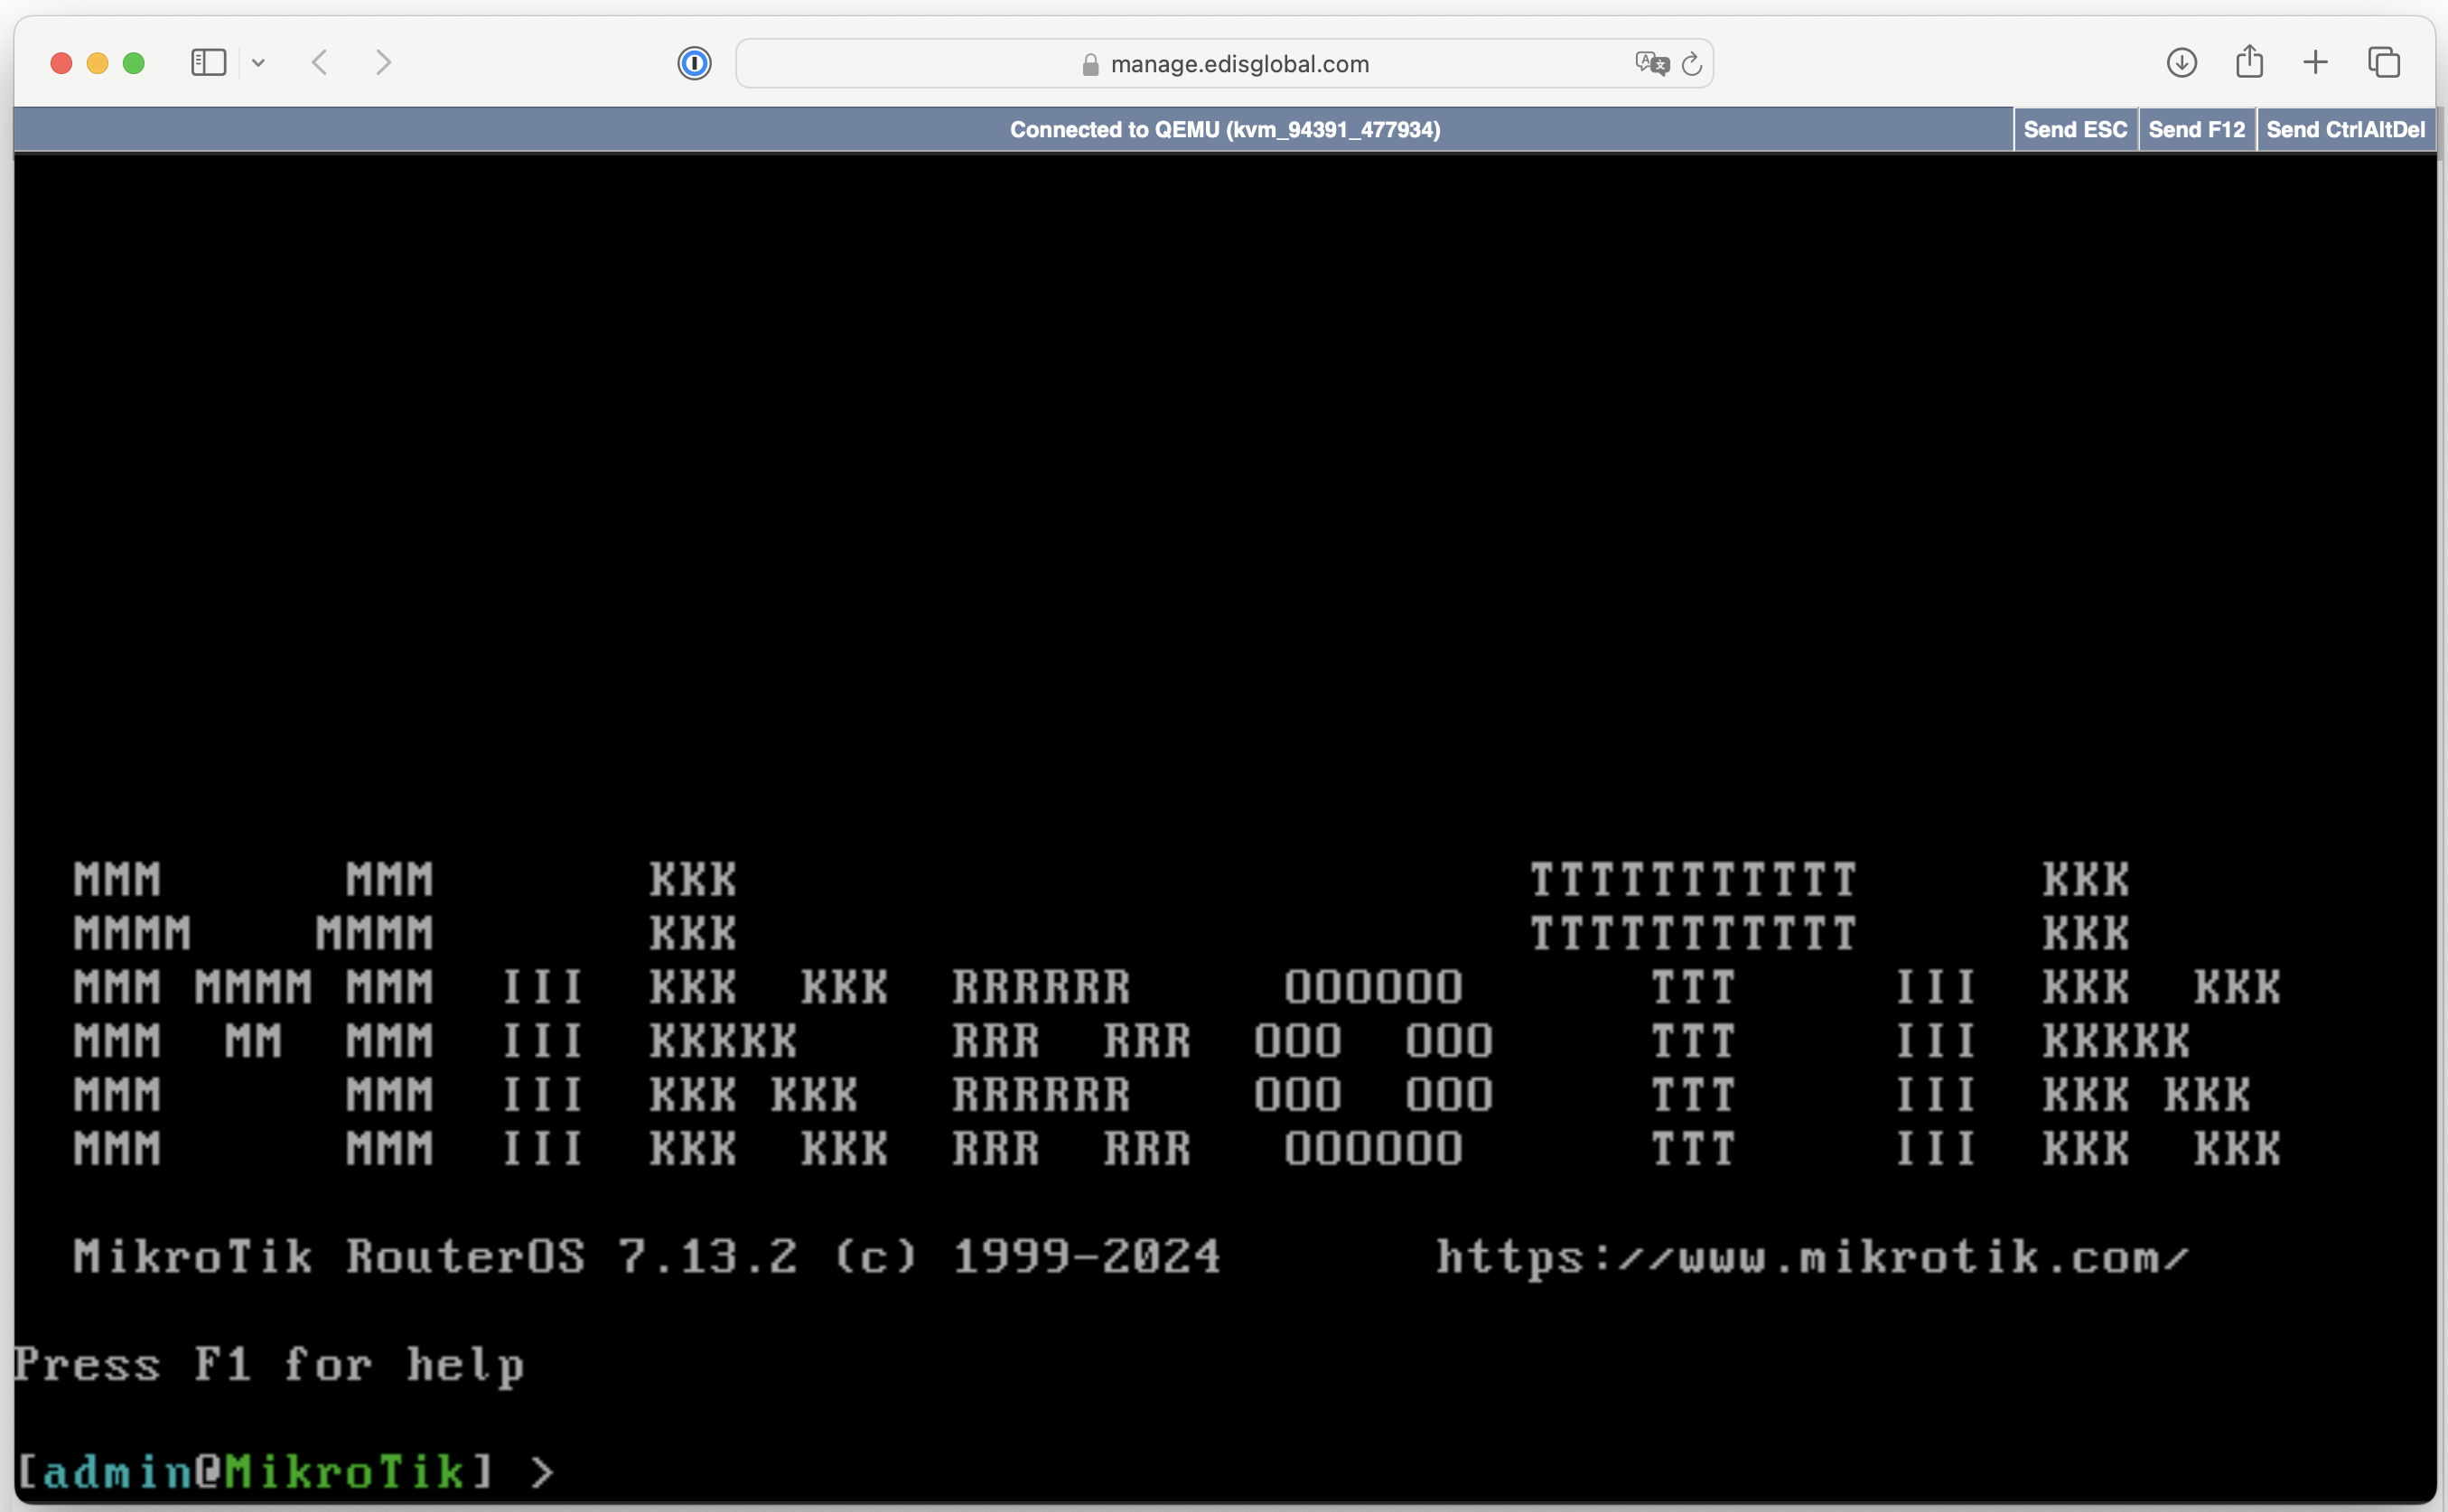
start a VNC session, start noVNC, click into the noVNC window (set focus)
and finish the installation.
Mikrotik username: admin
Mikrotik password: no password, leave field empty, just press Enter
## Configure static IPv4 in MikroTik
Log into MikroTik Router:
* Use a **VNC session** to connect to your MikroTik router.
* Log in with your credentials (by default, the username is `admin`, and there is no password unless you changed it).
### Set static IPv4 address:
After logging into MikroTik, use the **Terminal** window and enter the following commands to configure the static IP:
**Assign Static IP Address**:
Use this command to set a static IP on the interface you want (e.g., `ether1`):
```bash theme={"system"}
ip/address/add address=192.168.1.100/24 interface=ether1
```
* Replace `192.168.1.100/24` with your VPS static IP and subnet mask.
* Replace `ether1` with the correct interface if it's different.
**Set Gateway (Default Route)**:
To configure a default gateway, use the following command:
```bash theme={"system"}
ip/route/add gateway=192.168.1.1
```
* Replace `192.168.1.1` with your VPS default gateway IP address
**Set DNS Servers**:
To configure DNS servers (for example, using Google DNS), use:
```bash theme={"system"}
ip/dns/set servers=8.8.8.8,8.8.4.4
```
* You can use any DNS servers, such as `1.1.1.1` and `1.0.0.1` for Cloudflare’s public DNS resolvers.
### Verify your configuration:
Please reboot the server with the following command to apply the changes and set up the network:
```bash theme={"system"}
system/reboot
```
* After the server has rebooted, you can connect to the server via **Winbox**, the **web interface**, or **SSH** using the IP address you configured.
## Configure IPv6 address in MikroTik
To configure the imaginary IPv6 address **2a03:f80:22:4198::1** on a **MikroTik CHR** device, follow these steps:Always refer to your VPS dashboard for the correct IPv6 /64 address assignment.
### **Assign the IPv6 address**
1. **Open your MikroTik terminal** or connect via **Winbox**.
2. **Add the IPv6 address** to the desired interface (e.g., ether1).
```bash theme={"system"}
/ipv6 address add address=2a03:f80:22:4198::1/48 interface=ether1
```
• Replace ether1 with the actual interface you are using. Replace `2a03:f80:22:4198::` with your own VPS IPv6 range.
Remember that the **subnet mask is configured as /48** while the size of your allocation remains /64.
### Configure the IPv6 default route
1. **Add the default route** for IPv6 to allow external communication.
```bash theme={"system"}
/ipv6 route add dst-address=::/0 gateway=2a03:f80:22::1
```
• **Note**: This example uses 2a03:f80:22::1 as the gateway. Your gateway consists of the first three segments of your IP address and ::1
### **Verify the Configuration**
1. **Check the assigned IPv6 address**:
```bash theme={"system"}
/ipv6 address print
```
1. **Check the default route**:
```bash theme={"system"}
/ipv6 route print
```
This configuration will allow your MikroTik CHR to use the imaginary IPv6 address **2a03:f80:22:4198::1** and establish external connectivity via the default gateway. Remember that the **subnet mask is configured as /48**, not /64.
 ***
***